| Skip Navigation Links | |
| Exit Print View | |

|
Configuring SAP R/3 for the Oracle Java CAPS SAP BAPI Adapter Java CAPS Documentation |
| Skip Navigation Links | |
| Exit Print View | |

|
Configuring SAP R/3 for the Oracle Java CAPS SAP BAPI Adapter Java CAPS Documentation |
Configuring SAP R/3 for the SAP BAPI Adapter
Configuration Needed in SAP R/3 to Send and Receive IDocs
Configuring the Distribution Model
To Specify the Distribution Model
For the SAP BAPI Adapter to receive communications from SAP R/3, you must set the Adapter up as an RFC destination in SAP R/3 as described below.
The SAP R/3 images in this section correspond to SAP GUI version 6.2, and SAP R/3 version 4.7. They are included to illustrate the general nature of the procedures, and contain only example values. Refer to the documentation supplied with your SAP R/3 system to determine the exact procedures.
Figure 1 Navigating to the SM59 Transaction

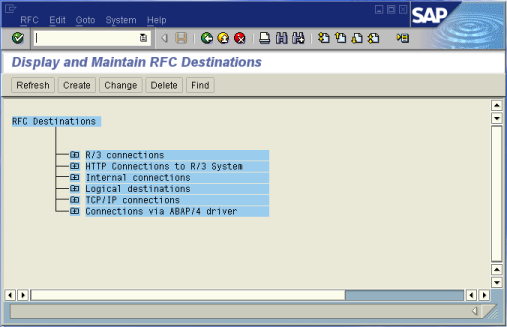
The RFC Destination Maintenance window appears.
Figure 2 RFC Destination Maintenance Window

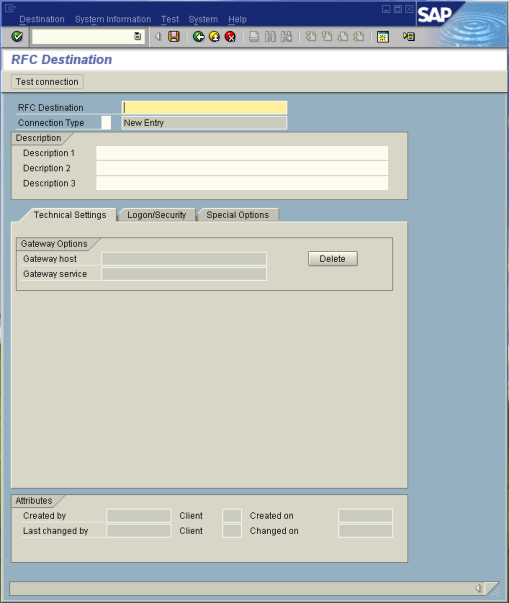
The RFC Destination window appears.
Figure 3 RFC Destination Window

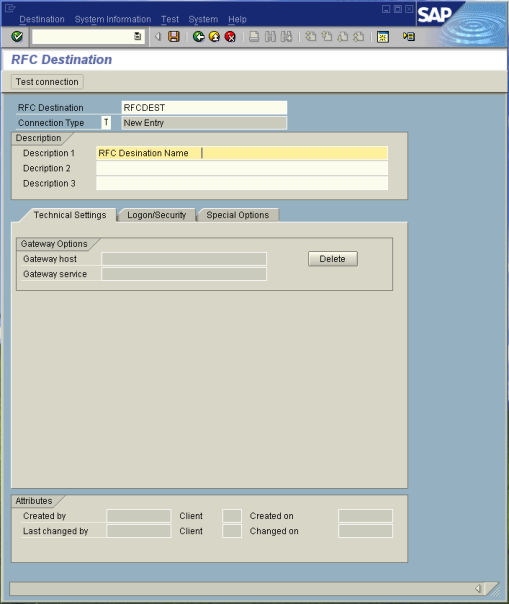
Figure 4 RFC Destination

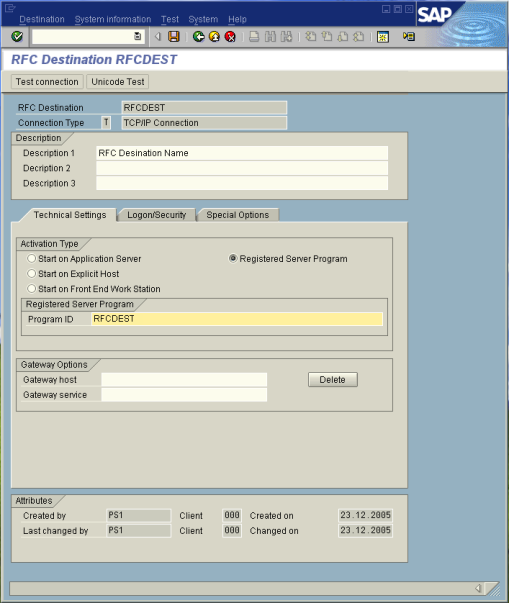
The RFC Destination window corresponding to your entry appears.
This program ID must be exactly the same as that specified in the Adapter's Program ID property. This value is case sensitive. For more information, see Server Connection Settings in Configuring Environment Components for Oracle Java CAPS Application Adapters.
Figure 5 RFC Destination Window

When the inbound Project is deployed and running, the results are displayed in a table; otherwise, return code 3 is displayed.
Figure 6 Connection Test Results
