JavaScript is required to for searching.
Skip Navigation Links
Exit Print View
Designing with Oracle Java CAPS JCA Adapters     Java CAPS Documentation
search filter icon
search icon

Document Information

Designing with Oracle Java CAPS JCA Adapters

Technical Overview of JCA Adapters

Inbound JCA Resource Adapter Client Code

Outbound JCA Resource Adapter Client Code

Object Type Definition Wizards

Installing the Oracle Java CAPS JCA Adapters

Installing the NetBeans Modules

Installing the Modules Pack

Installing the Runtime Components for Oracle Java CAPS JCA Adapters

To Install Runtime Components

Installing Third-Party JAR Files

Configuring Runtime Components in an EJB/JCA Application

Configuring Connector Pools for File Adapter

Configuring Connector Pools for Oracle Adapter

Deployment of Oracle Java CAPS JCA Adapters

To Deploy JCA Adapters from a Command Line

To Deploy JCA Adapters from the Admin Console

Using the Oracle Wizard and JCA Adapter Tooling with an EJB Project

To Implement the Oracle JCA Adapter with an EJB Project

Using the Oracle Applications Wizard and JCA Adapter Tooling with an EJB Project

To implement the Oracle Applications JCA Adapter with an EJB Project

Using the Oracle Applications Object Type Definition

Using the Oracle Wizard and JCA Adapter Tooling with an EJB Project

The following task outlines the steps need to implement a specific EJB project where a directory is polled for input data using a query statement (the statement is executed against an Oracle database), and the results are written to an output file.
To Implement the Oracle JCA Adapter with an EJB Project

  1. Create the required connector or connectors in the Application Server. In this particular example, create a connector for the File eWay and another for the Oracle eWay.
  2. Navigate to the Application Server Admin Console at htt://localhost:4848.
  3. Configure the parameters for your connectors under Resources > Connector > Connector Connection Pool and Resources > Connector > Connector Resources.
  4. Launch NetBeans.
  5. From the File menu, select Enterprise > EJB Module.
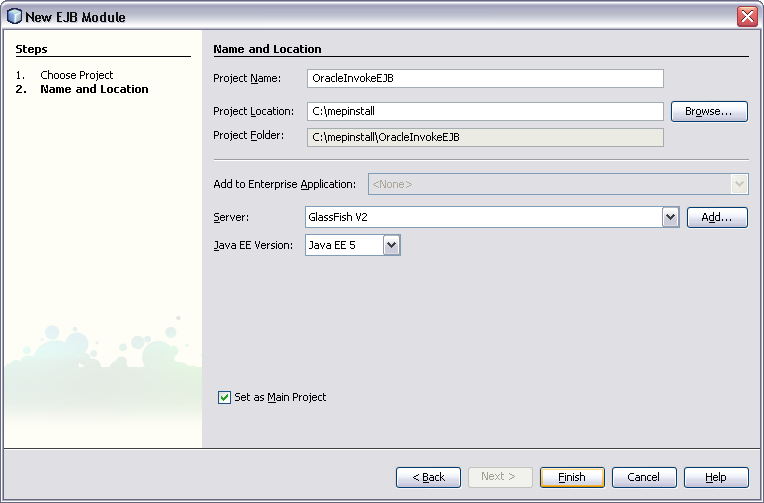
  6. Create a new EJB project OracleInvokeEJB
    image:New EJB Project
  7. Launch the Oracle wizard by right—clicking on the OracleInvokeEJB project and selecting New.
    image:Launch Oracle Wizard
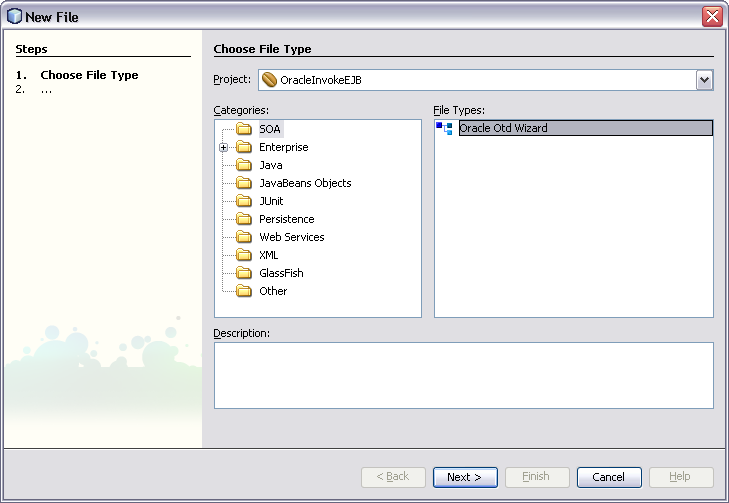
  8. Select Other > SOA > Oracle OTD Wizard.
  9. Click Next.
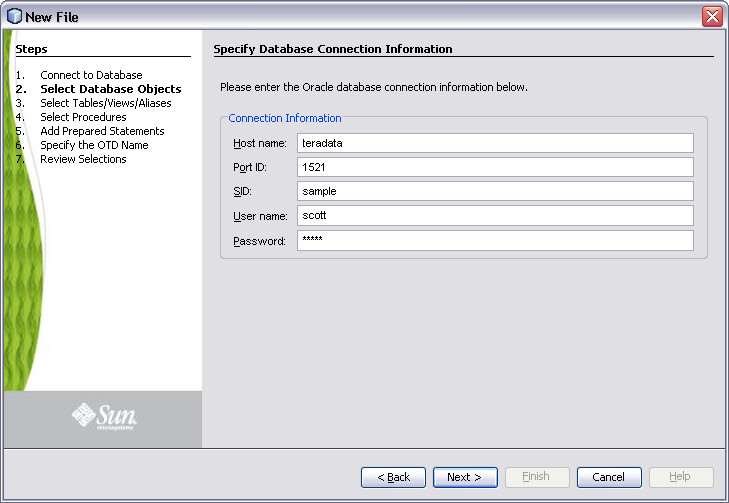
  10. Enter the Oracle database connection information, and click Next.
    image:Oracle Connection Information
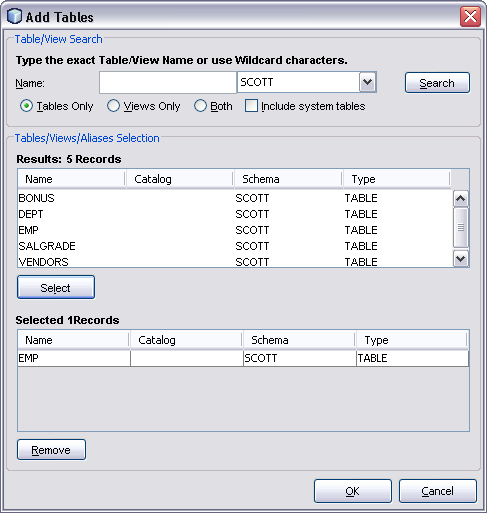
  11. Add the database objects (tables, stored procedures, and prepared statements) required for the project, and click OK.
    image:Database Objects
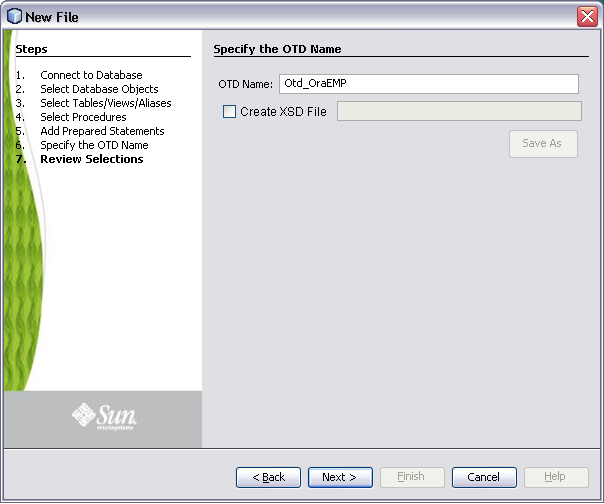
  12. Enter a name for the OTD.
    image:Enter Name for OTD

    An OTD and a JAR file containing the code corresponding to the above selected database objects are generated. The OTD is generated in the project at the location src/java/otds. The JAR file is added to the project libraries.
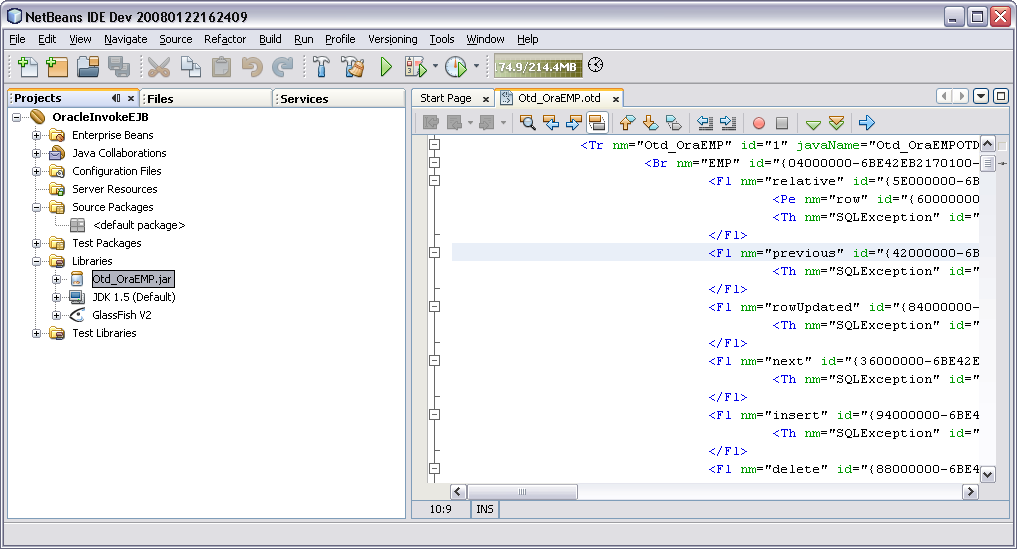
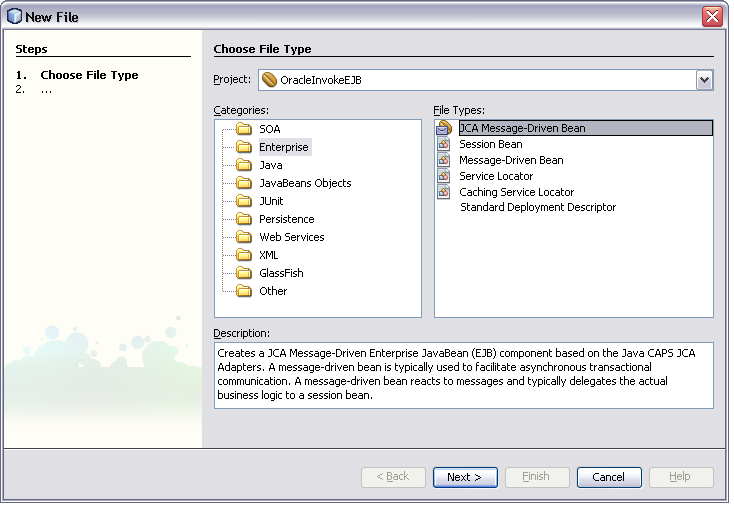
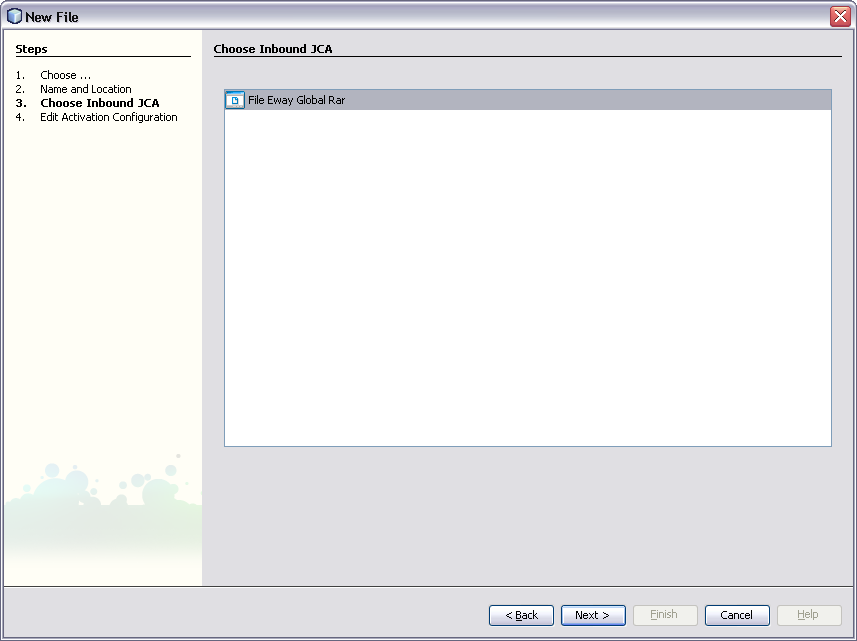
    image:OTD Jar Generation
  13. Create a JCA-driven MDB by navigating to the File menu, and selecting New Project > Enterprise.
    image:JCA-driven MDB
  14. Select File Inbound RAR as the Inbound JCA.
    image:Choose File Inbound RAR
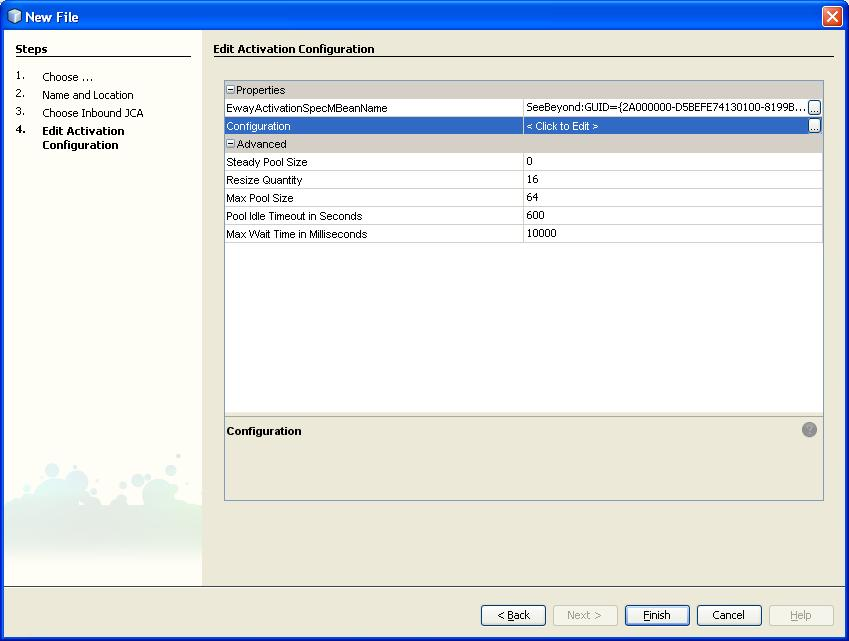
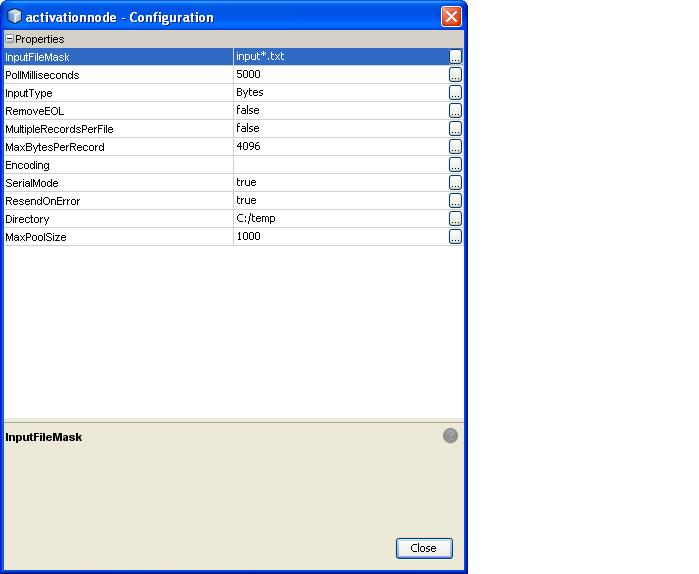
  15. Edit the Inbound File JCA configuration parameters in the following two dialogue windows.
    image:Edit JCA Configuration Parameters First Box
    image:Edit JCA Configuration Parameters Second Box

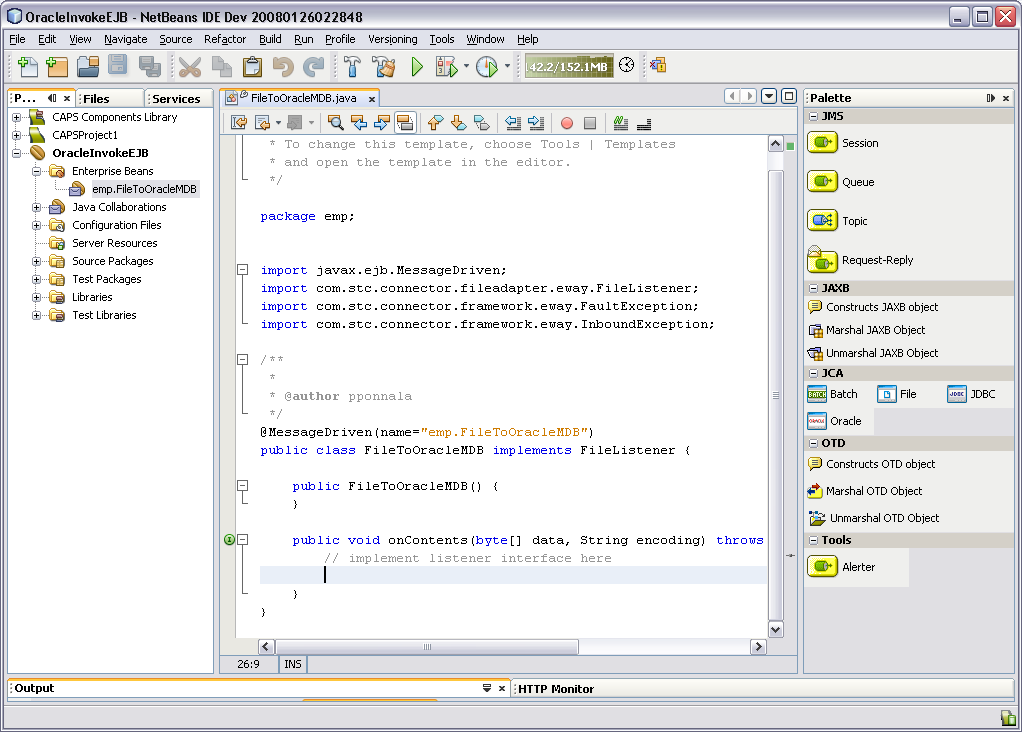
    An MDB is created.


    image:Generated MDB
  16. In the generated MDB, drag Oracle from the palette to invoke Oracle.
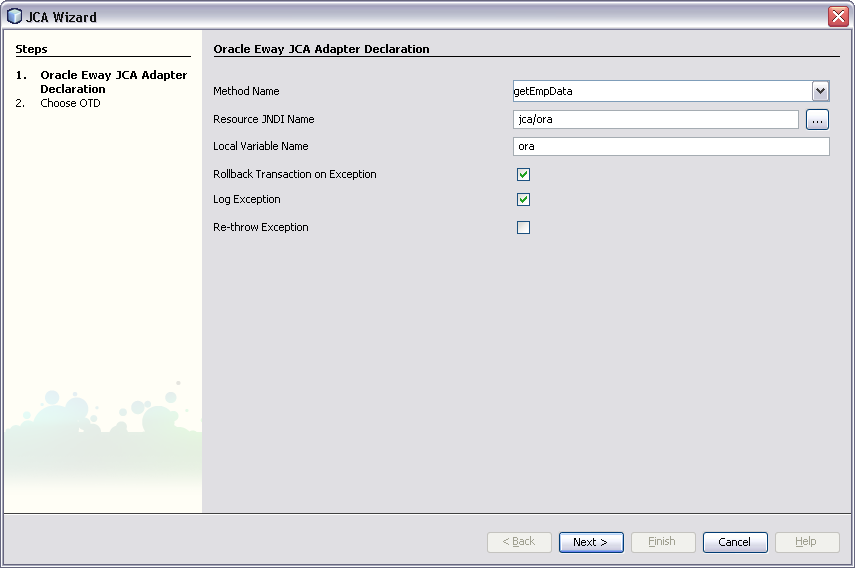
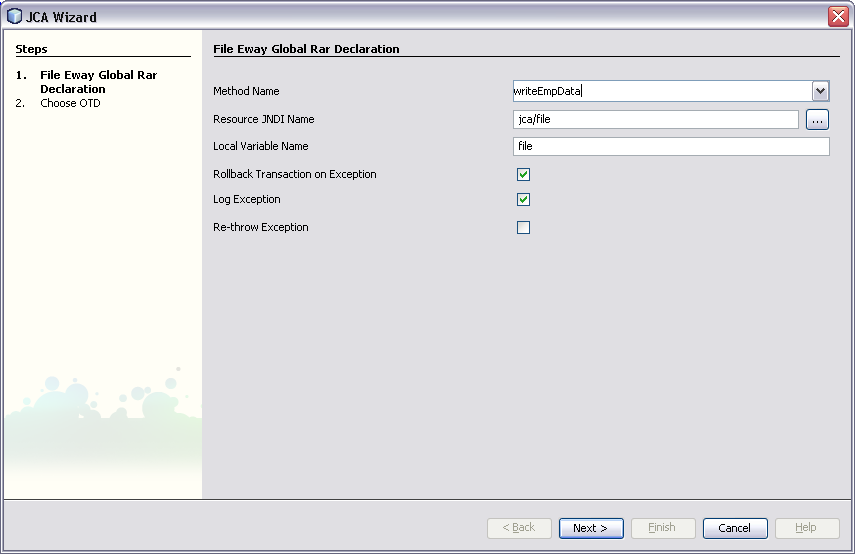
  17. Drag and drop the File JCA onto the onContents() of the MDB, and enter the parameters for the File eWay JCA Adapter declarations.
    image:JCA Adapter Declaration

    The Resource JNDI Name should be the same as that declared in the GlassFish Application Server (for example, Resources > Connector > Connector Resources)
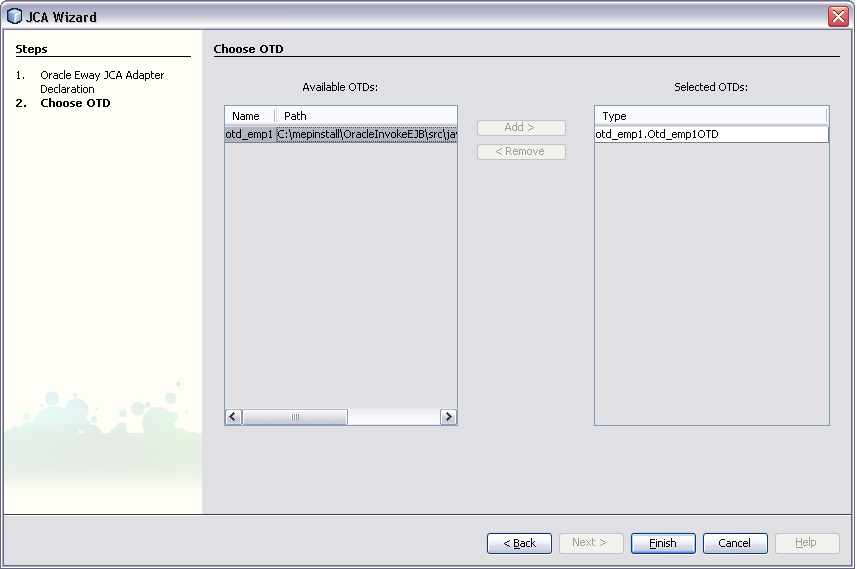
  18. Select the Oracle OTD that is generated and click Finish.
    image:Select Oracle OTD
  19. Issue a select statement and iterate through the resultset, and write to File.
    image:File Outbound
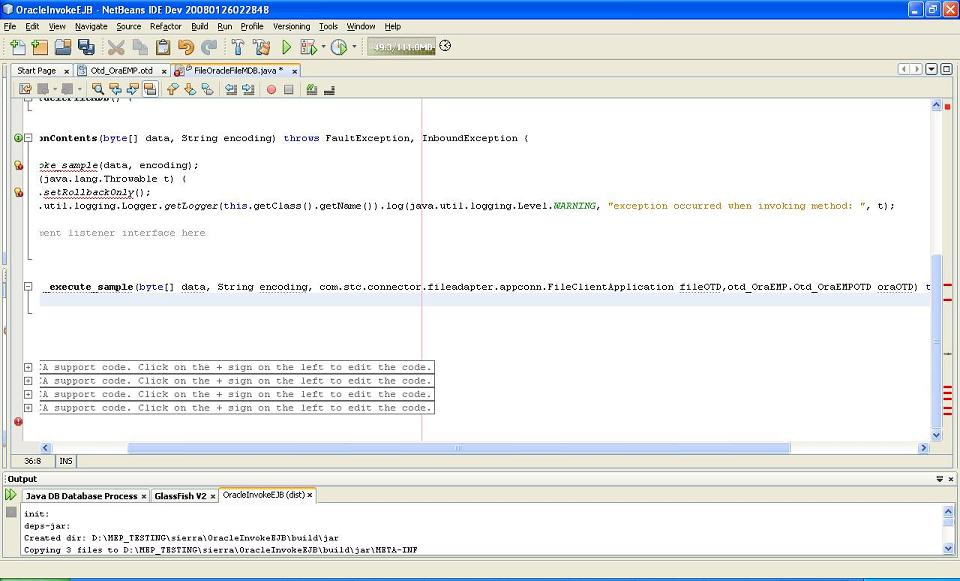
  20. The resulting Java template is created.
    image:Java template
  21. Implement the following Java code:

    The following code is the output:

    public void onContents(byte[] data,
                    String encoding) throws FaultException, InboundException {
           
        try {           
            _invoke_getEmpData(data, encoding);      
        } catch (java.lang.Throwable t) {           
        ectx.setRollbackOnly();           
        java.util.logging.Logger.getLogger(this.getClass().getName()).log(java.util.
            logging.Level.WARNING,
        "exception occurred when invoking method: ", t);
        }       
        
        try {           
            _invoke_writeEmpData(data, encoding);       
        } catch (java.lang.Throwable t) {           
            ectx.setRollbackOnly();           
            java.util.logging.Logger.getLogger(this.getClass().getName()).log(java.util.
                logging.Level.WARNING,
            "exception occurred when invoking method: ", t);
            }
       }
        private String _execute_getEmpData(byte[] data, String encoding,
                otd_emp1.Otd_emp1OTD oraOTD) throws java.lang.Exception {     
        //select all records from EMP table using the method select available
        //on the OTD       
        oraOTD.getEMP().select("");       
        //Iterate thru the resultset and write to File.   
        while(oraOTD.getEMP().next()) {
               enameValues = oraOTD.getEMP().getENAME() + ", " + enameValues;  
        }       
    
    }
    
        private void _execute_writeEmpData(byte[] data, String encoding,
                        com.stc.connector.fileadapter.appconn.FileClientApplication fileOTD)
                            throws java.lang.Exception {
    
           fileOTD.setText(new String(data));
        fileOTD.write();
         }