To change the folder while you are creating an item, use the Select Parent button in the targeting interface:
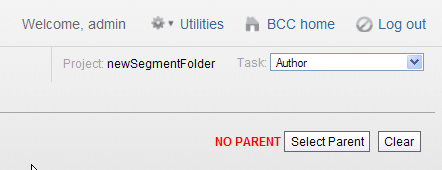
Click the Select Parent button.
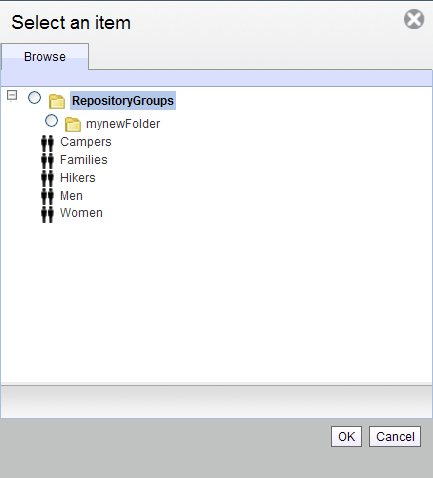
Use the asset picker to select the new folder. You can choose any folder that has been created below the default.
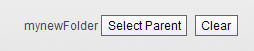
The name of the folder you select appears next to the Select Parent button, as shown:
After a targeting item has been created, the Select Parent button is no longer available. If you want to change the location of an item in this situation, use the Move feature instead.
In the Browse pane, click the checkbox of the item you want to move.
Click the Move icon and select Move.
In the asset picker, click the radio button next to the intended destination folder, and Click OK.
The left pane shows the item in its new location in the tree.
