| Skip Navigation Links | |
| Exit Print View | |

|
Sun Blade X4-2B Installation Guide for Windows Operating Systems |
| Skip Navigation Links | |
| Exit Print View | |

|
Sun Blade X4-2B Installation Guide for Windows Operating Systems |
Install Windows Server 2008 R2 and Windows Server 2008 SP2 (Manually)
Install Windows Server 2012 or 2012 R2 (Manually)
The Oracle System Assistant Install OS task is the easiest method for installing a supported OS on the Sun Blade X4-2B.
For more information about Oracle System Assistant, refer to the Oracle X4 Series Servers Administration Guide.
Before You Begin
Reference the OS installation task table. See Installing the Windows OS.
You must configure RAID for the boot disk before you install the Windows operating system. For more details, refer to the Sun Blade X4-2B Installation Guide .
Get the Windows OS install distribution media.
For local installation, have the Microsoft Windows installation media available to insert into the attached physical CD/DVD-ROM drive.
For remote installation:
Insert the Microsoft Windows installation media into the system’s CD/DVD-ROM drive. Make sure you have selected CD-ROM from the Device menu.
If you are using the Windows image, ensure that the ISO image is accessible. Make sure you have selected CD-ROM Image from the Device menu.

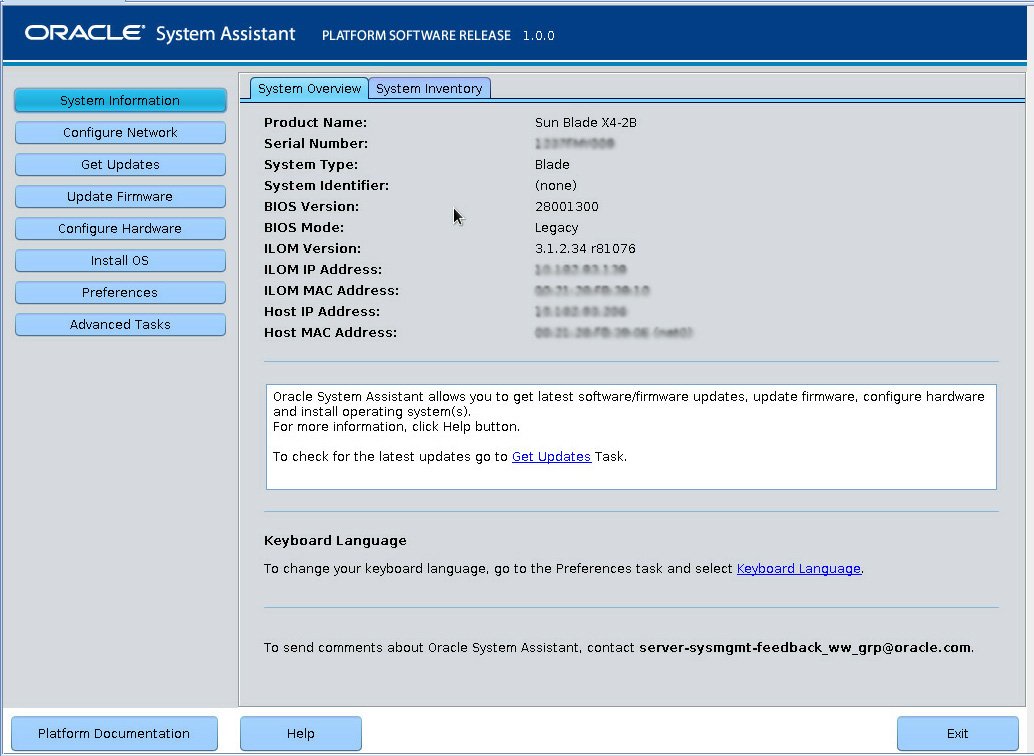
The Oracle System Assistant System Overview main screen appears.

If an update is available, the update's readme file appears.
The Get Updates Sign-In screen appears.
The server downloads the updates then displays a popup asking to reboot the server.
The server reboots and restarts Oracle System Assistant.
If you don't, the system will not see the drive.
The Install OS screen appears.
The options are CD/DVD or virtual drive.
The server reboots one or more times during the installation process.
Next Steps