| Oracle® Retail Xstore Point of Service Mobile User Guide Release 20.0 F35714-03 |
|

 Previous |
 Next |
| Oracle® Retail Xstore Point of Service Mobile User Guide Release 20.0 F35714-03 |
|
Previous |
Next |
A Pre-Sale Transaction is typically performed when a customer wants to purchase an item that is not currently available for sale in the store. Pre-sale transactions have the following requirements:
The transaction must be associated with a customer.
The transaction must be paid in full at setup.
Only items on file can be added to the transaction.
All Pre-Sale items must be picked up at the same time, partial pickups are not allowed.
Pre-Sale accounts cannot be canceled if the customer is not present.
This chapter describes the following topics:
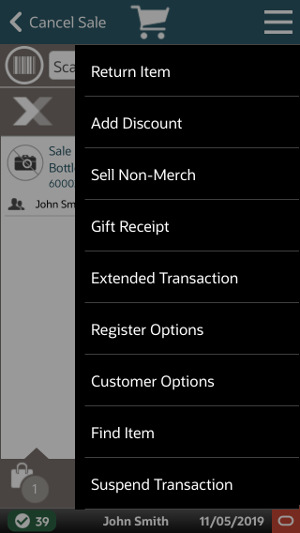
From the Sale screen Context Menu, select Extended Transaction.
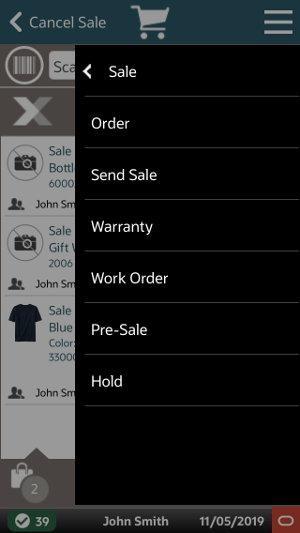
Click Pre-Sale.
The window that opens will depend upon whether a customer is associated with the transaction and, if so, whether that customer has any existing pre-sales accounts.
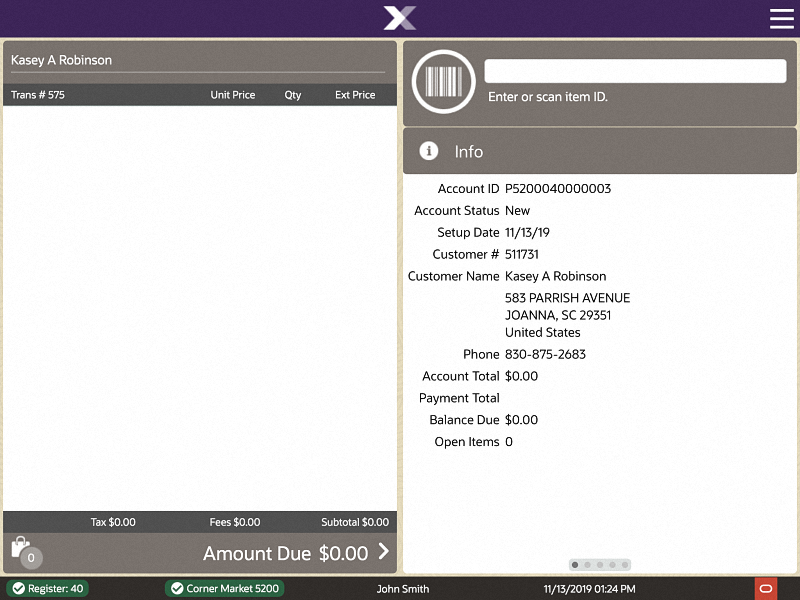
When a customer has been associated with the current transaction, the system automatically searches the database to locate any open Pre-Sale accounts for this customer.
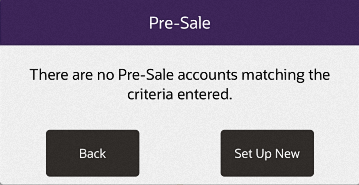
If no Pre-Sale accounts are found, you have the following options:
Select Set Up New to create a new Pre-Sale transaction. Continue with Creating a Pre-Sale Transaction.
If a Pre-Sale account is found, you have the following options:
Select Set Up New to create a new Pre-Sale account. Continue with Creating a Pre-Sale Transaction.
Select the Pre-Sale account.
When there is no customer associated with the current transaction, the Pre-Sale Search form displays. You have the following options:
Select Set Up New to create a new Pre-Sale account. After associating a customer with the transaction, continue with Creating a Pre-Sale Transaction.
To search for a Pre-Sale account, enter search criteria.
Account ID: The Pre-Sale account identifier.
Last Name: The Pre-Sale account owner's last name.
First Name: The Pre-Sale account owner's first name.
Customer ID: The Pre-Sale account owner's customer Id.
Phone #: The Pre-Sale account owner's phone number.
Select Process.
If there are no Pre-Sale accounts matching your search criteria, you will see a message indicating no accounts were found.
If at least one Pre-Sale account matches your search criteria, the account or accounts are listed in the Pre-Sale Account Search Results Form. See Figure 17-4.
Select Back to return to the Sale screen.
Add items to the transaction.
When you are done creating the pre-sale:
Click Exit Pre-Sale to perform other actions in the transaction.
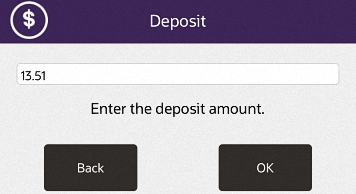
Click Amount Due to tender the transaction. Xstore prompts for the deposit amount.
Press OK to confirm the deposit amount.
|
Note: Pre-sale items must be paid in full at setup. You cannot change the deposit amount. |
Continue the transaction.
After a customer is associated with the transaction, scan or enter the Pre-Sale item ID.
You have the following options at the Pre-Sale screen before tendering:
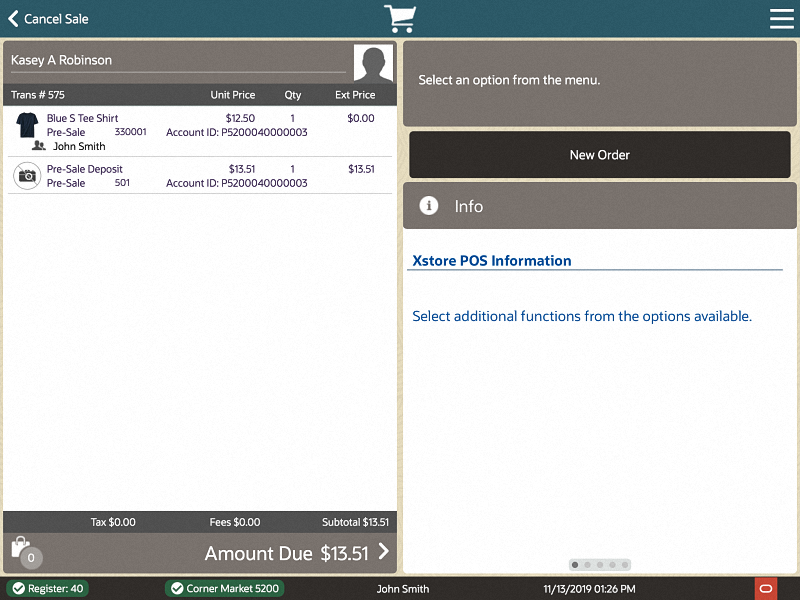
Figure 17-6 Pre-Sale Screen - item Added
You can scan another Pre-Sale item.
You can change an item by:
Adding a discount (See Adding a Discount to a Transaction or Group of Items).
Changing the item price (Changing the Item Price).
Voiding a line item (Voiding an Item).
Voiding a discount (this is only available for items with a discount applied, and uses the same process as voiding an item).
After adding items to the Pre-Sale, select Exit Pre-Sale to exit Pre-Sale mode and return to sale mode before tendering the sale.
When prompted, press OK to accept the deposit amount. Pre-Sale items must be paid in full at setup.
Figure 17-8 Pre-Sale Deposit Amount Prompt
Complete the Sale. See Tendering the Transaction.
|
Note: You cannot over tender a Pre-Sale.You cannot override the deposit amount. Pre-Sale items must be paid in full at setup. Pre-Sale items may only be modified in the Pre-Sale screen. You cannot change the Pre-Sale item quantity. |
From the Sale screen Context Menu, select Extended Transaction.
Click Pre-Sale.
Find the Pre-Sale Account:
If prompted, enter search criteria to find the Pre-Sale Account.
If a customer has been associated with the transaction, Xstore Mobile returns a list of Pre-Sale accounts for the customer.
Select a Pre-Sale account from the list.
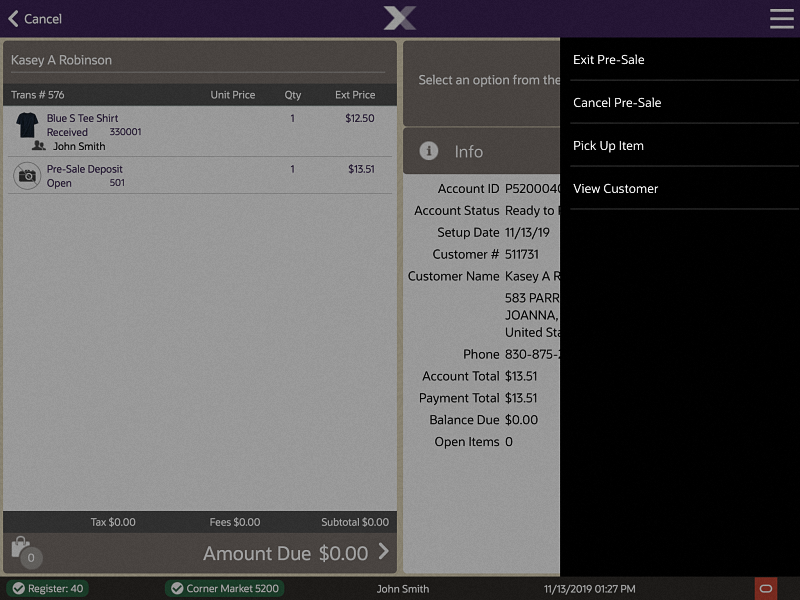
At the Pre-Sale Account screen, select the Context Menu.
Select Pick Up Item.
|
Note: Partial pickups are not permitted for pre-sales. |
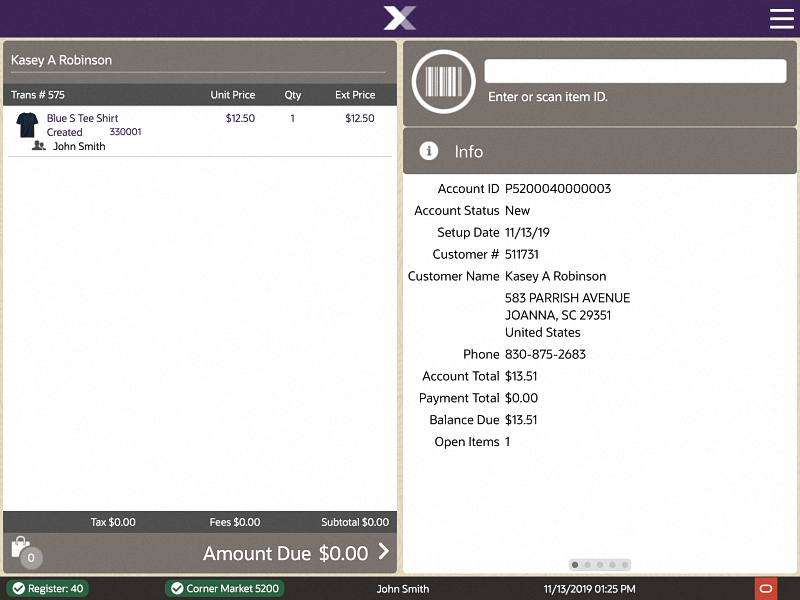
Figure 17-12 Pre-Sale Account Screen - Item Received

The system returns to the Pre-Sale Account screen and all items are marked as Picked Up.
Figure 17-13 Pre-Sale Account Screen - Item Picked Up Example

Complete the transaction. Select Exit Pre-Sale to return to the Sale screen before tendering the sale.
From the Sale screen Context Menu, select Extended Transaction.
At the Extended Transaction menu, select the Pre-Sale option.
Find the Pre-Sale Account:
If prompted, enter search criteria to find the Pre-Sale Account.
If a customer has been associated with the transaction, Xstore Mobile returns a list of Pre-Sale accounts for the customer.
Select a Pre-Sale account from the list.
At the Pre-Sale Account screen, select the Context Menu.
Select Cancel Pre-Sale.
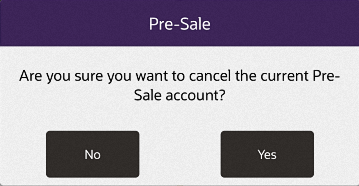
When prompted, select Yes to confirm you want to cancel this Pre-Sale account. Selecting No returns to the Pre-Sale Account screen.
Figure 17-16 Cancel Pre-Sale Account Confirmation Prompt
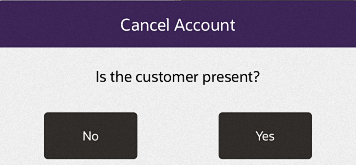
When prompted, select Yes to confirm the customer is present.
Figure 17-17 Customer Is Present Confirmation Prompt
|
Note: If the customer is not present, select No. Pre-Sale Accounts cannot be canceled if the customer is not present. |
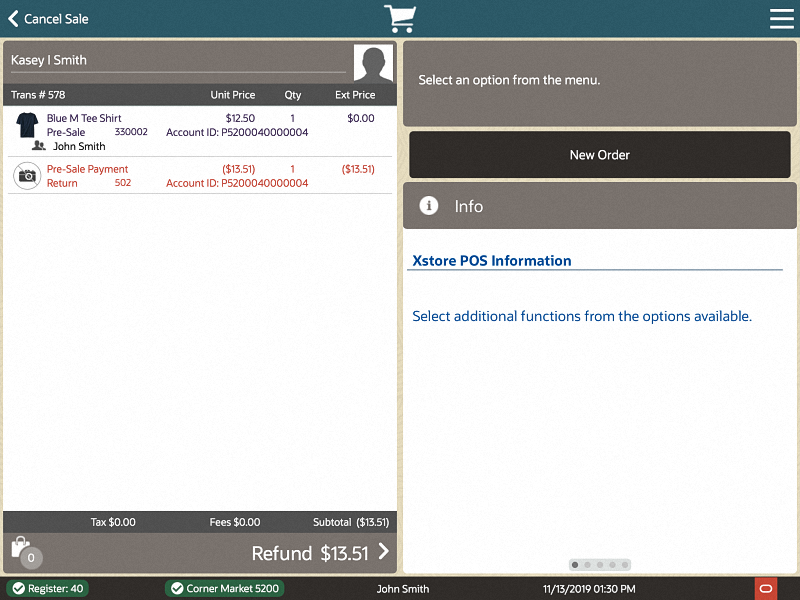
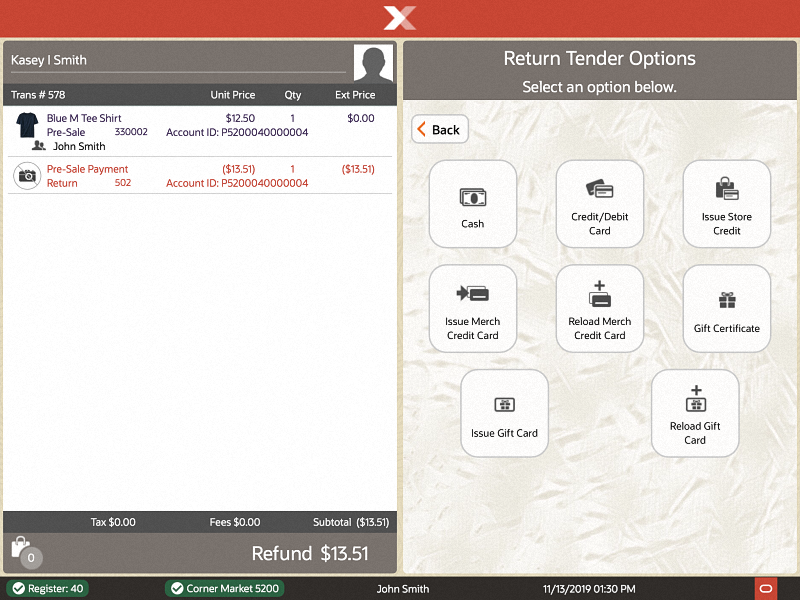
The system returns to Sale mode where you can refund the customer's deposit.
Figure 17-18 Sale Screen - Refund Deposit