Boot Over a 10GbE Network (Oracle Solaris x86 and Linux)
- Obtain the MAC address of the first adapter port by
checking the label of the adapter.
On the adapter, the MAC address on the label is for the first port. The second port's MAC address is the MAC address from the label, plus 1.
- Set up the PXE boot server with the MAC addresses.
- Plug the Ethernet cable into the adapter's port.
- Power on the server.
- Press the F2 key or the Control-E keys to go to the BIOS menu.
- Go to the Boot - Boot Device Priority screen and ensure that the boot order of the network devices is higher than the hard drive.
- Press F10 to save the boot configuration changes and exit BIOS.
The server should reboot after saving the boot configuration.
- On Oracle platforms, press F12 to install the OS from the network.
If the cable is connected to the correct port, you should see the MAC address that you assigned to your PXE server displayed by BIOS. If your platform does not support the F12 key, you might need to boot from the BIOS.
-
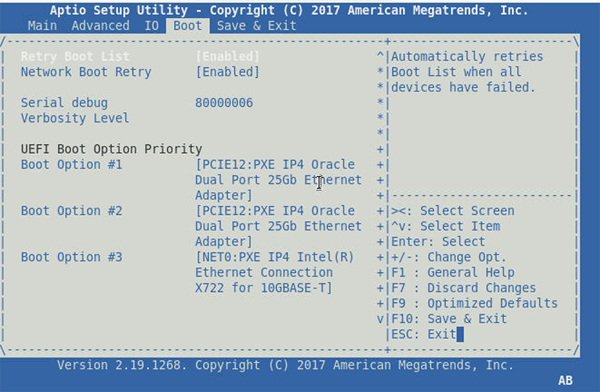
Choose a boot option.
-
Press F10 to save and exit.
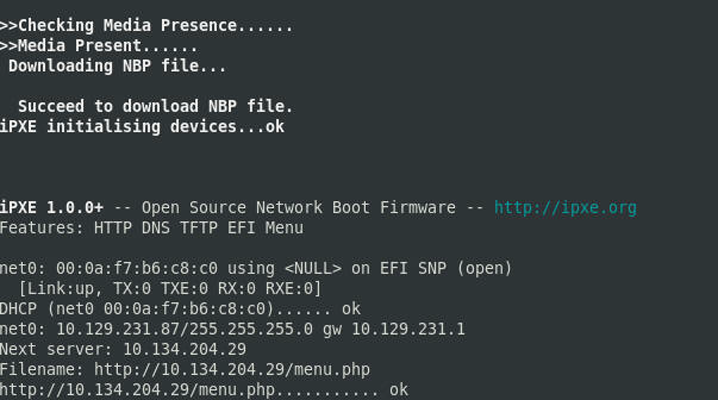
The host will perform a PXE boot from the Oracle Dual Port 25 Gb Ethernet adapter port, DHCP, and the UEFI PXE boot server response. This screen appears.
-
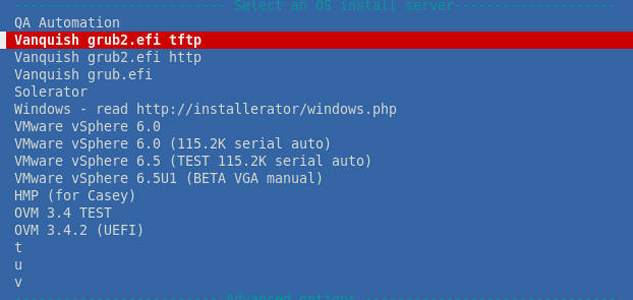
Choose the UEFI PXE boot server using TFTP protocol.
-
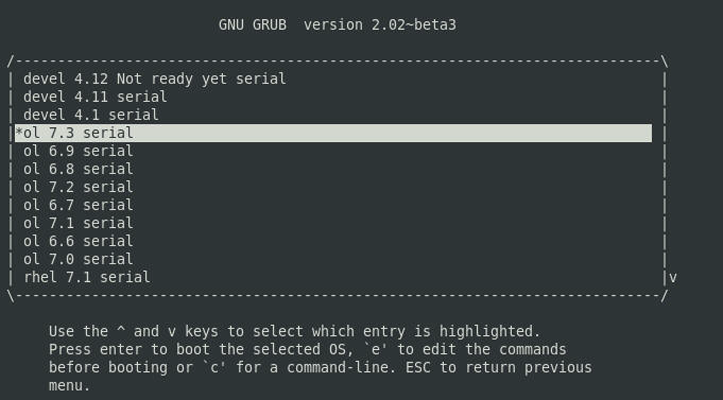
Select Oracle Linux OS from the UEFI PXE boot server for the OS
installation.
-
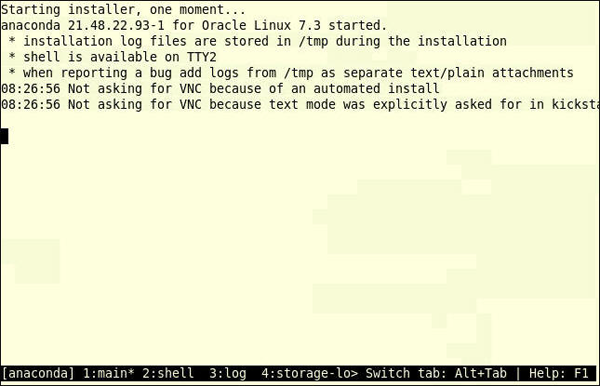
Ensure that the OS installation begins on the Oracle Dual Port 25 Gb Ethernet
adapter.
-
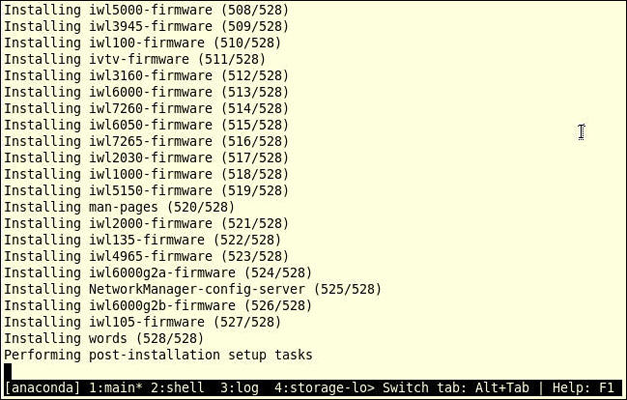
Ensure that the OS installer completes and begins the post-installation
steps.
- After the OS installation completes,
use the BIOS to change the boot device priority to boot from hard disk
to boot up the newly installed OS.
Unless you change the boot device priority, the OS installation process repeats.