Linking accounts to contacts for Salesforce integration
Important: The Salesforce native integration was deprecated February 1, 2021. We recommend using the
For a Salesforce integration, you link accounts to contacts by mapping the Salesforce Account ID field. This ensures that any significant activity by a contact that is linked to an account is then associated with that account.
Before you begin:
- Complete this task after you create Salesforce fields in Oracle Eloqua.
- When performing this task, ensure that you link accounts and contacts using the Salesforce Account ID field. Otherwise, contacts may be mapped to the wrong account, which could affect contact processing.
Note: After processing for the mappings has begun, it cannot be undone (rolled back or unmapped).
To link accounts to contacts:
-
Navigate to Audience
 , then Tools, then click Account Linkage.
The Account Linkage page opens. By default, No Linkage is selected unless you've already linked a contact field to an account field.
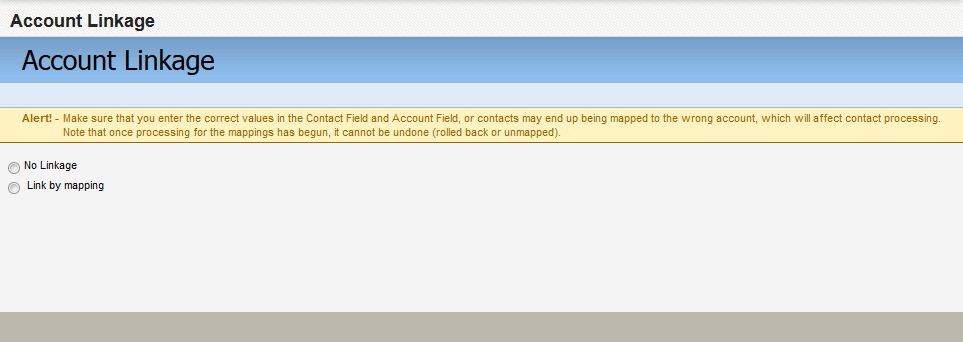
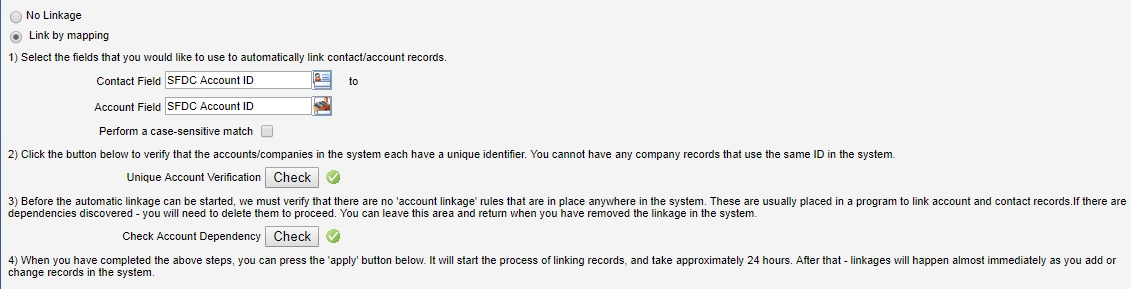
- Select Link by mapping.
- Select the SFDC Account ID as the fields you want to use to automatically link contact and account records by.
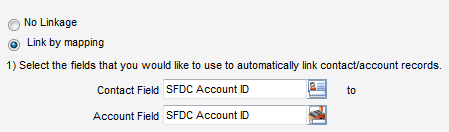
- Select the Perform a case-sensitive match check box since Salesforce uses case-sensitive matches.
- Verify that the fields you've selected for the linkage pass the verification tests in step 2 and 3. A green check mark
 signifies a successful validation.
 - Unique Account Verification: This process checks to ensure that all accounts have a unique value for the field you've selected. If verification fails, click Show to see a list of duplicates, then make any adjustments as needed.
- Check Account Dependency:
- When both checks are successful, click Apply to begin processing the linkage between the contact and account fields you selected.
Before continuing, the page should look like this:
After you finish: Continue to Configuring external calls to send data to Salesforce.