Managing roles
A role is a set of predefined rights that you can assign to a group. Each feature set has a different set of available rights.
A role can be assigned directly to a user, but assigning roles to groups is recommended because it simplifies the managing and troubleshooting of rights and permissions. For example, if a user is directly assigned the administrator role for analytics, you might assume that they can view and manage all collections. However, the user cannot access a specific collection if permissions to access it are assigned to a group to which the user is not a member.
Oracle Infinity comes provisioned with a set of default roles to get you started. If you have the Administrator role for Settings or you are in the Super Administrator group, you can create, modify, or delete the other roles at any time.
Note: The Administrator role has rights to all feature functions ("all access") and cannot be modified or deleted.
In this topic, you'll learn about:
Creating a role
When you create a role, you need to enter a unique name and select rights for one of the following features.
| Feature | Available options |
|---|---|
| Action Center |
|
| Actions |
|
| Analytics |
|
| Behaviors |
|
| Connections |
|
| Data Collection |
|
| Infinity Data Connector |
|
| Infinity Platform |
|
| Settings |
|
| Streams |
|
Note: Some options are linked. For example, if you select Manage Parameters, View Parameters is automatically selected. If available, Select all populates all available check boxes.
To create a role:
-
Click
 at the top of the page.
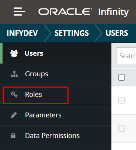
- Click Settings.
- From the side bar, select Roles.
- Click Create Role.
The Create Role dialog is displayed. - From the Create role for list, select features such as Settings.
The Create Role dialog expands to show additional options.
- Enter a name for the role.
- Select rights for the role.
- Click Save.


Note: A role must have a name and at least one right before you can save it.
Modifying or deleting a role
If you have the Administrator role or have been granted Manage Users rights, you can modify or delete a role.
Important: If you delete a role, make sure that you do not leave its users without another role.
To modify or delete a role:
-
Click
at the top of the page. - Click Settings.
- From the side bar, select Roles.

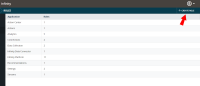
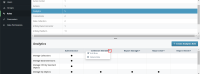
- Click the feature associated with the role, such as Analytics.
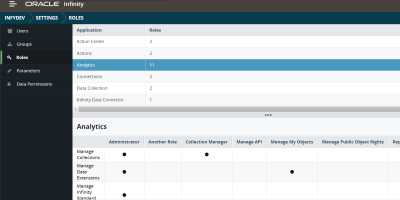
The list of roles associated with the feature are displayed. - Click the down arrow next to a role name.
- Click Delete Role to remove the role or click Edit Role to modify it.
- If you modify a role's name or selected rights, click Save.

