Embed Insight Dashboards As Custom Web Components In External Applications
In addition to viewing dashboards within Oracle Integration, you can embed Insight custom web components in other external applications to render real-time Insight dashboards at runtime.
Note:
Embedding Insight dashboards as custom web components in other applications has been deprecated and will no longer be supported in future releases. Instead, embed dashboards using the other supported methods:Insight custom web components, built using Oracle JET Composite Component Architecture (CCA), can be bundled with native web applications and embedded as custom HTML elements.
One of the key advantages of this approach is that there is no need for Single Sign-On (SSO) synchronization between Oracle Integration and the web application. Custom web components use an OAuth token to access Insight dashboards.
To embed Insight dashboards in other applications as custom web components:
- Contact Oracle Support for the
oic_ui_components.zipfile containing the Insight custom web components. Unzip the file tooic-host/ic/homeor a directory on your local drive. -
Create a trusted client application that represents the external application in OIC-IDCS to generate an OAuth token. Copy the
client_id,client_secret,scope, andgrant_type.For more information, see Configure a Trusted Application to Authenticate with OAuth (replacing the Oracle Integration instance with the external application) in REST API for Oracle Integration.
-
In the external application, make a REST call to the IDCS API to fetch the OAuth token by passing the
client_id,client_secret,scope, andgrant_type. Make sure thatclient_idandclient_secretare passed securely to the IDCS REST API.For more information, see Generate Access Token and Other OAuth Runtime Tokens to Access the Resource in REST API for Oracle Identity Cloud Service.
-
Create the JavaScript (
*.js) file that describes the custom web components.For example:
let VERSION = '1.0';
let MINIFIED = true;
let RESOURCE_URL = 'OIC_URL/ic/home';

require([RESOURCE_URL + '/cca-config.js'], function (config) {
    config.configPaths(RESOURCE_URL + '/resources/js', VERSION, MINIFIED);

    require(['integration.cca, 'manifest-integration.suite.home'],
        function (app) {
            let ko = app.libko();
            app.start(true, this, document.body);
        });
});
where:
OIC_URLis the Oracle Integration host URL (where Oracle Integration is running).RESOURCE_URLis a URL in the formatOIC_URL/ic/homeor the location where you have saved the Insight custom web components (contact Oracle Support for theoic_ui_components.zipfile).VERSIONis the custom web component library version. By default, this value is1.0.MINIFIEDis a Boolean value:trueloads the minified version of the custom web component libraryfalseloads the debug version of the custom web component library
By default, this value is
true.
- Edit the HTML for the page where you want to embed the dashboards as
follows:
- Include the paths to the
*.cssand*.jsfiles. - Enter the parameter values that describe the dashboards you want to embed.
For example:
<html>
<head>
    <link rel="stylesheet" href="OIC_URL/resources/js/node_modules/@oracle/oraclejet/dist/css/alta/oj-alta-min.css">
    <script data-main="main.js"" src=" OIC_URL/resources/js/node_modules/requirejs/require.js"></script>
</head>

<body>
    <oj-oic-insight-dashboard console="CONSOLE_ID" oicurl="OIC_URL" token="TOKEN" OTHER_PARAMS>
    </oj-oic-insight-dashboard>
</body>
</html>
where:
CONSOLE_IDis the ID of the associated console for the dashboard(s) you want to embed, as specified in the console manifest.OIC_URLis the Oracle Integration host URL (where Oracle Integration is running).TOKENis the OAuth access token.OTHER_PARAMSare described below.
- Include the paths to the
- Host the application to render the Insight dashboards on the HTML page where they are defined.
Refer to the following sections for the parameters specific to each dashboard:
Preconfigured and Custom Dashboards
The following parameters can be used to describe the preconfigured and custom dashboards to be embedded in another application and the transactions to be shown in those dashboards.
<oj-oic-insight-dashboard console="InsightAPIM_giqndguH" oicurl="OIC_URL" token="TOKEN" views="Milestone_Summary_Diagram"> </oj-oic-insight-dashboard>| Parameter | Description | Values/Syntax | Example |
|---|---|---|---|
console |
Required. The ID of the associated console for the dashboard(s), as specified in the console manifest. | "console-id" |
console="InsightAPIM_giqndguH" |
views |
Required. A comma-separated list of dashboard IDs, as specified in the console manifest. | "dashboard-id1,dashboard-id2,…
,dashboard-idn" |
views="PieChart123,milestone_History_Bar" |
header |
Optional. When set to Default: |
true |
false |
header=true |
height |
Optional. The desired height of the dashboards, in
pixels. Minimum value (default): 350 |
"integer" |
height="350" |
layout |
Optional. A comma-separated list of the number of dashboards to be rendered for each row. Default: |
"number-dashboards-in-1st-row,number-dashboards-in-2nd
                                        row,
…,number-dashboards-in-nth-row" |
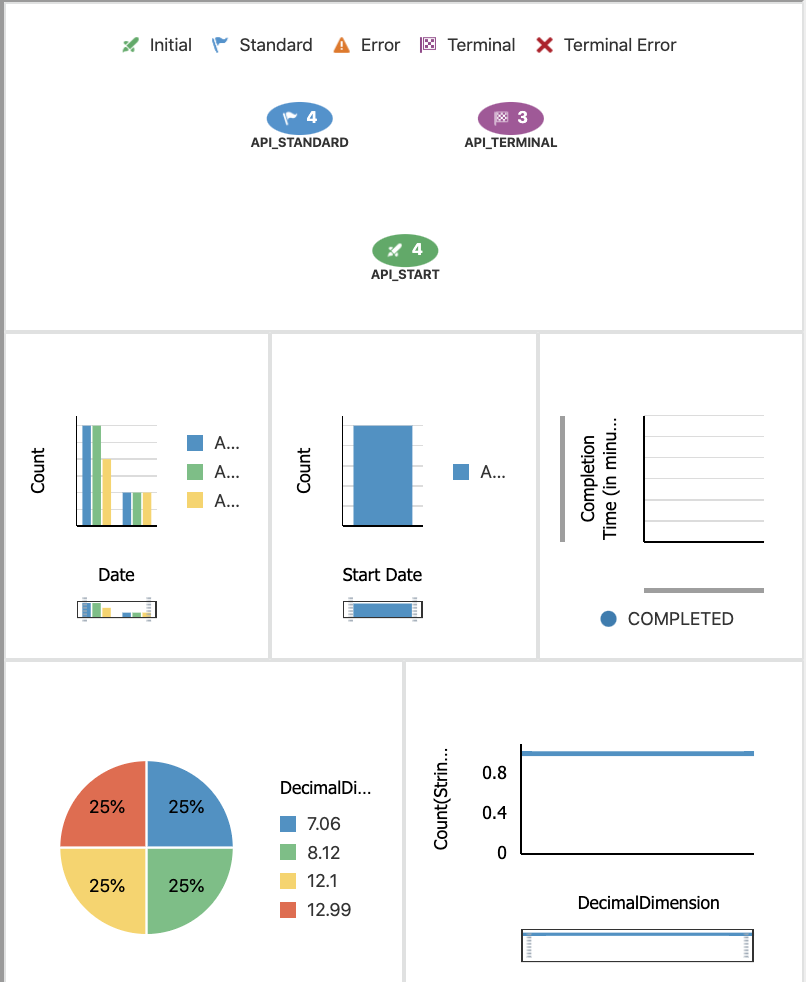
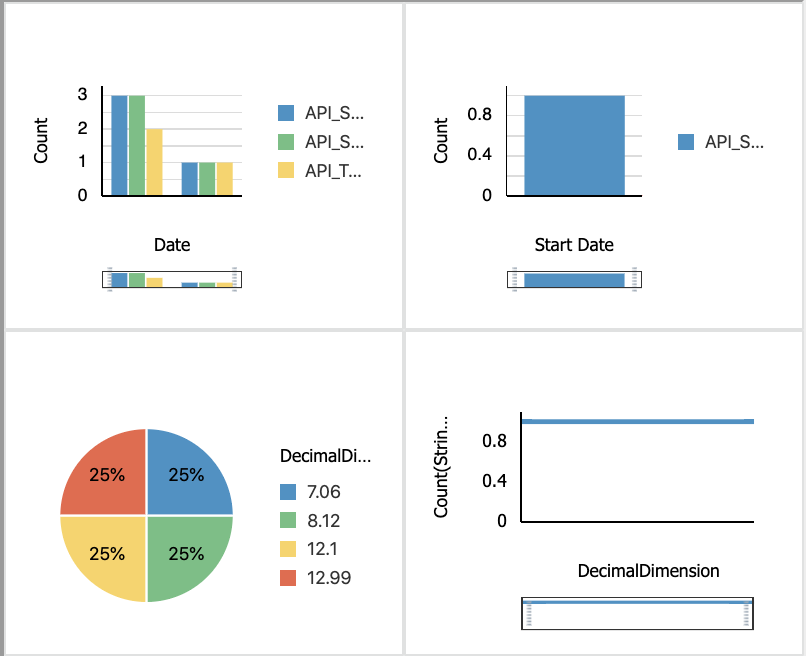
layout="4" displays 4 dashboards in
one row:
 |
timezone |
Optional. Time zone offset from Greenwich Mean Time (GMT) to be shown with the dashboards. Default: Host computer time zone. |
"GMT+|-xx:xx" |
timezone="GMT+05:30" |
| Filter Parameter | Description | Values/Syntax | Example |
|---|---|---|---|
fromStartDate
|
Optional. Dashboards show business transactions started during the specified date range. Valid only if |
filters:
                                        {fromStartDate="yyyy-MM-dd
                                    HH:mm:ss",toStartDate="yyyy-MM-dd
HH:mm:ss"} |
|
startTimeWindow |
Optional. Dashboards show business transactions
started within the last Default: Valid only if |
filters:
{startTimeWindow="integer"} |
filters:
{startTimeWindow="4"} |
fromEndDate
|
Optional. Dashboards show business transactions
completed during the range between fromEndDate and
toEndDate. Specify the start and end dates of
the range.
Valid only if
|
filters:
                                        {fromEndDate="yyyy-MM-dd
                                    HH:mm:ss",toEndDate="yyyy-MM-dd
HH:mm:ss"} |
|
endTimeWindow |
Optional. Dashboards show business transactions ended
within the last Valid only if |
filters:
{endTimeWindow="integer"} |
filters: {endTimeWindow="6"} |
| Duration:
Time Unit: InstExecDuration |
Optional. Dashboards show business transactions that completed in the specified length of time. Specify |
filters:
                                        {MinInstExecDuration="integer",MaxInstExecDuration="integer",InstExecDuration="startTimeUnit,endTimeUnit"}
where valid |
filters those transactions that completed within the duration of 1 minute to 2 hours |
status |
Optional. Dashboards show business transactions that are in the specified status(es) at the time the dashboard is rendered. Specify statuses as a comma-separated list of values. Default: |
where valid
|
filters:
{status="RUNNING,COMPLETED,RECOVERABLE"} |
anyMilestones
|
Optional. Dashboards show business transactions that
have passed any of the milestones specified by
Specify milestones as a comma-separated list of milestone IDs, as specified in the console manifest. Default: |
filters:
                                        {parameter="milestone-id1,milestone-id2,
…, milestone-idn" | "ALL"} |
|
For indicators of type string:
|
Applies only to custom dashboards.
Optional. Dashboards show business transactions where the specified indicator has the specifed value. |
filters:
                                    {indicator-id="value"}
where |
filters: {City="Bangalore"}In this example, the indicator is a dimension with
ID |
For indicators of type decimal,
integer, or float:
|
Applies only to custom dashboards.
Optional. Dashboards show business transactions where the specified indicator is in the specified range. |
filters:
{
where |
filters:
                                    {minOrderAmount="11",maxOrderAmount="11.4"}
In this example, the indicator is a measure with ID
|
For indicators of type date:
|
Applies only to custom dashboards.
Optional. Dashboards show business transactions where the value of the specified indicator is in the specified date range. |
filters:
                                        {fromindicator-id="yyyy-MM-dd
                                    HH:mm:ss",toindicator-id="yyyy-MM-dd
HH:mm:ss"} |
filters: {fromOrderDate="2020-08-22
                                    16:19:37",toOrderDate="2020-08-17 16:19:37"}
In this example, the indicator is a measure with ID
|
Business Transactions Dashboard
The following parameters can be used to describe the business transactions to include in the dashboard to be embedded in another application.
Example:
<oj-oic-insight-transactions console="InsightAPIM_giqndguH" oicurl="OIC_URL"
token="TOKEN"> </oj-oic-insight-transactions>| Parameter | Description | Values/Syntax | Example |
|---|---|---|---|
console |
Required. The ID of the associated console for the business transactions, as specified in the console manifest. | "console-id" |
console="InsightAPIM_giqndguH" |
header |
Optional. When set to Default: |
true |
false |
header=true |
| Filter parameters | See filter parameters for Preconfigured and Custom Dashboards. | ||
Business Transaction Details Dashboard
The following parameters can be used to describe the business transaction details to be embedded in another application.
<oj-oic-insight-transaction-dashboard console="InsightAPIM_giqndguH" oicurl="OIC_URL" token="TOKEN" type="details" transaction-id="1234"> </oj-oic-insight-transaction-dashboard>| Parameter | Description | Values/Syntax | Example |
|---|---|---|---|
console |
Required. The ID of the associated console for the business transaction, as specified in the console manifest. | "console-id" |
console="InsightAPIM_giqndguH" |
transaction-id |
Required. The ID of the business transaction.
You can find this ID in the row for the business transaction in the Business Transactions Dashboard. |
"transaction-id" |
transaction-id="1224" |
type |
Required. For a business Business Transaction
Details dashboard, set this value to
"details" |
"details" |
type="details" |
header |
Optional. When set to
Default: Example When  |
true |
false |
header=true |
Progress Tracker Dashboard
The following parameters can be used to describe the progress tracker to be embedded in another application.
<oj-oic-insight-transaction-dashboard console="InsightAPIM_giqndguH" oicurl="OIC_URL" token="TOKEN" type="progress" transaction-id="1234"> </oj-oic-insight-transaction-dashboard>| Parameter | Description | Values/Syntax | Example |
|---|---|---|---|
console |
Required. The ID of the associated console for the business transaction, as specified in the console manifest. | "console-id" |
console="InsightAPIM_giqndguH" |
transaction-id |
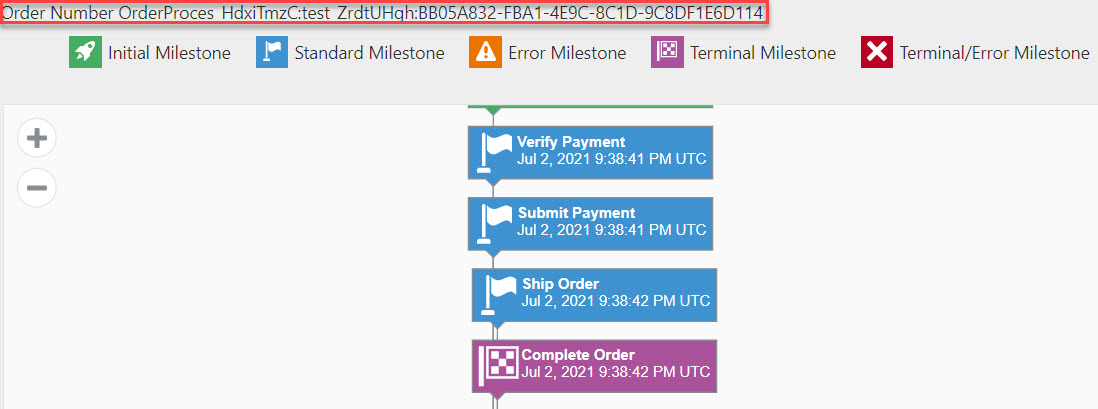
Required. The ID of the business transaction.
You can find this ID in the row for the business transaction in the Business Transactions Dashboard. |
"transaction-id" |
transaction-id="1224" |
type |
Required. For a progress tracker dashboard,
set this value to "progress" |
"progress" |
type="progress" |
header |
Optional. When set to Default: Example When |
true |
false |
header=true |
showid |
Optional. The ID of an indicator to teplace the default business
transaction ID in the header with the indicator value. Exposed
only if Example When |
"indicator-id" |
showId="NewPlanType"The value of the |
animate |
Optional. Displays the progress tracker as a live animation that overlays each blue segment with a green segment to visualize passed milestones. Specify a value to control the speed of the overlay animation in milliseconds. Default: |
"integer" |
animate="500" |
