Deploying
an Application to Oracle Java Cloud Service by Using the WebLogic Server
Administration Console
Before You Begin
This tutorial shows you how to use the Oracle WebLogic Server
Administration Console to deploy an application to an Oracle
Java Cloud Service instance. You would need about 10 minutes to
complete this tutorial.
Background
There are several methods to deploy applications to Oracle Java
Cloud Service instances: the WebLogic Server Administration
Console, Oracle Fusion Middleware Control, the WebLogic
Scripting Tool (WLST), and IDEs such as Oracle Developer Cloud
Service. The focus of this tutorial is the WebLogic Server
Administration Console. Separate tutorials are available for the
other deployment methods.
What Do You Need?
An Oracle Java Cloud Service instance, with the load
balancer enabled.
Administrator credentials for the WebLogic Server
Administration Console of your Java Cloud Service instance.
Note: These are the credentials that you had
specified while creating the instance. In the case of a
quickstart instance, you can find the credentials in the
credentials zip bundle that you downloaded while creating the
instance.
From the menu that's displayed, select Open
WebLogic Server Console.
The sign-in page of the WebLogic Server Administration Console
is displayed.
If you see the untrusted security certificate
warning, add the certificate to your browser, as an exception,
and continue. The text of this warning and the steps to
proceed depend on your browser. In Firefox, for example, you
can proceed by clicking Advanced and then Add
Exception.
Enter your administrator credentials.
Note: These are the credentials that you had
specified while creating the instance. In the case of a
quickstart instance, you can find the credentials in the
credentials zip bundle that you downloaded while creating the
instance.
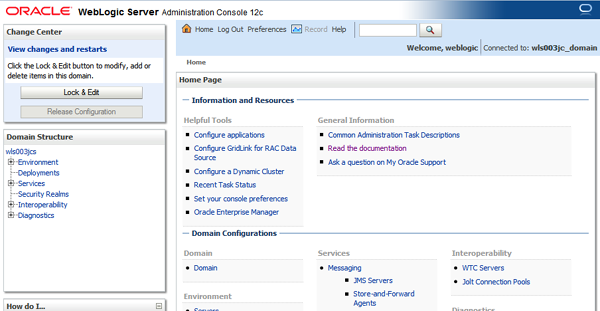
The WebLogic Server Administration Console is displayed.
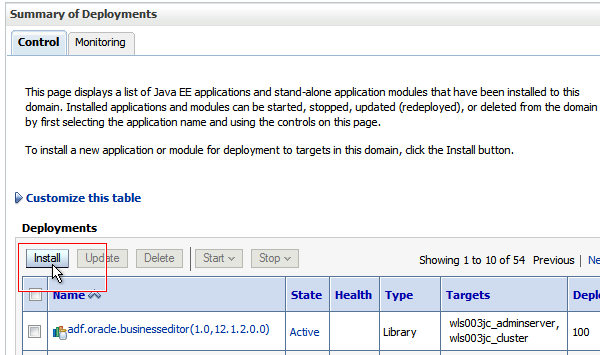
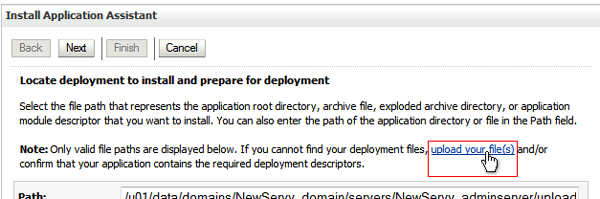
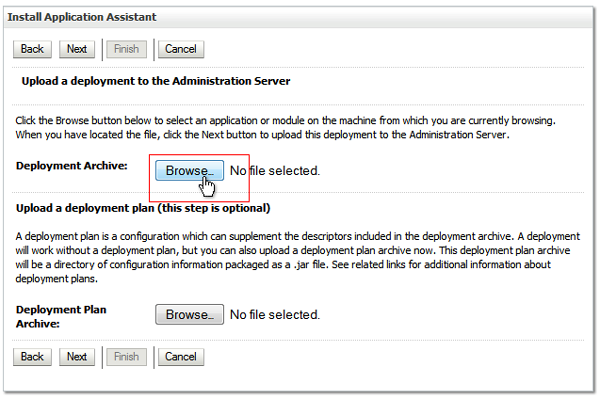
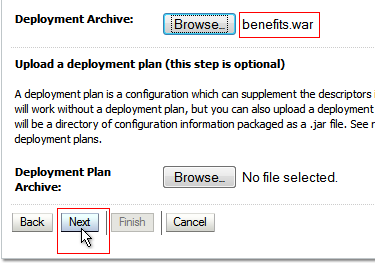
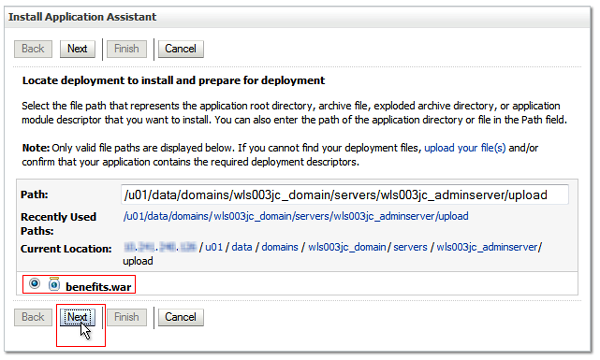
On the Install Application Assistant page, click Browse
near the Deployment Archive field, and
select the benefits.war application that you
downloaded earlier.
Description
of the illustration install_app_asst.png
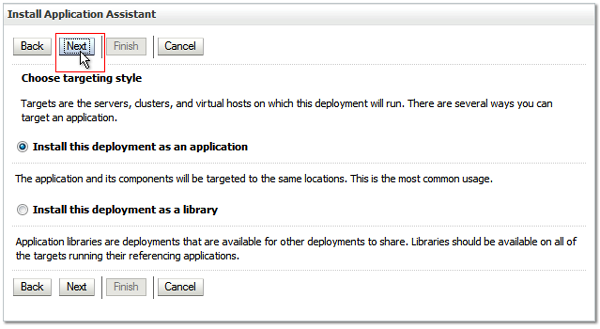
Select the servers or clusters to which you want to deploy
the application. For this tutorial, we'll deploy the
application to all the servers in the cluster. So click All
servers in the cluster, and then click Next.
Note that the the cluster name (wls003jc_cluster
in this example) would be the first eight characters of your
service instance's name followed by _cluster.
Description
of the illustration deploy_to_all_servers_in_cluster.png
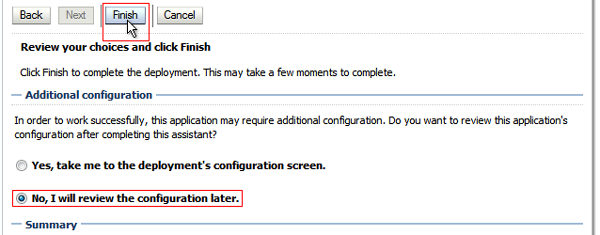
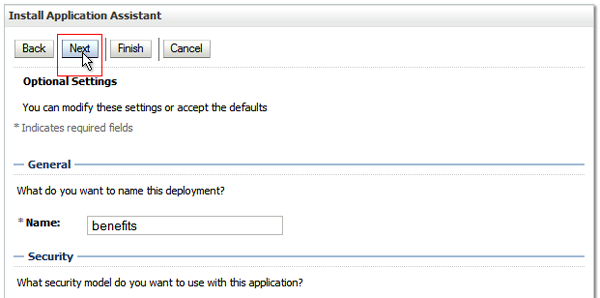
On the Optional Settings page, click Next.
The default settings are adequate for this tutorial.
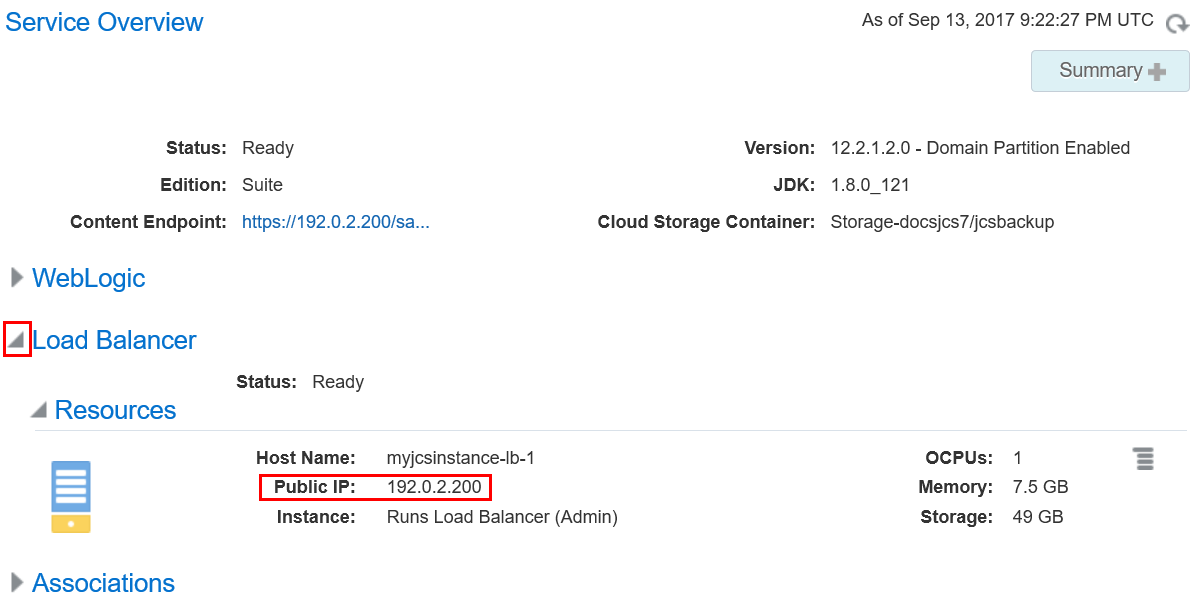
On the details page of the service instance, do one of the
following:
If a Load Balancer section exists,
then expand it, and note the public IP Address of the
load balancer node. In this example, it is 192.0.2.200.
Description
of the illustration ip_lb.png
The URL for the application would be in the format https://loadBalancer_publicIP/contextRoot
In our example, the URL would be https://192.0.2.200/benefits
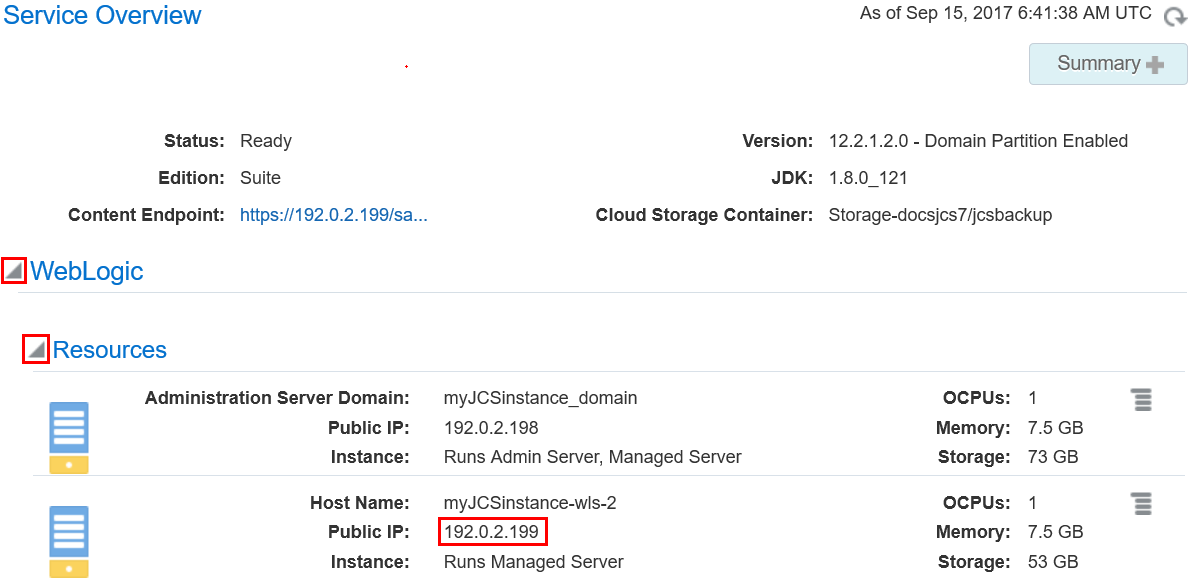
If you don't see a Load Balancer
section, then expand the WebLogic
section and the Resources subsection,
and note the public IP Address of one of the nodes shown
there.
Description
of the illustration ip_ms.png
The URL for the application would be in the format https://managedServer_publicIP/contextRoot
Example: https://192.0.2.199/benefits
Enter the URL that you identified in the previous step in
a browser.
If you see the untrusted security certificate
warning, add the certificate to your browser, as an
exception, and continue. The text of this warning and the
steps to proceed depend on your browser. In Firefox, for
example, you can proceed by clicking Advanced
and then Add Exception.
 Deploying
an Application to Oracle Java Cloud Service by Using the WebLogic Server
Administration Console
Deploying
an Application to Oracle Java Cloud Service by Using the WebLogic Server
Administration Console Before You Begin
 Deploy
Your Application
Deploy
Your Application near the upper left corner of the page, and select Java.
 .
.


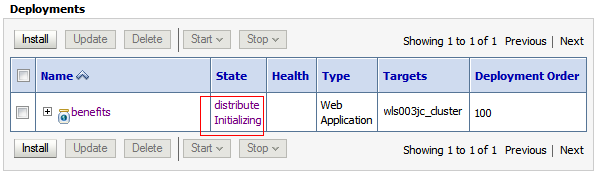
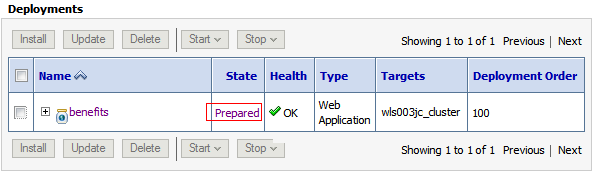
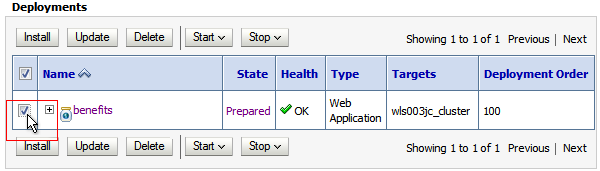
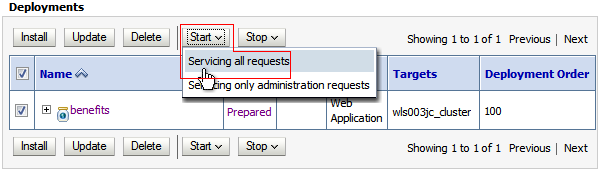
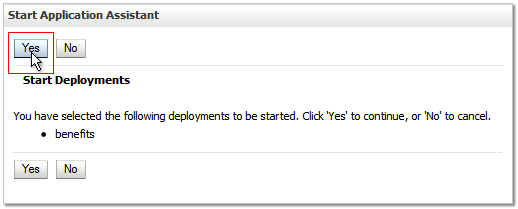
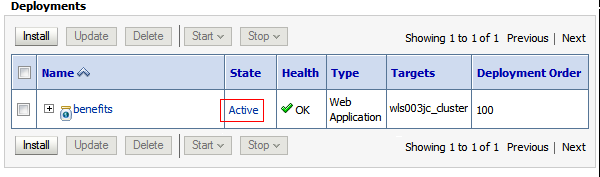
 Start
the Application
Start
the Application
 Test
Access to the Application
Test
Access to the Application