Use Descriptive Flexfields
You can add descriptive flexfields (DFF) to a Table or Form-over-Table layout during layout creation. You can also add descriptive flexfields (DFF) to existing forms and tables using the Form Field Manager or Table Column Manager.
Create a Layout Using Descriptive Flexfields
Top-level polymorphic business objects as well as child business objects with a "one-to-many" relationship with their parent can also be added to the layout as you would any other business object. See Create a Table Layout in an Excel Workbook and Create a Form-over-Table Layout in an Excel Workbook.
To determine the relationship of a child business object to its parent, check its Cardinality setting. See Check the Cardinality of Child Polymorphic Business Objects.
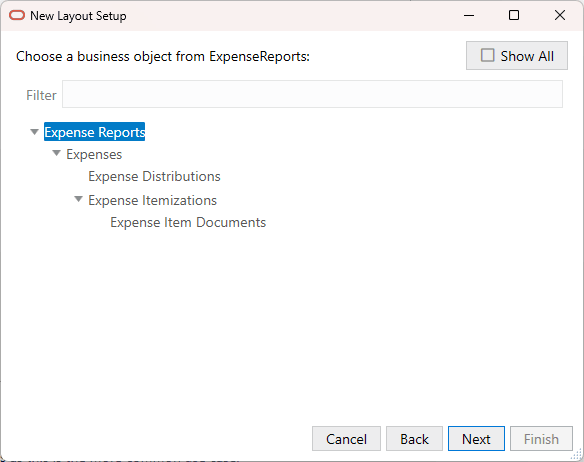
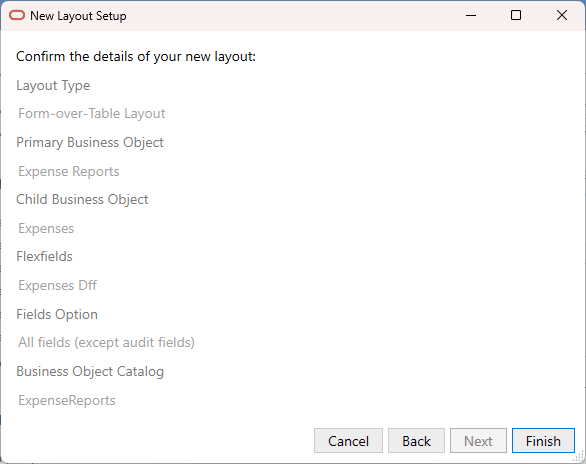
To create a layout with DFFs:
In this example, the add-in creates a Form-over-Table layout with Expense Reports in the form and Expenses in the table as shown in this image:
The add-in adds the Expense Type flexfields from Expenses DFF to the form (bordered in red). The flexfields include a "discriminator" field ("Expense Type"), a global segment ("Merchant Name"), and five context-sensitive segments ("Flight Class", "Flight Type", "Check-in Date", "Checkout Date", and "Attendee Count"). The context-sensitive segments are dependent on the value of the Expense Type field (in the first row, "Airfare").
Note:
Context-sensitive columns for all possible discriminator values are included in the table. However, only those cells in a row that are relevant to the value in the discriminator field are editable. All other context-sensitive cells are read-only (grayed out).If the required flexfields do not appear in the layout by default, you can add them to your form or table from the Layout Designer. See Add Descriptive Flexfields to a Layout.
You can also show or hide context-sensitive segments based on the discriminator value. See Show or Hide Context-Sensitive Columns in a Table Layout.
Add Descriptive Flexfields to a Layout
Note:
For polymorphic business objects in a one-to-many relationship, refer to Create a Layout Using Descriptive Flexfields instead.To add DFFs to a layout:
- Open the worksheet with the layout that you want to modify.
- Click either the Form or Columns tab in the Layout Designer as needed.
- Click the Manage Form Fields or Manage Columns icon (
 ) to add your DFF.
Available DFFs are identified by the title of the discriminator field (in this case, "Region") and appear at the bottom of the list of available fields. The field ID is the discriminator field ID ("__FLEX_Context").
- Select the DFF from the Available Fields list.
You can also change the order of fields in the form or table by dragging and dropping fields in the Selected Fields list.
- Click Done.
The associated segments appear in the layout in the following order: global segments, the discriminator, and context-sensitive segments.
Note:
Context-sensitive columns for all possible discriminator values are included in the table. However, only those cells in a row that are relevant to the value in the discriminator field are editable. All other context-sensitive cells are read-only (grayed out).


