Creating Alerts in Reconciliation Compliance
You can create an alert on a reconciliation or transaction in Reconciliation Compliance.
The process of generating alerts, assigning them to the appropriate users, sending notifications, and escalating alerts can be automated. See the Create Alert rule in About Types of Format Rules in Setting Up and Configuring Account Reconciliation.
To create an alert:
- Use one of the following methods:
-
Navigate to the artifact (reconciliation or alert), open and then click Alerts.
-
Raise a general alert from the Alerts List, which is only associated with a period.
-
- Click New (+).
- Enter a unique Name for the alert, for example, Data Issue.
- From Type, select an
Alert Type from the list of administrator-defined
Alert Types, for example, Basic Alert.
Note:
When you select an Alert Type, your alert will inherit any instructions, workflow users, attributes, questions, and viewers defined in that Alert Type.
- Optional: From Period, select a period from the list of Period values. If the alert is created from an object that already has a Period associated with it, this value cannot be changed.
- From the Priority list, select a priority for the alert: High, Medium, or Low.
- Optional: In Restriction, leave the default (None) or choose from the drop down list.
-
The Owner is the name of the user creating the Alert.
-
The Assignee is the person responsible for resolving the alert. This may be a user, team, or member attribute. The default assignee is inherited from the Alert Type. You must specify an Assignee.
- Optional: In Notification
Assignee, click the Member Selector and select the user who needs to take some
action for the Assignee to resolve the alert. The user can be a
standard user or a member attribute of type User. An email notification is sent to this user
when the alert is generated.
If a member attribute is selected, the display name shows the group attribute with the member attribute name in brackets.
-
The Approver is inherited from the Alert Type.
- For End Date, specify a Due Date for the alert. This is usually populated based on the object the alert was created on. You must set an End Date.
- For Description, enter a description for the alert, for example "Data has been corrupted".
- Optional: To add references to support
the alert description:
- Click Attach a File, select and attach a file, and click OK.
- Click Attach a Link,
enter a URL name, then enter the URL, for example:
Oracle,
http://www.oracle.comand click OK.
- To create the alert, click
OK.
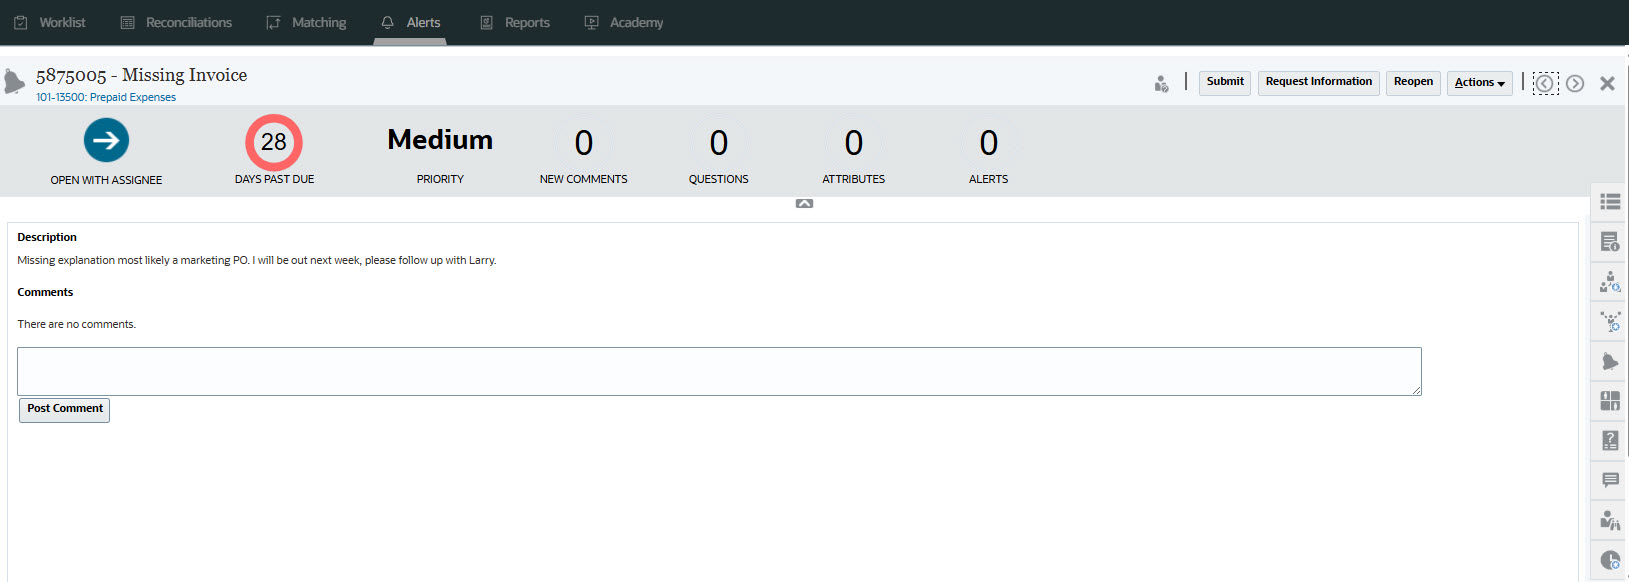
When you click OK in the Create Alert dialog, the Alert Actions dialog will open in "Open with Owner" status.
The Owner can then run Submit to change it to "Open with Assignee" status, or Close (X) the dialog.

Notice that the Alert has an assigned ID next to the Alert Name. The time left or past due is displayed and Priority level that was assigned along with any further information about this alert.
For information about updating an alert, see Updating Alerts
Note:
Any change to the alert Workflow, Viewers, or Notification Priority will retrigger the sending of notifications. For example, if the Store that drives the Assignee selection changes, a notification is sent to the new Assignee.