Exporting Oracle Unity segments into Oracle Eloqua segments
Exporting Oracle Unity segments into Oracle Eloqua segments requires the following tasks:
- Create an Eloqua destination
- Exporting Oracle Unity segments into Oracle Eloqua segments
- After setting up the export of data, you can review the exported data in the Eloqua platform.
Create an Eloqua destination
You will first need to follow the steps for Creating an Oracle Eloqua destination.
Create an Oracle Unity segment delivery
After creating the destination, you will need to create the segment delivery that will export the Oracle Unity segment into the selected Oracle Eloqua.
To create the segment delivery:
-
Click the Oracle icon
 in the bottom-right corner to open the navigation menu.
- Select Segment Deliveries.
- In the top-right corner, click Create segment delivery.
The Create segment delivery page is displayed.
Step 1: Define segment delivery details
The segment delivery details section allows you to define how the segment delivery will display in Oracle Unity.
To define the segment delivery details:
- Enter the details for the segment delivery.
- Name: Enter a name. The name must be 1 or more characters, up to a maximum of 30. Use only letters (a–z and A–Z), numbers (0–9), underscores (_), hyphens (-), and spaces. The first character cannot be a space.
-
Campaign ID: The unique system identifier for your campaign. You can't change this value after you create the campaign.
- If the campaign name uses English characters, the Campaign ID field is auto-populated from the campaign name you enter. You can change this value before the campaign is created.
- If the campaign name uses characters from another language supported in the language settings, the Campaign ID field will be left blank. You will need to enter a name using English characters.
- Description: Enter a description. This field is optional, but it is highly recommended to add descriptions for any entity created. This helps all other users get additional context when using and navigating Oracle Unity. The description can have a maximum of 512 characters with no restrictions on characters used. You can use characters from all languages supported in the language settings.
- Click Continue.

Step 2: Select destination
You will select the Eloqua destination you created earlier.
To select the destination:
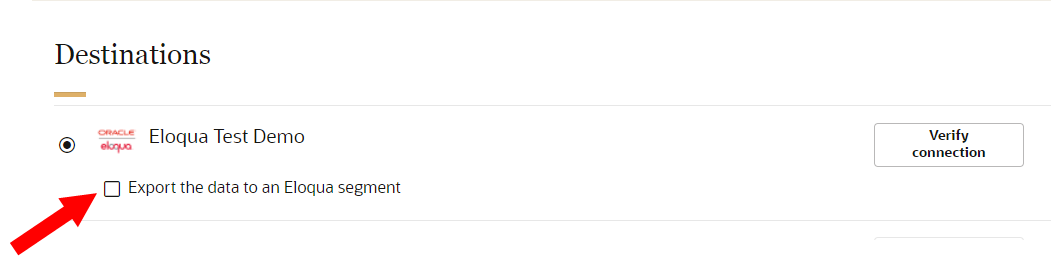
- Select the Eloqua destination.
- Click the checkbox for Export the data to an Eloqua segment.
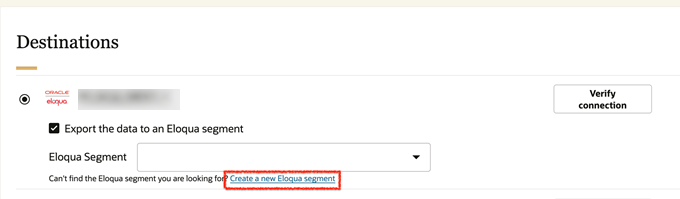
- You have two options for selecting the Eloqua segment.
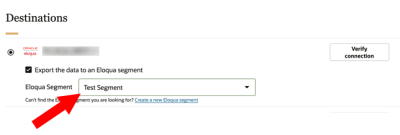
- In the drop-down list for Eloqua Segment, select the segment that will receive the data.
- Click Create a new Eloqua segment. Then, in the New Eloqua Segment dialog, enter the new segment name and click Create.

- Click Verify connection to ensure that Oracle Unity can access the destination.
- After verifying the connection, click Continue.

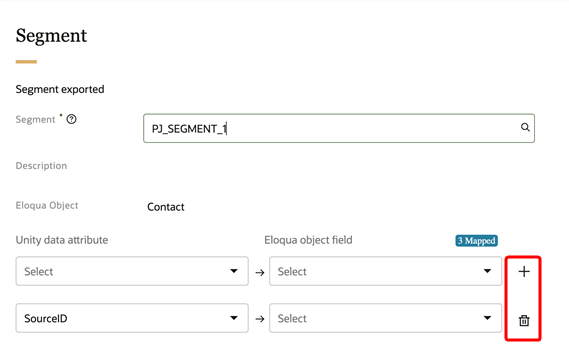
Step 3: Select segment
You will select the segment you want to export to Eloqua. You will also have to review the field mappings between Oracle Unity attributes and Eloqua contact fields. When the segment delivery job runs, the mapped attributes and contact fields will be included in the output of the job and exported into the Eloqua segment.
To select a segment:
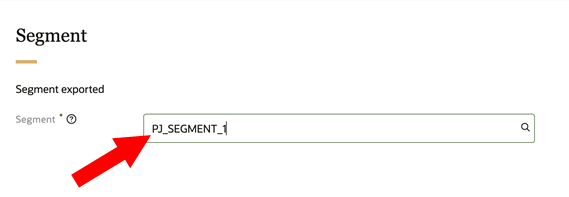
- Use the Segment field to select or search for the Oracle Unity segment. The field mappings between Oracle Unity attributes and Eloqua contact fields will display.
- Review the field mappings and make any necessary updates so that the data you want exported is mapped. Click Add
 to create a new mapping and Delete
  to remove a mapping.
 - When done, click Continue.
Step 4: Schedule and notify
You will need to configure the schedule and notification settings for the segment delivery.
Please note the following for schedule settings:
- The schedule settings of the segment delivery can also be configured within Eloqua.
- When viewing the Feeder instance with the linked Oracle Unity segment delivery, you can view the published and draft versions of the schedule settings.
- After making changes to the schedule settings, make sure to follow the steps for Publishing changes.
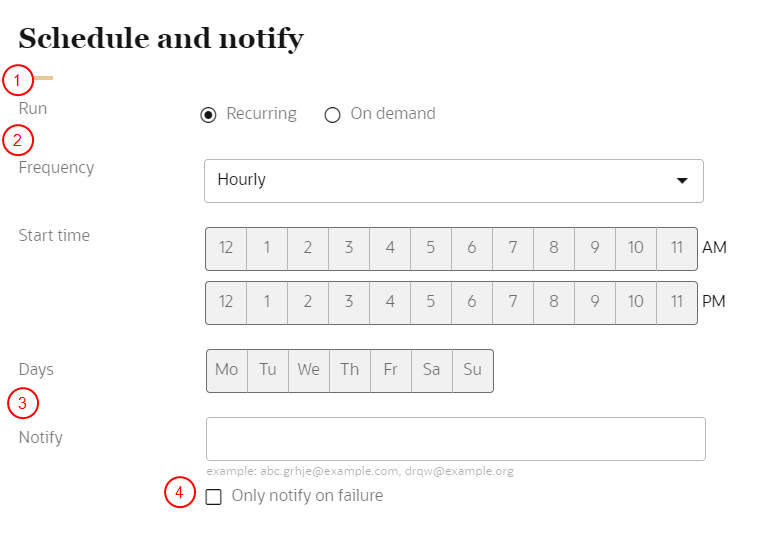
To schedule the segment delivery and define the notification settings:
- Configure the schedule for the segment delivery:
- Click Recurring to automatically run the segment delivery job on a regular schedule.
- Click On demand to run the segment delivery job as needed.
- If the segment delivery job is recurring, select the Frequency, Start time, and Days it will run.
- In the field for Notify, enter the email addresses of people to be notified when the segment delivery job runs. Separate multiple emails with a comma.
- If you only want a notification if the segment delivery job fails, click the checkbox Only notify on failure.
If you select the segment delivery will run on demand, the segment delivery job can be triggered within Eloqua. Once the job is triggered in Eloqua, it triggers the Oracle Unity segment delivery to run from the Jobs dashboard.
Step 5: Save and publish the segment delivery
After saving the segment delivery you will need to publish the changes.
To save and publish the segment delivery:
- Scroll to the top of the page and click Save or Save and close.
- Follow the steps for Publishing changes.
Review exported data in Eloqua
After the segment delivery job runs, you can review the exported data in Eloqua.
To review the exported data:
-
Log in to Eloqua.
-
Go to the Segments section.
-
Open the segment that received the exported data.
-
Select the contact list that was created by the Oracle Unity segment delivery job and review the mapped fields that were exported.