Personalize Join Links using the Zoom Content Service
The Zoom Content Service allows you to modify the Join Zoom Meeting links in emails sent to registrants through your Eloqua campaign.
To personalize the Join links in your emails:
-
Open the email asset you want to insert the cloud content.
-
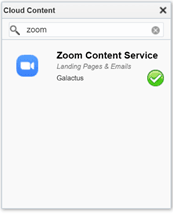
From Design Components, choose Cloud Content to open the Cloud Content browser.
-
Search or scroll through the Cloud Content browser and locate the Zoom Content Service.
-
Drag and place the Zoom Content Service where you want the Join link to appear.
-
Click the Zoom Content Service in your email and the Cloud Content panel opens on the left side.
-
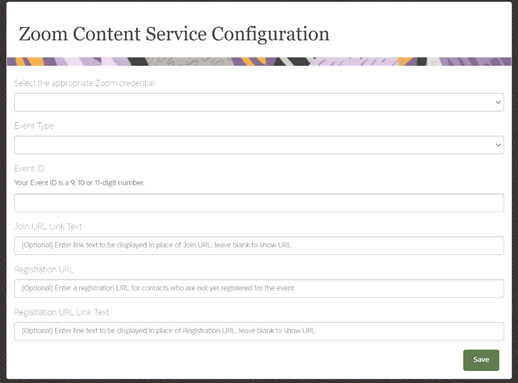
Click the Configure button in the Cloud Content panel to open the Zoom Content Service Configuration window.
-
Select the Zoom account you want to use for this content service.
-
Select the Event Type: Meeting or Webinar.
-
In the Event ID field, enter the Zoom meeting ID for the event.
-
Enter the personalized link text for the Join URL.
-
The Registration URL and link text can also be personalized for email recipients who have yet to register for the event.
-
Click Save.
Installing the app from the Oracle Marketplace