Adding text to emails in the Design Editor
Use the text content to add text to your email.
To add text to your email:
- With your email open, drag the text content to the layout.
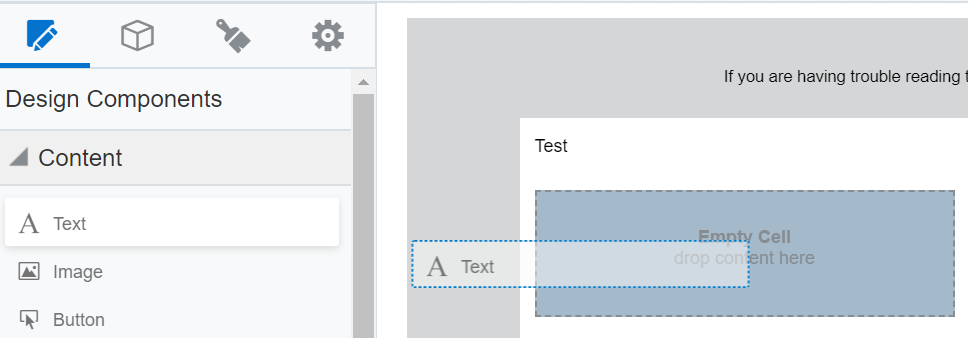
- Click the text content component and use the text toolbar and Text panel to change your email copy.
Text
To add text, click the text content component and begin typing. You can use the text toolbar to change the formatting of the text.
Note: Not all fonts will render in a mobile client. The more common web-safe fonts are at the top of the font drop-down list.
Note: The Design Editor sets the line-height in pixels so that emails can render properly in Microsoft Outlook.

Linking
To add a link, highlight the link text and use the text toolbar buttons.

You can link to:
- A landing page
- A file in file storage
- An external webpage
- A system action like subscribing to an email group or opening the subscription management page
- A new email message
Learn more about the link types.
You can format the link using the text toolbar or the default style settings for the email.
Pasting text
You can paste text into a text content component using one of the following options:
- Paste as plain text to remove any rich text formatting from the copy source. Depending on your browser, you can use Ctrl + Shift + V to paste plain text.
- Paste as rich text to include any formatting from the source. Depending on your browser, you can use Ctrl + V to paste text with formatting. You should review the content pasted to ensure the formatting is correct.
Color
Adjust the color of the text or the text content component:
- Set the background color of the text content component using the Text panel.
- Set the text color using the text toolbar.

- Apply a highlight color to text using the text toolbar.

Padding and borders
Adjust the padding and borders around the content component using the options available from the Button panel. Learn more about padding and borders.
Field merge
To add a field merge, use the text toolbar.

Changing the default font, color, padding, and border settings
Working with email content components and layouts in the Design Editor