Step 1: Creating your first email
Note: We're updating our help center to reflect the new Redwood experience. During the transition, some content reflects the previous version of the UI.
Now that you've created your segment, landing page, and form, you need an email to populate your campaign.
To create your first email:
- Navigate to Assets
 , then click Emails.

- Click Create an Email.
The Template Chooser opens.
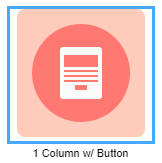
- Click 1 Column w/ Button layout, then click Choose.
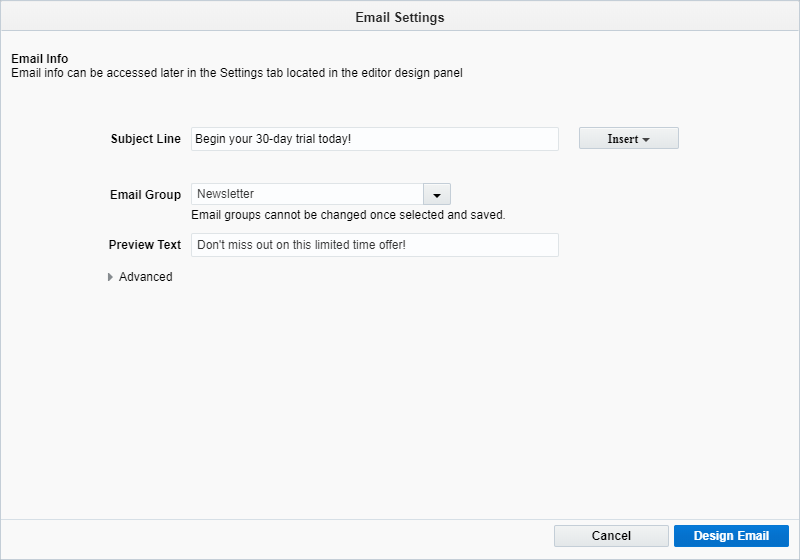
The Email Settings window opens. Email settings specify information needed to send your email. You can configure the settings now or later.
- Enter Begin your 30-day trial today! in the Subject Line. You can personalize your subject line by adding field merges and dynamic content. Learn more about creating dynamic subject lines.
- Select an email group from the Email Group drop-down list. Email groups are used to control default settings for similar types of emails. Groups determine the default headers and footers, help provide subscription management options, and can be used with reporting. Every email must have an email group. Your organization may have set up email groups based on department, industry, product or service, and so on. In our example, we are using the Newsletter email group.
Tip: You cannot change the email group after you save the email. Be sure to verify the settings before you save your email.
- Enter Don't miss out on this limited time offer! in the Preview Text.
Most email clients display an email in the inbox with preview text. Preview text typically displays beneath the sender and subject line and can help quickly convey the content of your email.
The completed settings looks like this:
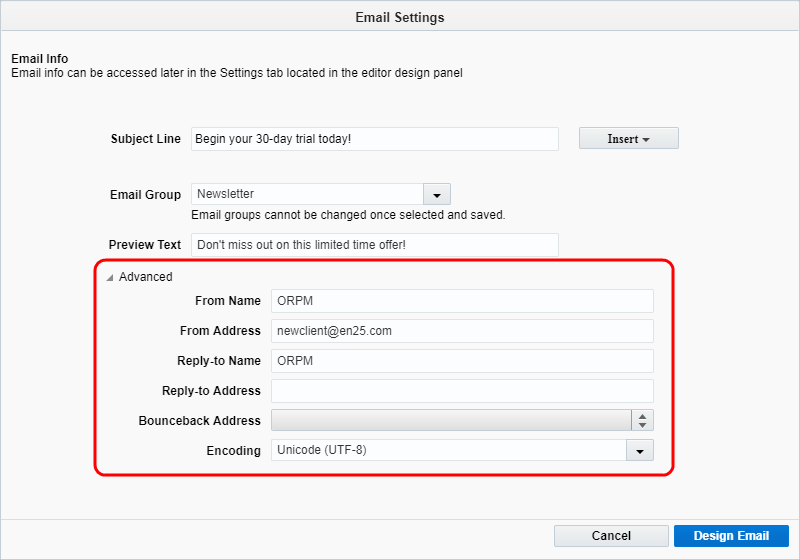
You can configure additional settings about the sender, reply-to address, bounceback address, and encoding using the Advanced settings. Learn more about the email settings.
- Click Design Email.
The Design Editor opens.
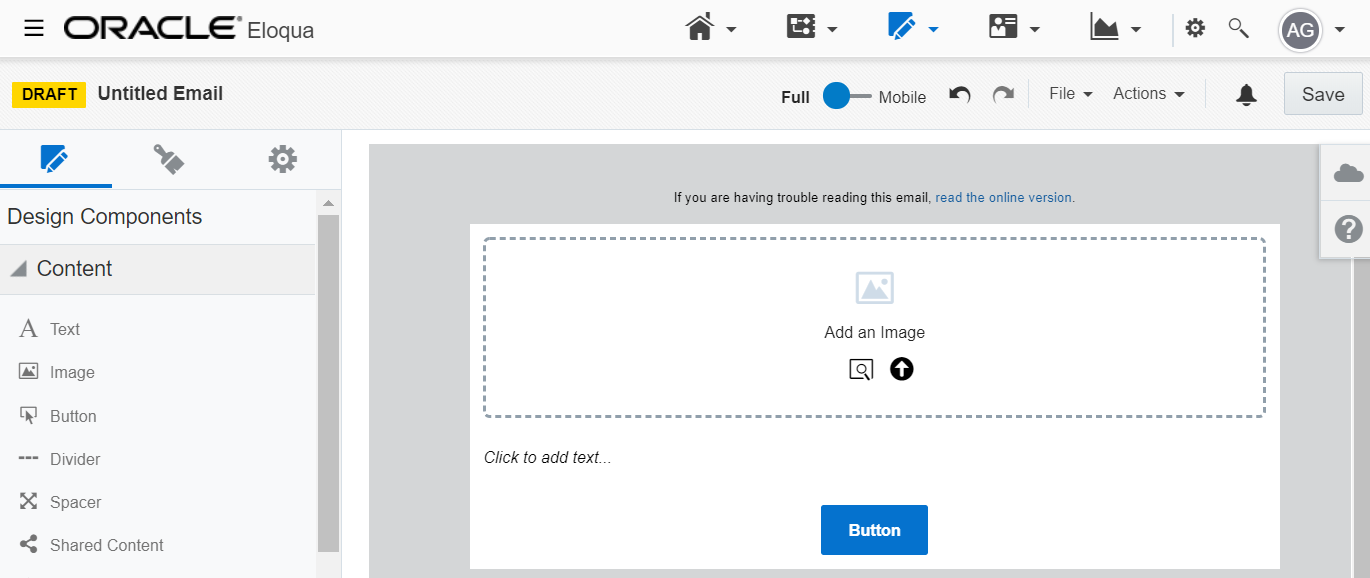
There are three tabs in the panel:
Tab Description 
Design Components
Allows you to add components and layouts to the email. Learn more about working with email components and layouts.

Email Style
Allows you to set default style formats for your email. Learn more about email styles.

Email Settings
Allows you to configure the email settings. These are the same settings you saw when you created the email. Learn more about email settings.
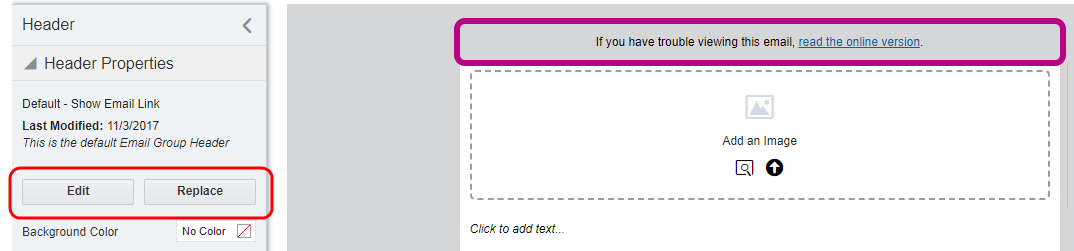
The email group we selected includes a default header and footer. If you have permission, you can change the header and footer by clicking the content block in the email.
Let's begin by adding an image. You can use an image already in your image library or upload a new one.
- Click Browse
 to search for an image already in your image library.
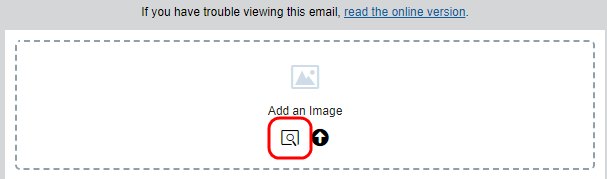
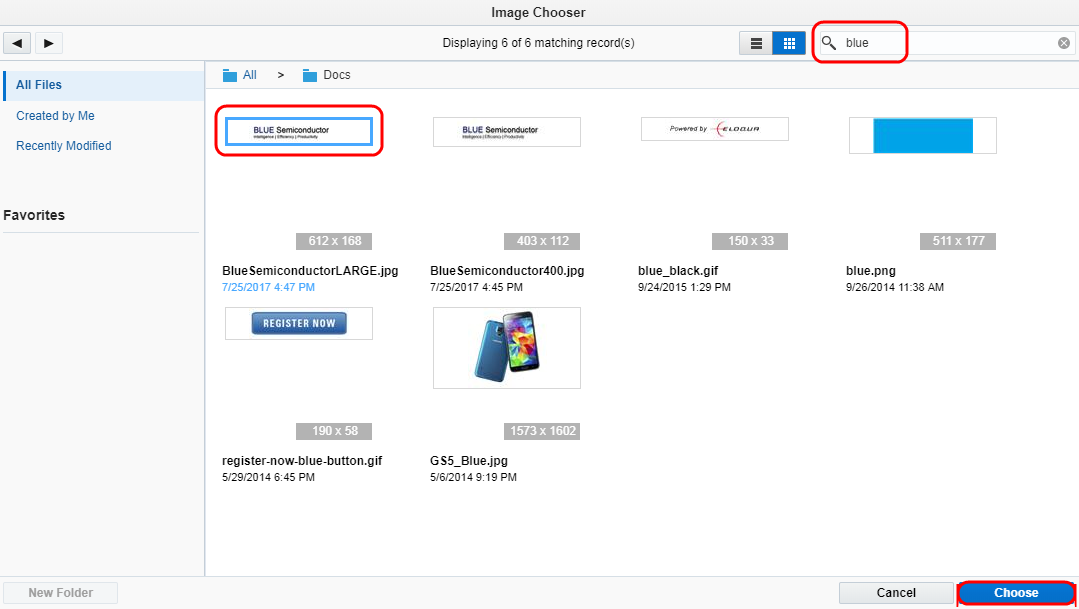
The Image Chooser appears.
- Search for your image and click Choose.
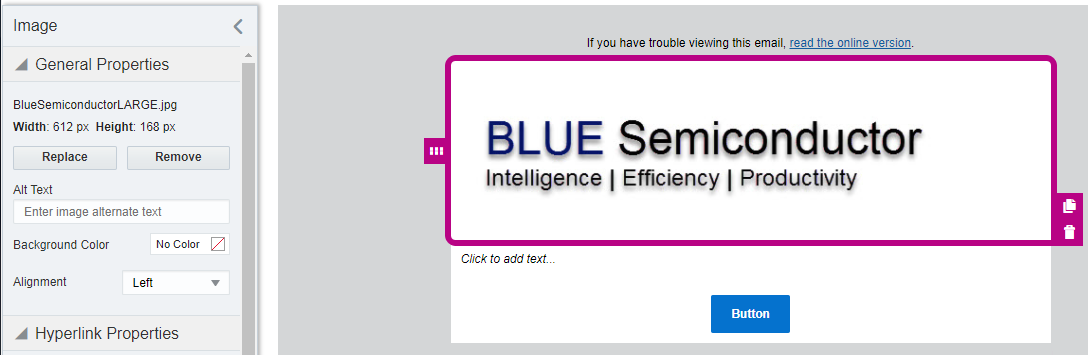
In our example, we are choosing our company logo. When you mouse-over an image, you can see the file name.
Your email now looks like this:
The Image panel allows you to configure settings for your image.
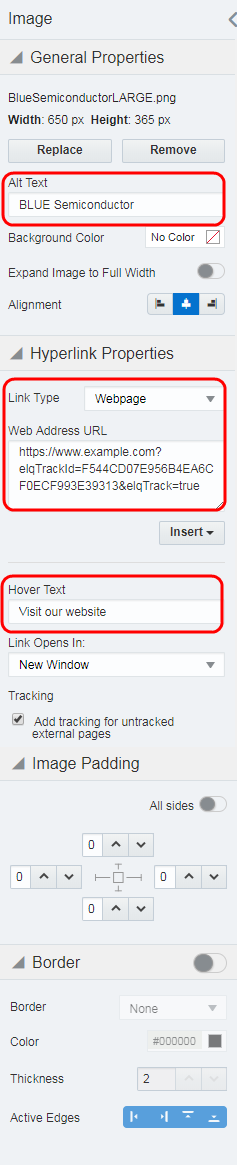
- Configure the following settings:
Field Setting Alt text Specify the alternative text for the image. Alternative text allows you to describe your image for recipients that have images blocked or turned off. Alt text also helps make an image more accessible to people with disabilities. Hyperlink Properties Make the image a link to an external web page. If the web page has Oracle Eloqua tracking scripts, you don't need to use the Add tracking for untracked external pages option. The complete settings look like this:
Next we'll add the email copy.
- Click the text content block in the email and add your copy. Use the text toolbar to format your copy.
Here is the copy we added:
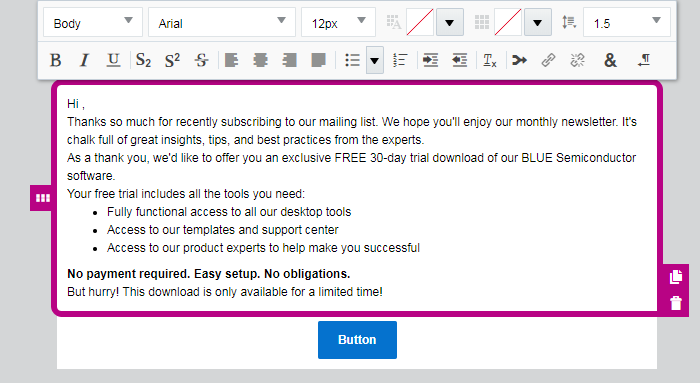
The Text panel has additional options to format the text content block. Learn more about adding text to emails.
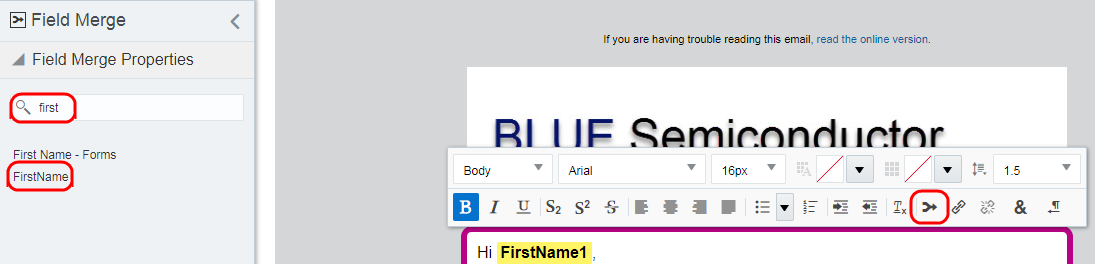
Next we'll add a field merge to the copy. Add field merges to personalize your emails using information from a contact record, an event, or custom object records.
- In the text content block, place your cursor in the position you want to add the field merge. Click
 in the text toolbar, then search for the field merge name you want to add using the Field Merge Properties panel. Double-click the field merge in the search results to add it to the text content block.
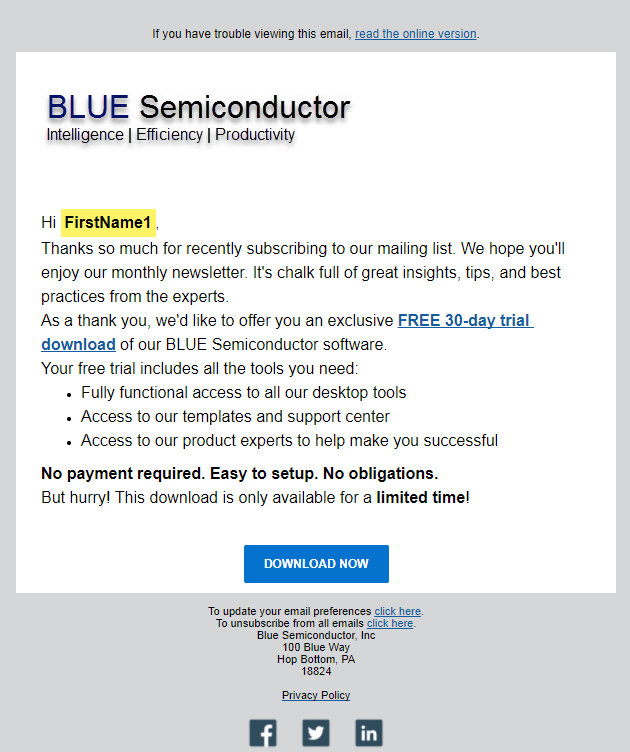
In our example, we added the contact's first name to the email. The field merge appears with a yellow highlight.
Now, let's add a link to the landing page we created earlier.
- Highlight FREE 30-day trial download in the text box. Click
 in the text toolbar. In the Hyperlink panel, select Landing Page from the Link Type drop-down.Click
  to search for the landing page.
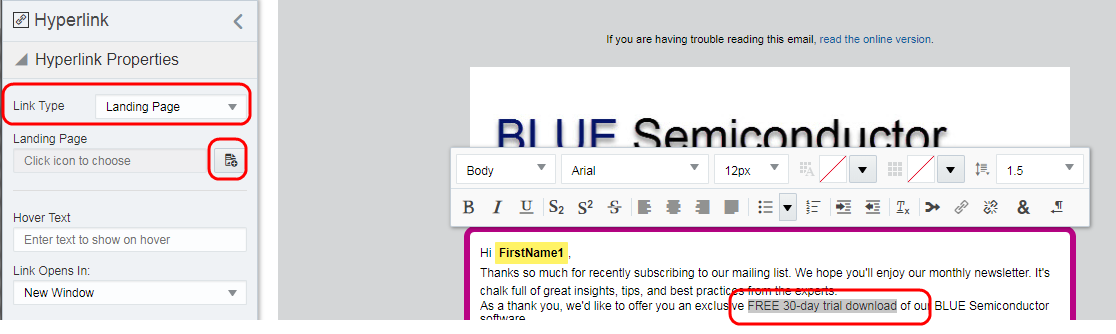
- In the Landing Page Hyperlink Chooser, search for and select the landing page DO NOT LAUNCH - My first landing page.
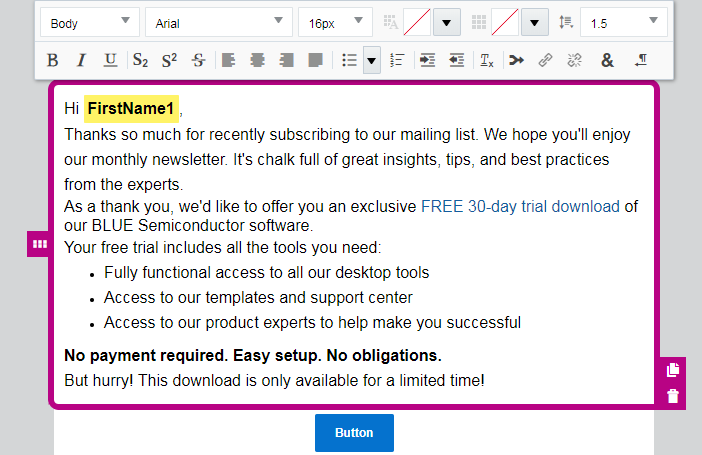
The final copy now looks like this:
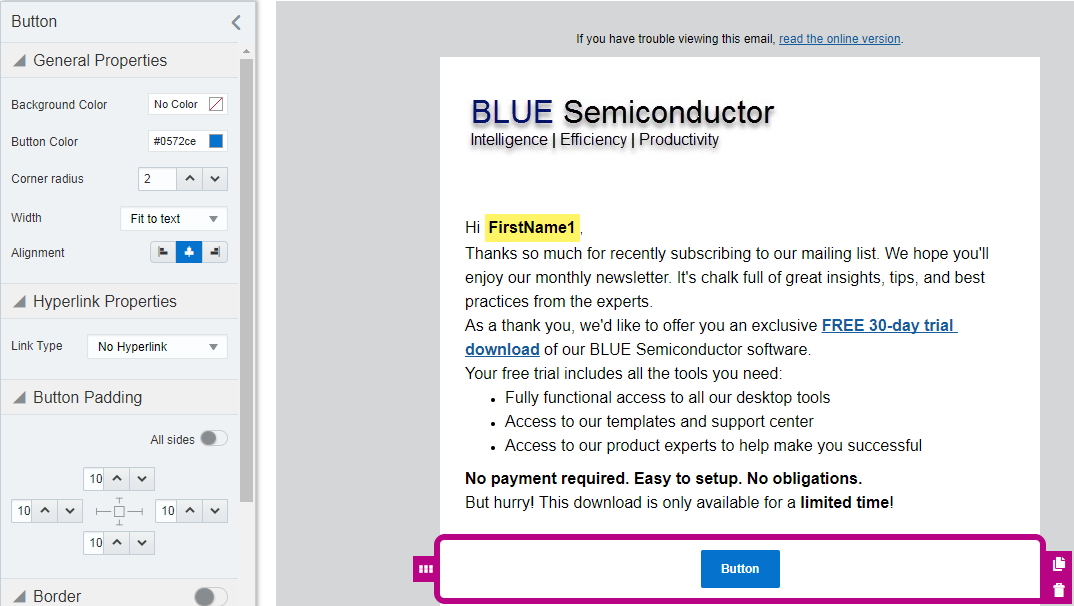
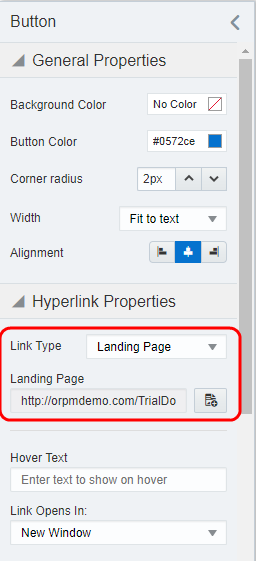
Now, let's update the button.
- Click the button content block.
Similarly to the text box, the Button panel has settings to customize the button.
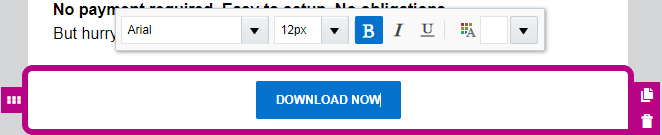
- Click the button's text and update the text with DOWNLOAD NOW. The button text toolbar allows you to update certain font format elements of the button.
- Using the Button panel, link the button to the landing page we created earlier.
- Click Save to save your landing page. Navigate to the folder you want to save the email in. Name the email DO NOT LAUNCH - My first email.
Here is our updated email:
Now, let's preview and test the email.