Configuring Eloqua contact views in Sales Tools
A Contact view is an arrangement of contact fields that can be defined in Eloqua and then used for specific use cases within both Sales Tools products – Profiler and Engage:
- Profiler – Customize the contact fields a sales user can see within the Details section of a contact’s profile. You can provide one or more views that a user can access for a contact, based on your needs. See Contact view usage in Oracle Eloqua Profiler
- Engage – In the compose window of Engage, if a sales user has the permission to create a contact, you can select which set of contact fields (a contact view) a sales user should populate when creating the contact. Views will respect field-level settings for whether or not the field is required for a contact. See Contact view usage in Oracle Eloqua Engage
One or more views can be enabled for sales users. However, best practice is to only enable a single view to provide a simple, streamlined user experience for the sales user.
Prerequisites to seeing contact views in Sales Tools
Configuring contact views for Sales Tools is a two-step process:
- Create Views: The first step is to create a contact view to use within Sales Tools. If you haven’t created any contact views, reference
- Enable access for select sales user security groups: After you have created your contact view, you will need to ensure the view shows up in the appropriate Sales Tools product and to the right users. You will need to grant access for the view to specific security groups. For more information,
After completing this two-step configuration, you can now review the user experience in the Sales Tools products to ensure the setup meets your requirements.
Contact view usage in Oracle Eloqua Profiler
When viewing a contact's profile in Profiler, users can view different field information about a contact under the Details tab by changing the contact view.
To change the contact view in Profiler:
- Open a contact's profile in Profiler.
- Open the Details tab.
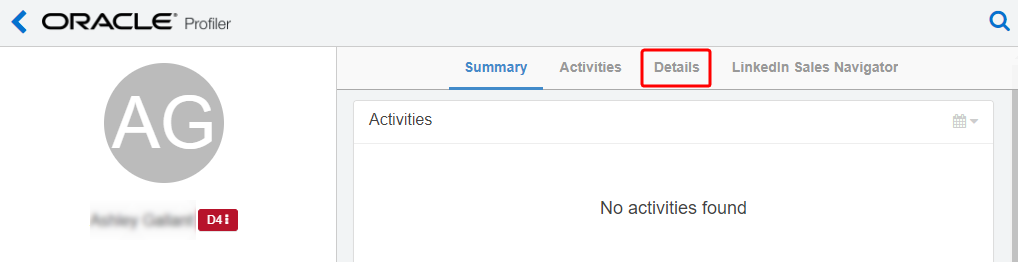
- Select a contact view from the View drop-down.
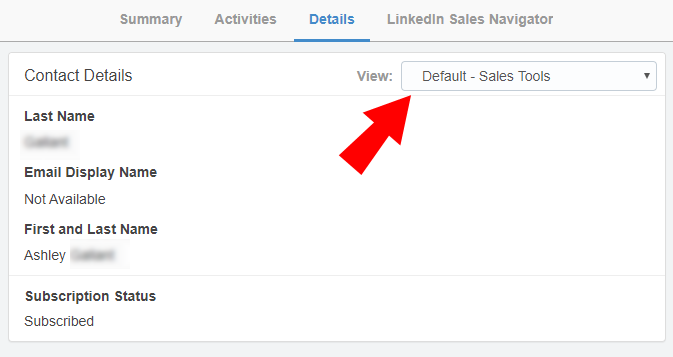
The Contact Details section will display different information based on the contact view you select.
Contact view usage in Oracle Eloqua Engage
When composing an email in Engage, sales users that have the permission to create contacts will be required to populate a set of fields that marketing has defined in a view.
To change the contact view when creating a new contact in Engage:
- Open Engage.
- Click Compose then select a template.
- In the To field, type in the new contact's email address and press Enter.
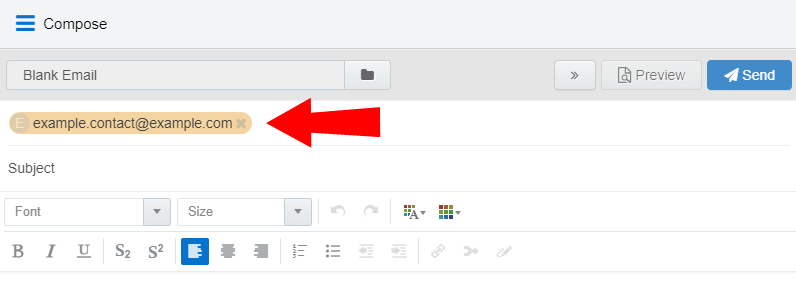
- Double click on the email address.
The Create Contact dialog opens.
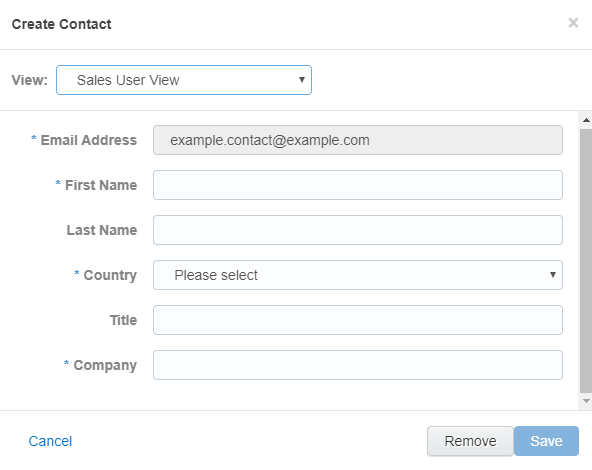
- The user will see the view you have set for them with the appropriate fields to populate.
Note: The best practice is to create one view that a sales user should use for creating new contacts. If more than one view is available, the user will see a drop-down listing the available views. While this is technically possible, it adds complexity for ongoing training and may cause friction in the adoption process for the users within your Salesforce.
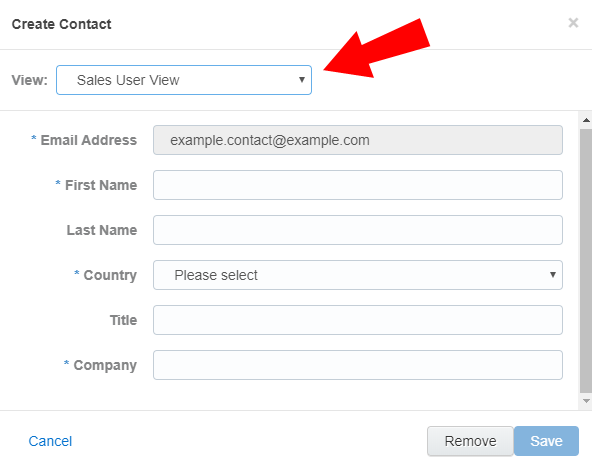
The Create Contact dialog will display different contact fields to fill out depending on the contact view you select. Note that fields you have set as required will clearly display as required for the sales user.