Step 4: Customize the content
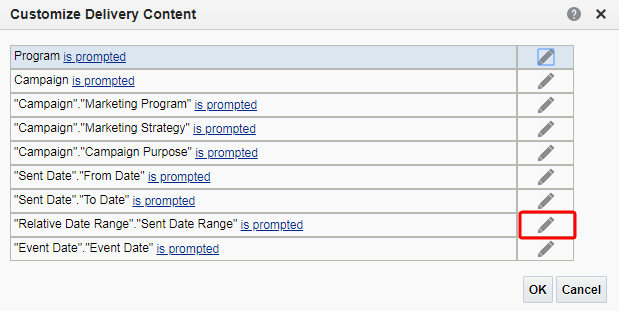
Customizing the content gives you the ability to create several views of the same analysis and schedule a different delivery for each view. For example, you can create views with a specific sent date range, combination of campaigns, or a marketing strategy.
-
Click the
 icons as needed to create the view of the analysis for delivery.
 For example, to create a report with the last 7 days’ data:
-
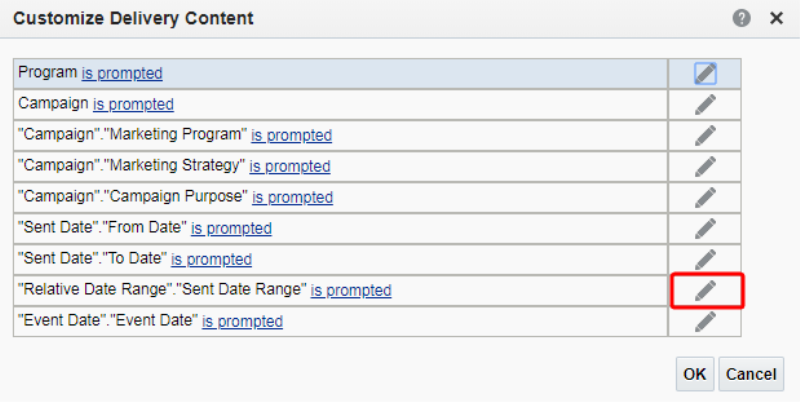
Click
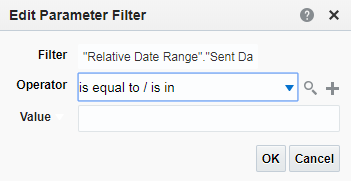
of “Relative Date Range”.”Sent Date Range”. -
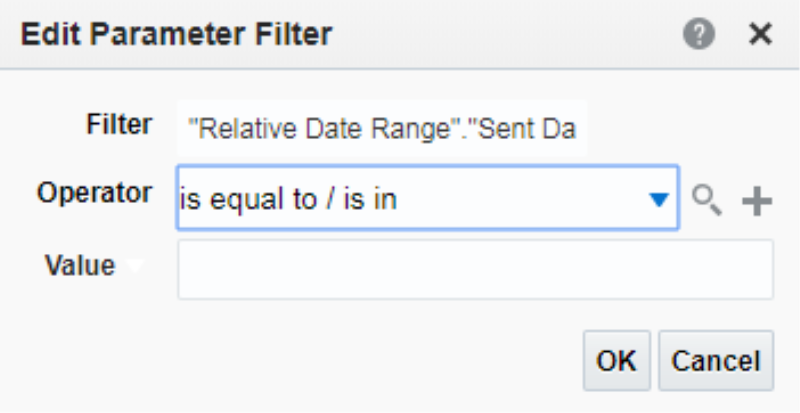
In the Edit Parameter Filter dialog, select Is equal to/is in.
-
Click
 to open the Select Values dialog.
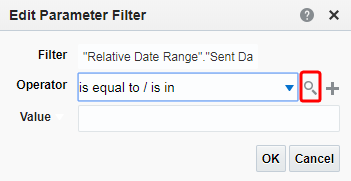
-
Select Last 7 Days and click >, then click OK.

-
-
Click OK on the Edit Parameter Filter and Customize Delivery Content dialogs to return to the Delivery Content tab.
-
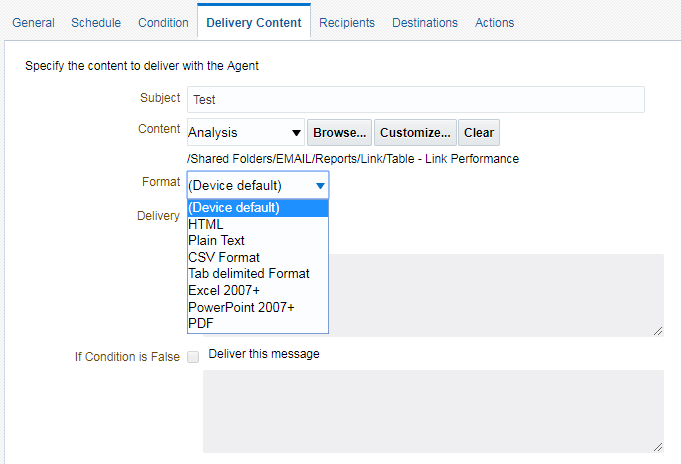
In the Format list, select the format for the delivery
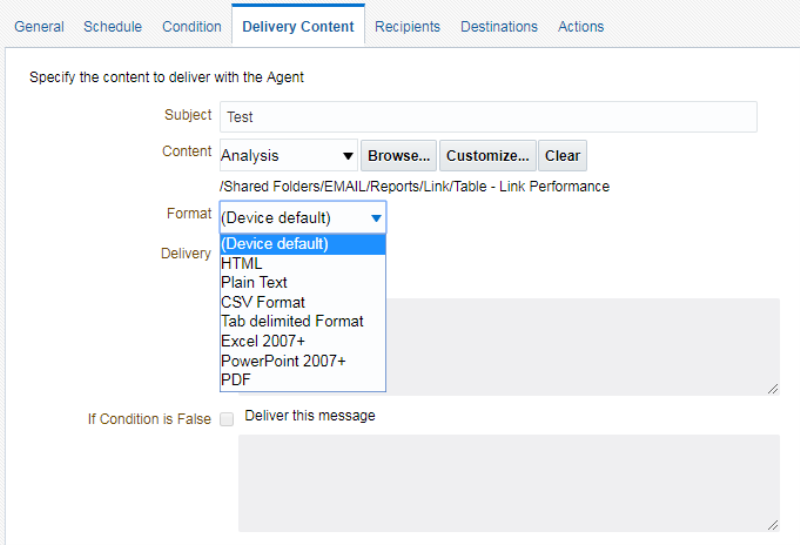
Note: PowerPoint, Excel, and CSV are the most commonly used delivery formats. For Excel, we recommend selecting Excel 2007+. For CSV, all columns on the analysis, including the columns that are not available in the default view, are included in the email delivery.

Next steps
Emailing an Analysis from Interactive Dashboards