Shift Creation - Daily
Creating shifts is done by using the gray bar at the bottom of the page.
This bar is the perfect size for your thumb; you can schedule on touchscreen devices. It also indicates the current day which you're creating shifts for.
Rather than manually entering start and finish times, you click and draw out the times from this timeline.
-
Hover your mouse over a shift start time and click down.
-
Draw your mouse to the right side of the screen. A green bar will appear, starting from the time you selected.
-
Drag your mouse to a shift finishing time and let it go.
-
The green selection will be a shift period.
-
If you have breaks configured on the location settings, a gray area will appear in the middle of the shift where the scheduled break has been auto generated. You can click and drag this break during shift creation to stagger break times.
Employee Selection
After you've created the length of a shift, a list of all the employees who can work at that location will appear to the right.
At the top of this list will be a tab which has all the jobs associated with the location.
To narrow down the range of employees, simply select the job that you require for the shift. Employees will be sorted in order of cost effectiveness, with the most cost effective employees at the top.
Any employees unable to work at that time due to availability will be colored yellow at the bottom. Employees who can't work due to being scheduled on at that time, either at this location or another, will be in red at the bottom. This will prevent issues with double scheduling
Shift Editing
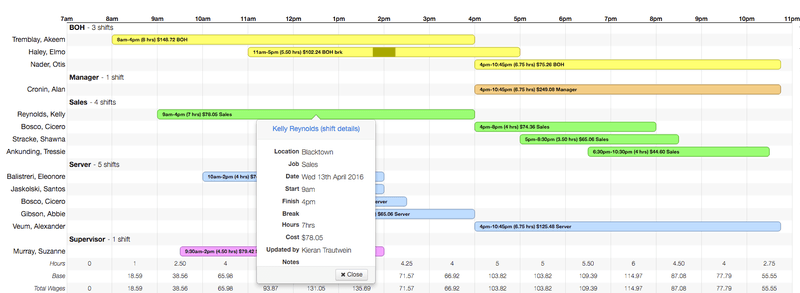
You can change the start and finish times by hovering over one side of the shift period - your cursor will turn into a double-sided arrow and allow you to drag the time. If you need to edit a break time or the job, you can click on the scheduled shift and then click the edit pencil.
If you need to reassign a shift to a different employee, click on the scheduled shift and then click on the blue arrow icon. From here, you'll see the other employees who are able to work that job at that location. Select the employee and click Save to reassign the shift.
If you need to remove a scheduled shift from the schedule, click on the shift and click the red circle icon. From here, you can choose to move the shift to someone else or create an open shift. Click Remove if you'd like to proceed with simply removing the shift altogether.
Past Schedules
Schedules from the past cannot be edited.
If you try to edit or create a shift in a past schedule, your mouse will show a cancel sign on the shift creation bar, which means that you won't be able to do anything.
When you go to change a past shift through the shift details bubble that pops open after selecting a shift, there will be no possible way to edit any of the details shown.