Install MS SQL Server 2016 Service Pack 3 Express Edition
Applies to NSPOS 2018.2.X – 2019.1.X only.
Each register with NetSuite Point of Sale (NSPOS) 2019.1.X or earlier requires the installation of Microsoft® (MS) SQL Server® 2016 Service Pack 3 Express Edition.
Follow the steps in this chapter to install and configure this SQL database server. Also see Configure MS SQL Server 2016 Express for CLR Integration with NSPOS.
Download the MS SQL Server Installer files:
-
Go to the Microsoft site: https://www.microsoft.com/en-us/download/confirmation.aspx?id=103447
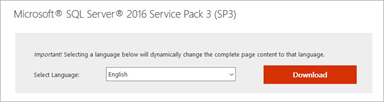
The site will show the Download button for Microsoft® SQL Server® 2016 Service Pack 3 Express
-
Select the Language and click Download.
This action downloads the initial installer file.
-
If prompted to Run or Save, choose Save.
Depending on your browser, the file will be saved to the Downloads folder designated in your browser settings or you might be prompted to choose a location.
-
Locate the downloaded SQLServer2016... .EXE file.
-
Double-click the .EXE file to begin preparing the application installer file download.
-
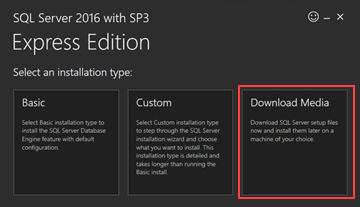
From the window that displays, select the Download Media option.
-
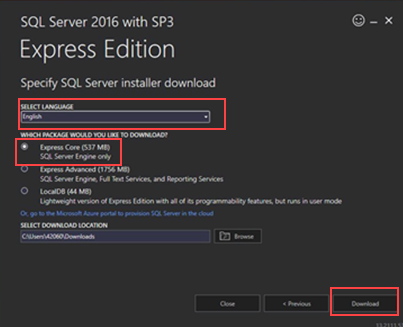
Select the preferred Language.
-
Select the Express Core option.
-
Click Download.
-
If prompted to Run or Save, choose Save.
Depending on your browser, the file will be saved to the Downloads folder designated in your browser settings or you might be prompted to choose a location.
Install the MS SQL Server Application:
-
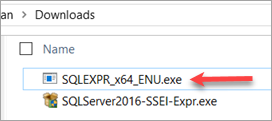
Locate the downloaded application installer file: SQLEXPR_x64_ENU.exe.
-
Double-click the .exe file to begin extracting the application installer files.
-
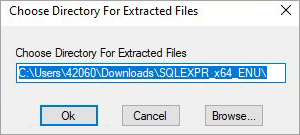
Choose a directory for the installation files and click OK.
You will need to locate the setup.exe file in that directory.
-
Double-click setup.exe from the extracted files.
-
For Installation Type, choose:
-
New SQL Server stand-alone installation or add features to an existing installation

-
-
Accept the License Terms and Privacy Statement.
-
Click Next.
-
Check the Use Microsoft Update to check for updates option.
-
Click Next.
-
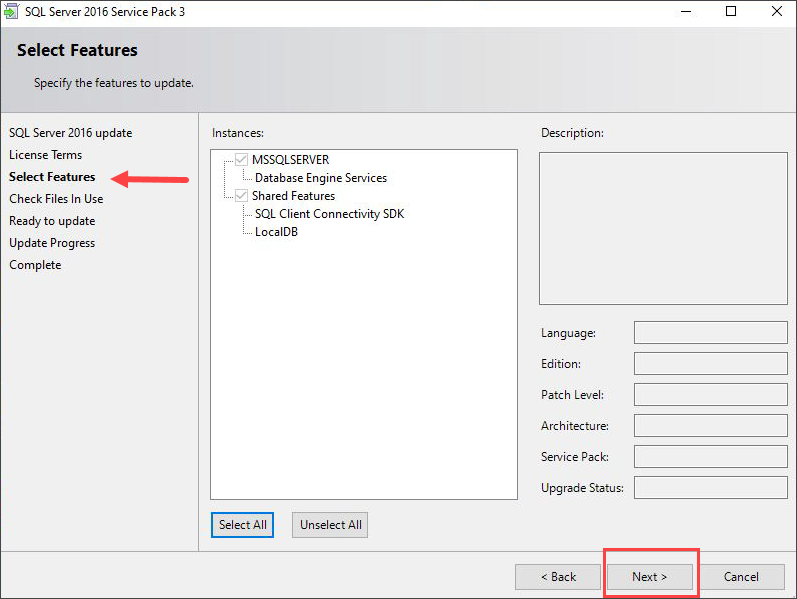
Click Next to accept the default feature choices.
-
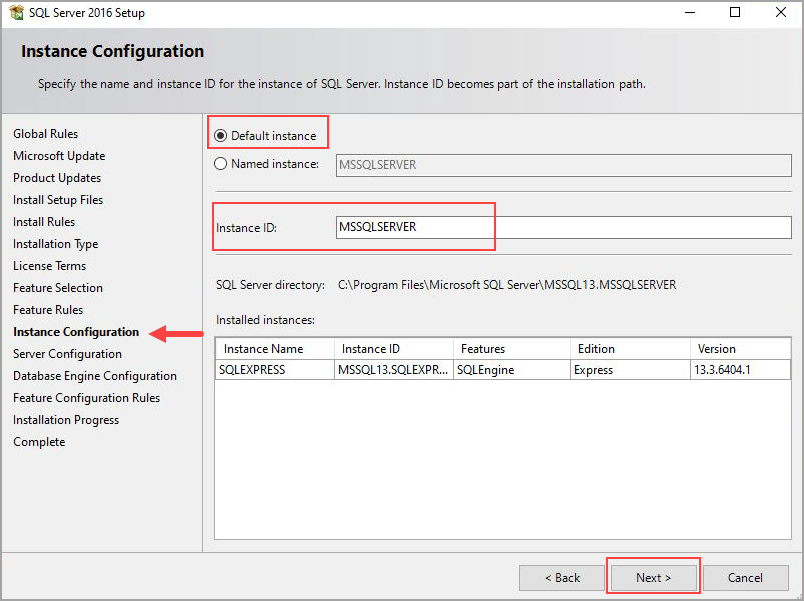
Select the Default instance option.
-
Verify that the Instance ID is MSSQLSERVER, not SQLExpress. Change the ID if needed.
-
Click Next.
-
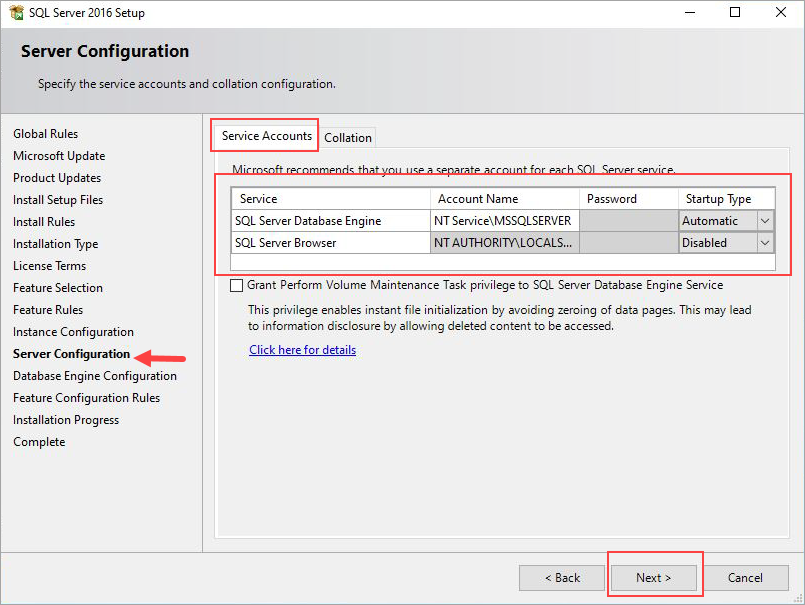
For Service Accounts, leave the Account Name choices at their defaults.
-
Click the Collation tab and verify that the Database Engine Collation is set to
SQL_Latin1_General_CP1_CI_AS. If not, change it to this setting.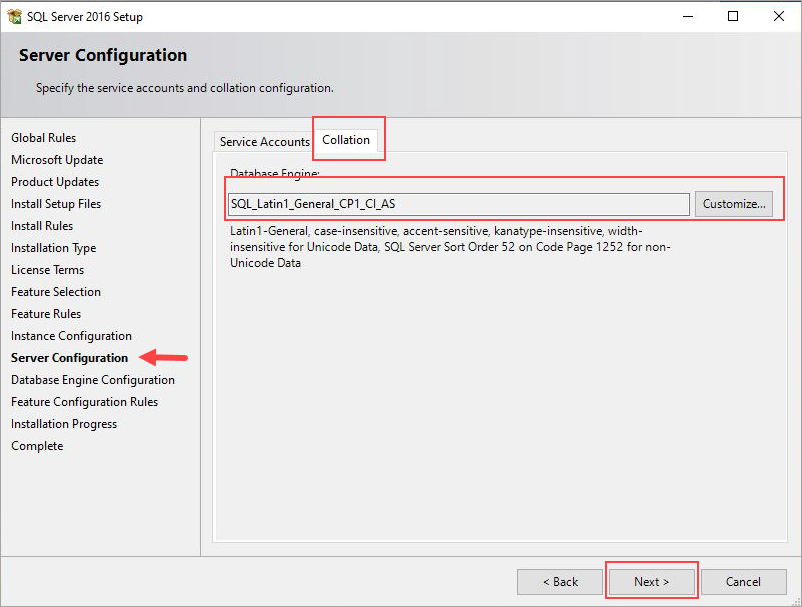
-
Click Next.
-
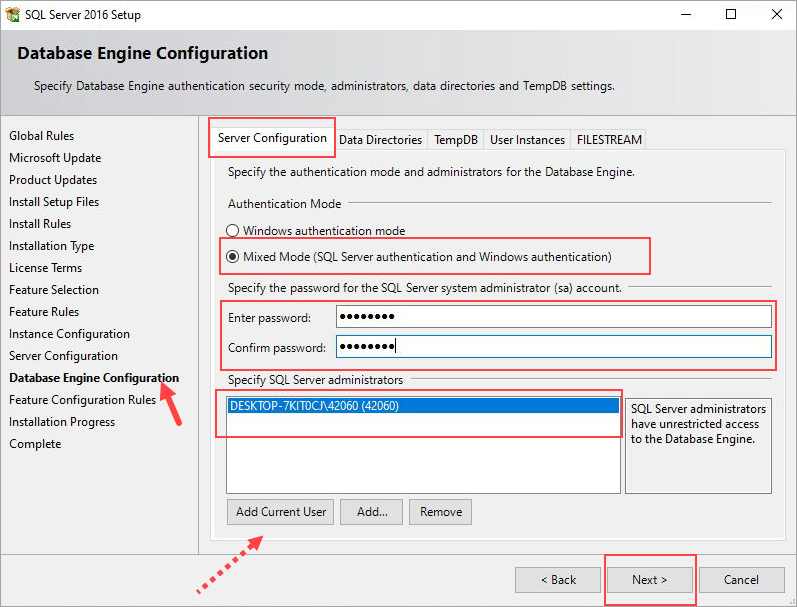
On the Server Configuration tab, choose Mixed Mode.
-
For each Password field, enter a password that meets your company’s policy for password strength and complexity.
-
Verify that the account you are using to perform the installation is listed in the Specify SQL Server administrators area.
If not, click Add Current User.
-
Click Next.
-
Complete the installation.
-
Click Close.
If required, the SQL Server Management Studio needs to be installed separately using the Install SQL Server Management Tools option in the SQL Server Installation Center.
For more information, visit the official SQL Server Management Studio website.

Next Steps
After installing the MS SQL Server, you must do a final configuration. See Configure MS SQL Server 2016 Express for CLR Integration with NSPOS.