Including Images in Advanced Templates
Advanced templates support the inclusion of images in printed and emailed forms. The image can be a file from the internet, or an image file that you've uploaded to the File Cabinet. The preferred method of adding an image is to use a File Cabinet ID. For more information about the File Cabinet, see File Cabinet Overview.
The New Element toolbar of the template editor includes a button that you can click to insert an image.
To insert an image on an advanced template:
-
Open the advanced template in the Template Editor.
-
Place the cursor where you want to insert the image.
-
To insert an image, click the Image button.

-
In the Source field, enter the full path to the image file in the File Cabinet or on the internet. Use & for ampersand symbols.
Include fields that dynamically return a URL, for example
${companyInformation.appDomain}. For more information, see Syntax for Advanced Template Fields.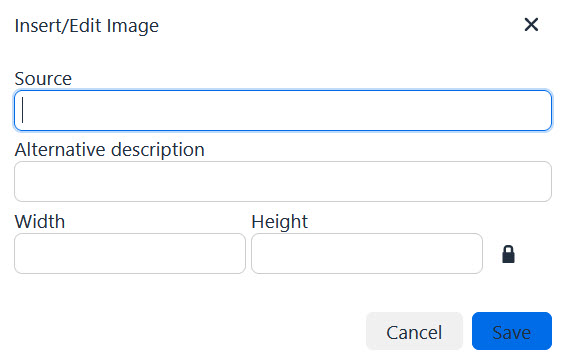
-
Complete the following, as needed:
-
In the Alternative description field, enter the description of the image.
-
In the Width field, enter the size in pixels to use for the image width.
-
In the Height field, enter the size in pixels to use for the image height.
-
-
Click OK.
The image is added to your template.
You don't need to add a company logo to a template. Each printed form that uses an advanced template automatically includes a company logo, based on the image file defined as the Company Logo (Forms) field at Setup > Company > Company Information. For instructions for defining this image file, see Configuring Company Information.
If you reference images online, ensure that the URLs are correct. If any images in your template can't be found, you'll see an error message and won't be able to save the template until the errors are resolved.