Identifying a Vendor as a Project Resource
You can identify a vendor as a project resource on their vendor record. Then, they can be assigned as resources on projects and tasks you create. This is useful if you subcontract work to vendors.
When you mark a vendor as a project resource, you can select them in these places:
-
In the Name dropdown on the Resource tab of project records
-
In the Resource column on the Assignee subtab on project tasks
-
In the Manager dropdown on the Create Projects from Sales Orders page
To set a vendor as a resource:
-
Go to Lists > Relationships > Vendors.
-
Click Edit next to the vendor you want to mark as a resource.
-
Click the Financial subtab.
-
Under Project Information, check the Project Resource box.
Important:After you assign a resource to a project, if you clear the Project Resource box, they'll still be available if you use the Display All Resources for Project Task Assignment preference when creating your project in NetSuite.
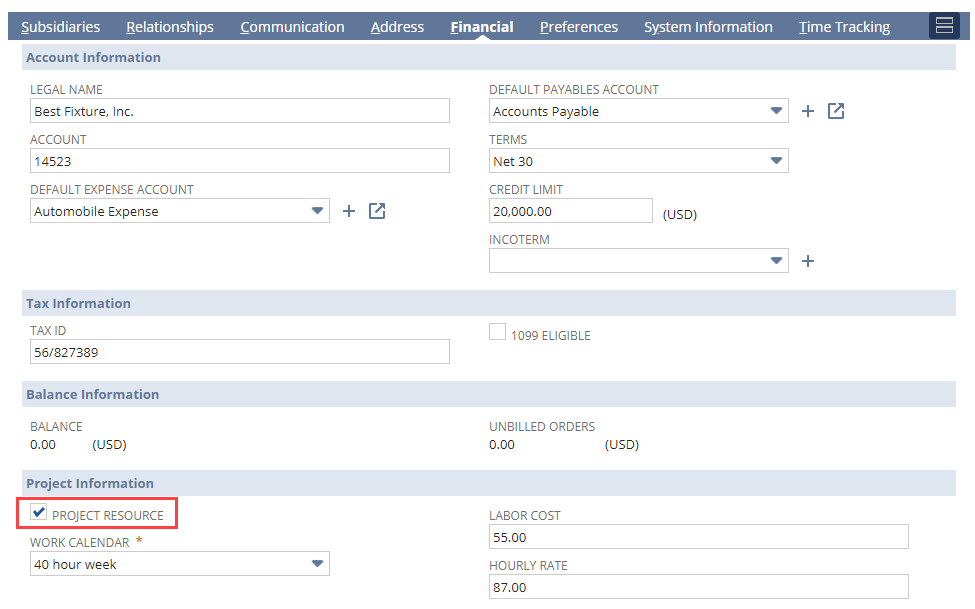
-
In the Work Calendar field, select a work calendar. For more information about work calendars, read Project Resource Work Calendars.
-
In the Labor Cost field, enter the hourly overhead labor cost rate for this employee. This ensures the correct rate is charged per hour when this resource works on assigned project tasks. Pricing labor this way helps reduce errors and keeps your margins on track.
-
In the Hourly Rate field, enter the hourly price which is paid by the customer. This rate calculates project costs and profitability.
-
Click Save.
A vendor must be assigned an employee role and given access to enter time against projects. For more information, read Giving Vendors Access to Time Tracking.