Accessing NetSuite 360
The NetSuite 360 portlet, which lets you access NetSuite 360, is located on the Support tab. What you see in NetSuite 360 depends on your assigned role. To access NetSuite 360, you must be assigned either the NetSuite 360 role or the NetSuite 360 - Plus Financials role. Only a small number of employees in each company typically have these roles assigned.
Employees with either role, NetSuite 360 or NetSuite 360 - Plus Financials, access NetSuite 360 from the same portlet. The actions you can perform after entering depend on your assigned role. For information about roles and assignment, see NetSuite 360 and Assigning NetSuite 360 Access.
To access NetSuite 360:
-
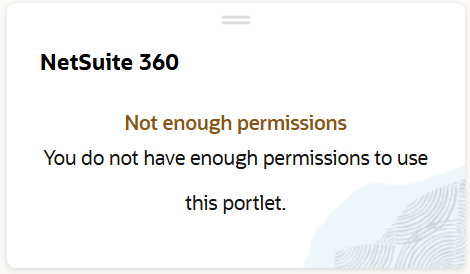
Click the Support tab to view the NetSuite 360 portlet.
For most users, the portlet displays a message indicating you don't have permission. If you think that you should have access to NetSuite 360, contact your account administrator.
-
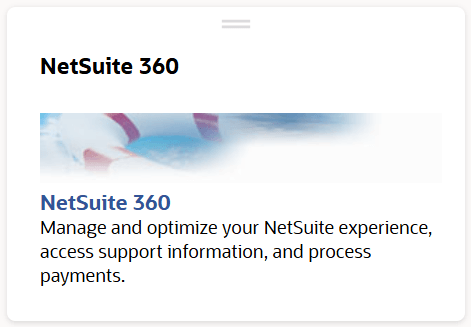
If the portlet displays a link, click the NetSuite 360 link in the NetSuite 360 portlet to access NetSuite 360.
After you get a role assigned to you, you may need to log out and back in to see the NetSuite 360 link.
Exiting NetSuite 360
Exiting NetSuite 360 is slightly different than the usual procedure for switching to another role.
To exit NetSuite 360:
-
Locate and hover over your name and role at the top right of the NetSuite page.
-
Select View My Roles.
-
On the My Roles page, under Switch to Another Account, click the account you want to return to.
Note:In some instances, you may also see the Return to Previous Role option in the Change Roles list. When available, you should select View My Roles to change roles.
Certain actions, such as clicking the home icon, may direct you to the Customer Center - Home Links page, which is not part of NetSuite 360. If this occurs, click the Return to NetSuite 360 to go back to NetSuite 360.