Create a New Application Using the CX Extension Generator
The CX Extension Generator is your shortcut to creating applications that extend the functionality of Oracle Sales in the Redwood User Experience. With just a few quick selections, the CX Extension Generator can create an application extension with panels, subviews, details pages, and smart actions, that you can download as a single .zip file and then upload to Oracle Visual Builder Studio. After you upload the files to Visual Builder Studio, you can continue to build out the extension in Visual Builder Studio and then publish it to your users.
Using CX Extension Generator you can add panels and subviews for child, 1:M (one-to-many), and M:M (many-to-many) relationships. CX Extension Generator also creates the Details (edit) pages for each object and the required smart actions that make it possible for users to create and edit individual records.
Prerequisites
-
If you're following along with the examples in this chapter, then create these objects and relationships, as well:
-
Objects
-
Payment (top-level object)
-
Shipment (top-level object)
-
-
Relationships
-
PaymentLead1M (one-to-many relationship)
-
PaymentShipment1M (one-to-many relationship)
-
PaymentContactMM (many-to-many relationship)
-
-
Create a New Application
To create an application:
-
In a sandbox, navigate to .
-
Click Create New Extension.
Caution: You can use the Create New Extension button only the first time you configure your application in the environment. If you use the CX Extension Generator to make further changes after your initial upload to VBS, then you must import the files back from VBS using the Import Extension button before you start. If you create a new extension using the Create New Extension button and import your changes to VBS, then your upload will overwrite all your previous changes.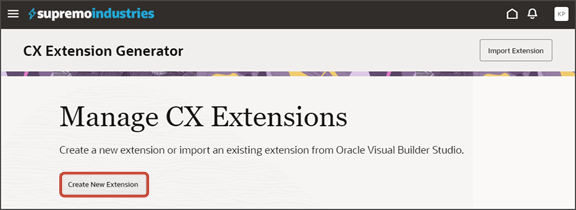
-
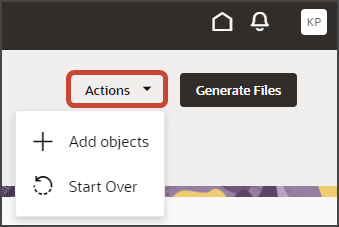
In the Add objects drawer, select the objects you're using to create the application, and then click Add.
In this example, select Payment and Shipment.
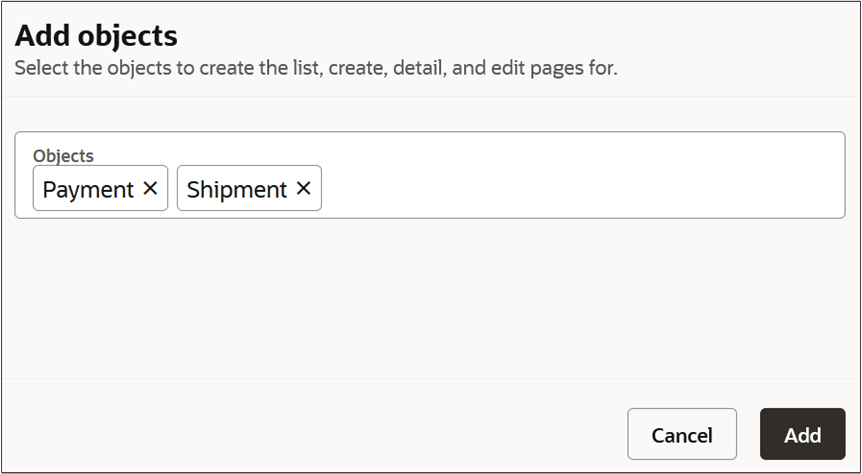
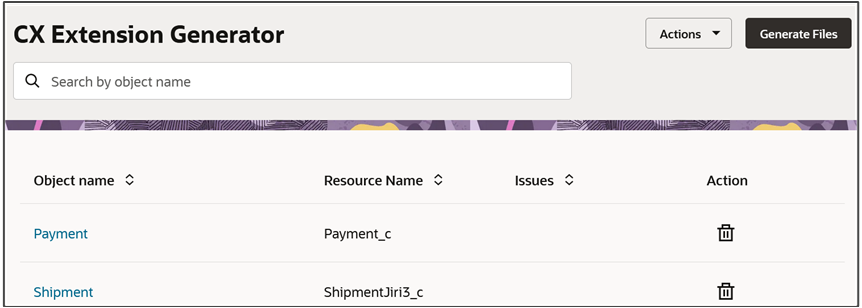
The selected objects display on the list page.
-
Drill down on each object to configure the detail page.
Note: In the runtime application, the detail page is called the Overview page.The page displays automatically-generated panels for attachments and notes. You can optionally delete them.
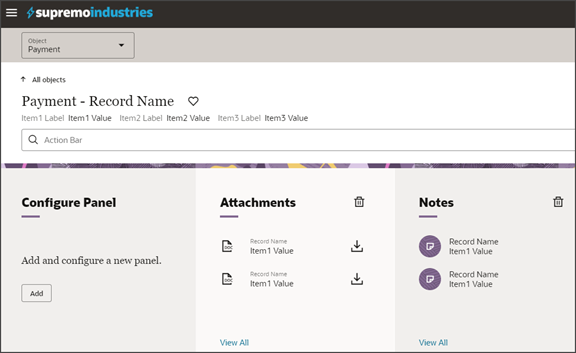
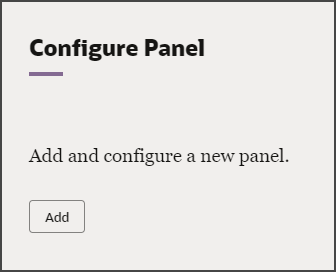
Use the default Configure Panel, which always displays as the first panel, to add new panels.
Important: When you add a panel for an object with a M:M relationship, the generator creates the panel for the intersection object you created as part of the M:M relationship rather than the object itself. -
To add a panel:
-
On the default Configure Panel, click Add.
-
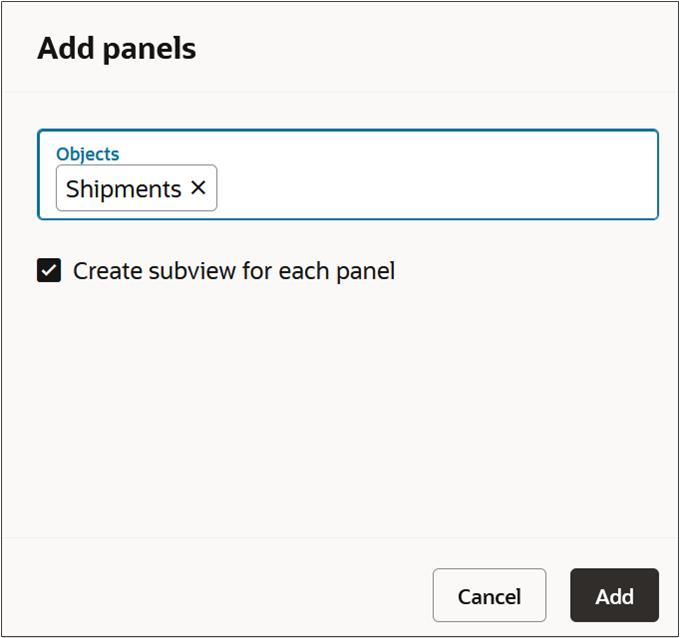
In the Add Panels drawer, select the custom related objects that you want to create the panels for. These can be objects with either a 1:M or M:M relationship.
For example, select Shipments.
-
Select the Create subview for each panel checkbox to automatically create a subview along with each panel.
Note:If you don't select this checkbox, then you can add subviews later. See the next step.
-
Click Add.
-
-
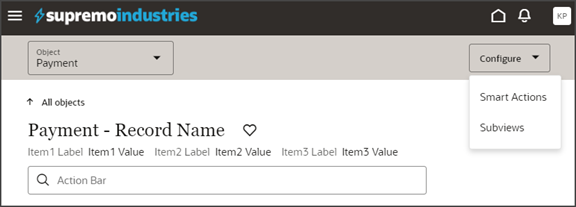
Optionally, click to add and remove subviews for each panel.
-
Click to review the smart actions that the Extension Generator will automatically create for the objects that you selected.
Tip:You can optionally enhance a smart action's configuration after the Extension Generator creates them. You do this by editing the smart action in Application Composer ().
Note:If you previously created custom smart actions for a non-fragments implementation of an object, then you don't need to create new smart actions for use with fragments. Instead, update existing UI-based custom smart actions to specify the action type, either Add or Create, as well as the target object and any required field mapping. For existing REST-based or object function-based custom smart actions, edit the action and then save without making any changes. These steps ensure that your custom smart actions still work with new fragment-based extensions.
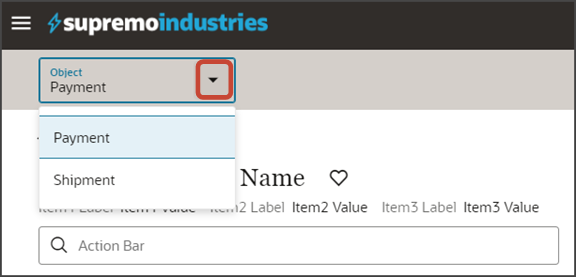
If your application includes more than one object, then use the Object drop-down button to switch between objects to configure multiple detail pages.
-
After you've completed your changes, you can generate and download the .zip file.
At any time, you can delete your configuration choices from the tool by clicking .
Generate and Download Files
When you're done with your application extension changes, navigate back to the CX Extension Generator list page and click Generate Files.
The CX Extension Generator generates and downloads a .zip file that includes the pages and layouts for your selected objects.
In addition, the process to create the smart actions is launched.
The process of creating smart actions might take some time to complete. After smart actions are created, you can manage them in Application Composer and create additional smart actions, if required.
Import the Files into Visual Builder Studio
-
Use the Navigator to navigate to Visual Builder Studio: .
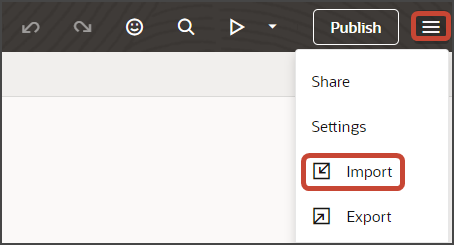
Click the Menu icon at the top of the page, then click Import.
-
In the Import Resources dialog, add your .zip file and click Import.
Click the Preview button to see your newly created application.

-
You can now continue to make changes to your application extension in Visual Builder Studio.
For example, you can modify the fields that display in the detail page's header region, or on a subview or create page. The Extension Generator adds some default fields, but you'll most likely want to add and remove fields depending on your business needs.
-
If you need more smart actions, you can create them in Application Composer. For example, if you keep the Notes panel, then you must create a Create Note smart action.
Modify the Gruntfile.js File
Once your extension is available in Visual Builder Studio, review the Gruntfile.js and make the following change if the code doesn't match the below sample. You must make this change before publishing your extension.
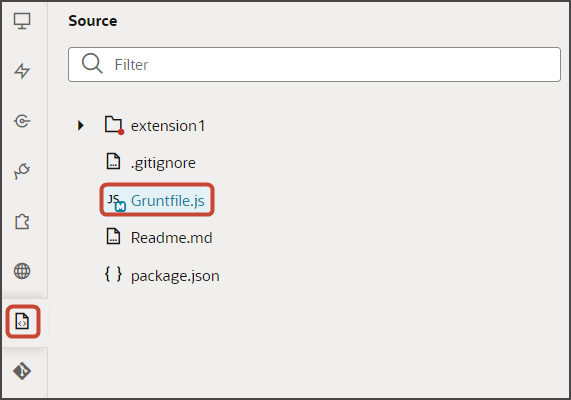
On the Source tab, edit the Gruntfile.js.
-
Replace the existing JavaScript with the following:
'use strict';

/**
 * Visual Builder application build script.
 * For details about the application build and Visual Builder-specific grunt tasks
 * provided by the grunt-vb-build npm dependency, please refer to
 * https://www.oracle.com/pls/topic/lookup?ctx=en/cloud/paas/app-builder-cloud&id=visual-application-build
 */
module.exports = (grunt) => {
    require('load-grunt-tasks')(grunt);
    grunt.initConfig({
        // disable images minification
        "vb-image-minify": {
            options: {
                skip: true,
            },
        },
        // configure requirejs modules bundling
        "vb-require-bundle": {
            options: {
                transpile: false,
                minify: true,
                emptyPaths: [
                    "vx/oracle_cx_fragmentsUI/ui/self/resources/js/utils/contextHelper",
                    "vx/oracle_cx_fragmentsUI/ui/self/resources/js/utils/actionsHelper",
                    "vx/oracle_cx_fragmentsUI/ui/self/resources/js/utils/callbackHelper",
                ],
            },
        },
    });
};
Create the Row Variable
Create a variable for the detail page. For example:
-
In Visual Builder Studio, click the App UIs tab.
-
Expand cx-custom > payment_c, then click the payment_c-detail node.
-
On the payment_c-detail tab, click the Variables subtab.
-
Click + Variable.
-
In the Create Variable dialog, make sure the Variable option is selected and, in the ID field, enter
row. -
In the Type field, select Object.
-
Click Create.