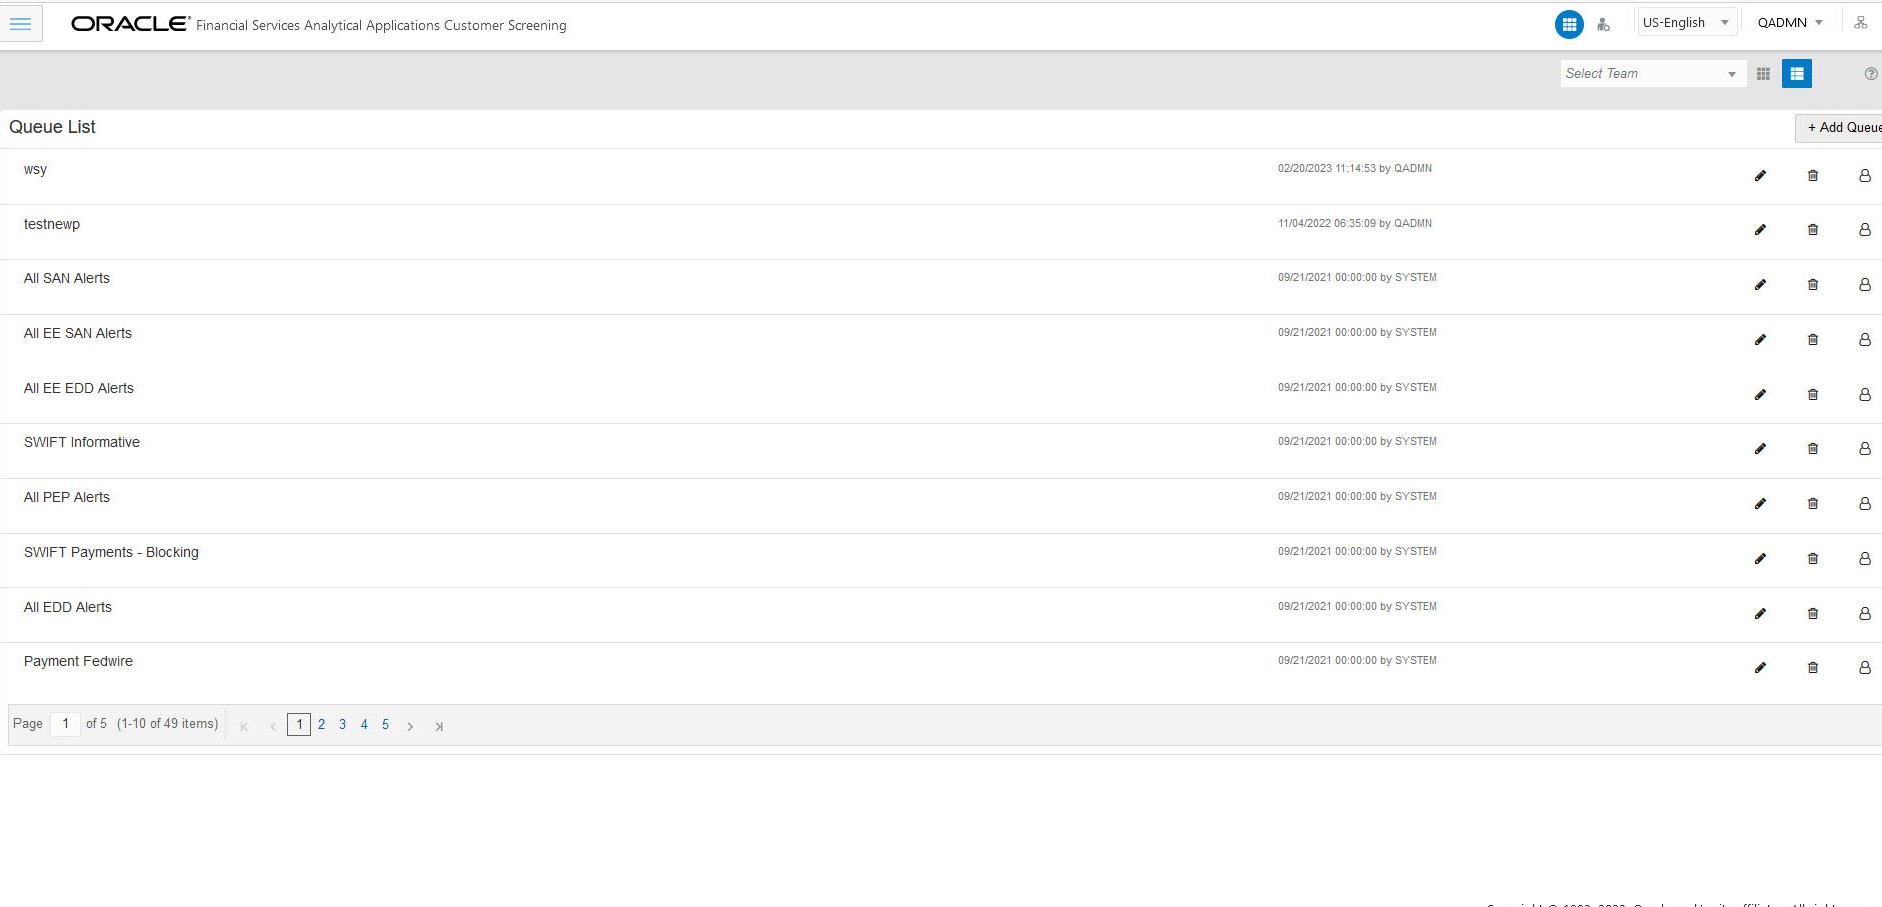
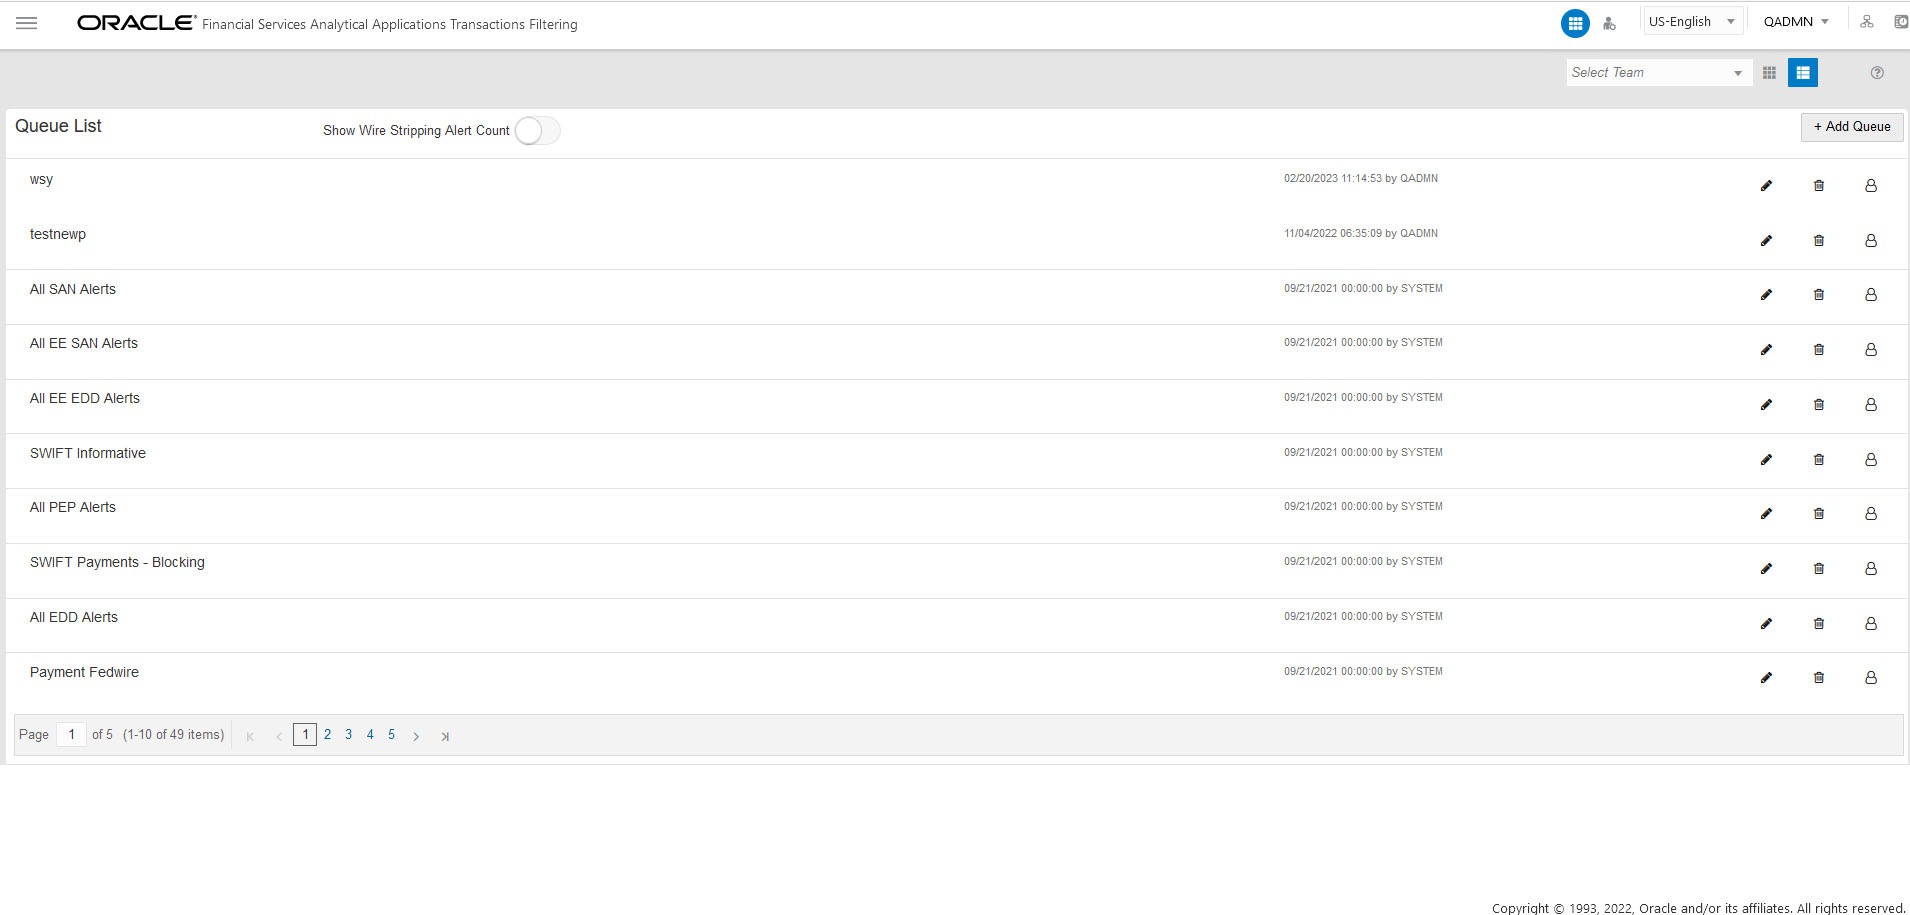
4.1 List View
By default, the Queue List is displayed for All Teams in List View.
If it is in Grid View, You can click the hamburger ![]() icon to view Queue List in List View.
icon to view Queue List in List View.
By default, Queue List displays the queues assigned to all user groups, and the value, All Team, is displayed in the drop-down list. The title of the page is displayed as All Teams for Queue List.
To view the queues related to the specific user group, you can select the user group from
the drop-down list. Queue List displays the queues that are related to the selected user
group. The selected user group name is displayed as the title for Queue List.
Note:
The Queue Administrator can order/prioritize the queues for any user group by drag and drop in the Queue List in List View.The following details are displayed for All Teams in the List View:
- Queue Name
- Date Time Created By. For example, 09/09/2021 14:06:39 by QADMIN/SYSTEM
- Queue Actions:
- Add Queue: Click
 button top-right in the Queue List to add a new queue. For
details, see theAdding a Queue section.
- Edit: Click
 icon to modify the queue details. Except selecting the Queue
Type, you can modify other details of the Queue. For details, see
theEditing the Queue section.
- Delete: Click
 icon to delete the Queue. The system prompts the message to
confirm the deletion. Click Yes. The Application displays the successful
message on deletion.
- Assign: Click
 icon. The Assign Queue pop-up appears.
- Select the User Group(s) to assign the Queue.
- Click Assign. The successful message is displayed on assigning the groups. Click Ok.
Note:
The Reviewer user groups will not be listed in the user group dropdown. Reviewer can see all the queues concerning the selected Sanctions applications. - Add Queue: Click
The following details are displayed for the selected user group in the List View:
- Queue Name
- Specific User Group (selected from the drop-down)
- Date Time Created By. For example, 09/09/2021 14:06:39 by QADMIN/SYSTEM
- Queue Actions
You can view ten queues in Queue List and use the navigation to view the next set of queues.
To change the order/priority of queues:
- Select the Queue, drag, and drop in the Queue List.
or
- Perform the following steps:
- Select the Queue and right-click. The menu options are displayed as Cut, Paste Before, and Paste After.
- Select Cut.
- Locate the cursor wherever it needs to be added and right-click. The menu options are Cut, Paste Before, and Paste After.
- Select the Paste Before or Paste After according to place the Queue.
The Queue Admin can prioritize the Queues for each User Group. The users within the user group can view the Queues in the same order set by Queue Admin.
For example, The following table shows the Queues in the User groups A, B, and C.
Table 4-1 Queue List
| Queue | Queue Name |
|---|---|
| Queue1 | SAN Alerts |
| Queue2 | PEP Alerts |
| Queue3 | EDD Alerts |
| Queue4 | PROHB Alerts |
Priority for each User Group is set by the Queue admin as given below:
- A – Queue 2, Queue 3 and Queue 1
- B – Queue 3 and Queue 4
- C – Queue 4, Queue 3 and Queue 1
So, when the user from the Q1 with Analyst role logs in, he/she should be able to see the
Queues in the above priority order as 2, 3, and 1. Similar case with other users
belonging to different user roles.
Note:
If the User Group is selected as the All Teams in the Select Teams menu, then the Queue Admin cannot sort the priority of the Queues.
