Add Non-merchandise Items to a Sale
To add non-merchandise items to a sale transaction (for example, a gift card, alteration, or gift-wrapping service):
-
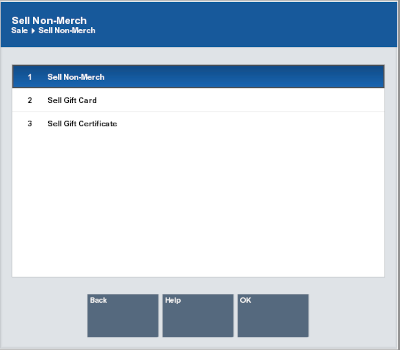
Click Sell Non-Merch in the Register Sale screen.
The Sell Non-Merch window opens.
Figure 3-17 List of Non-Merchandise Options

-
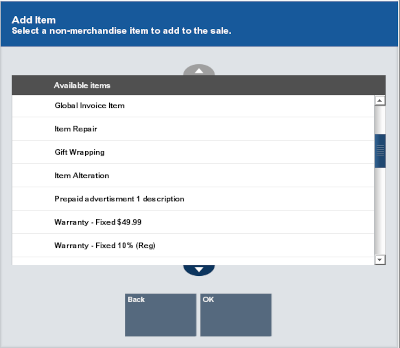
Select the type of non-merchandise item to sell:
Figure 3-18 List of Non-Merchandise Items

-
Click the type of non-merchandise item.
-
Use the up and down arrows to highlight the correct type of non-merchandise item, then press the Spacebar.
-
Enter the number associated with the type of non-merchandise item.
-
-
Click OK.
-
If necessary, select the item in the list:
-
Click the non-merchandise item.
-
Use the up and down arrows to highlight the correct non-merchandise item, then press the Spacebar.
-
Enter the number associated with the non-merchandise item.
-
-
Click OK.
-
If necessary, enter the amount of the item.
Figure 3-19 Prompt For Price

-
Press Enter.
The item is added to the View Port. Continue the transaction.