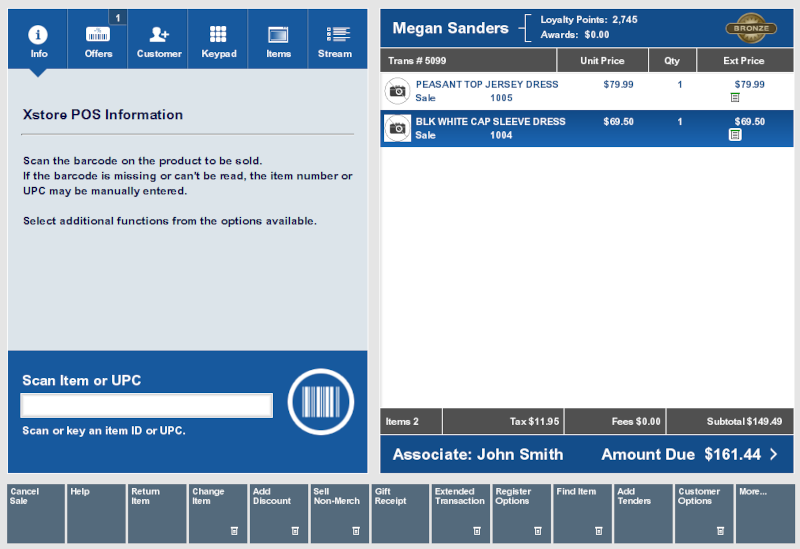
Add Wish List Items to a Transaction
Wish list items are purchased through the wish list tab of the Customer Maintenance screen.
-
Start a transaction.
-
If necessary, click Customer Options.
Note:
For extended transactions (for example, layaway, send sale, or special order), go directly to Step 3.
-
Click View Customer.
-
Click the Wish List tab.
Figure 3-20 Customer - Wish List Tab
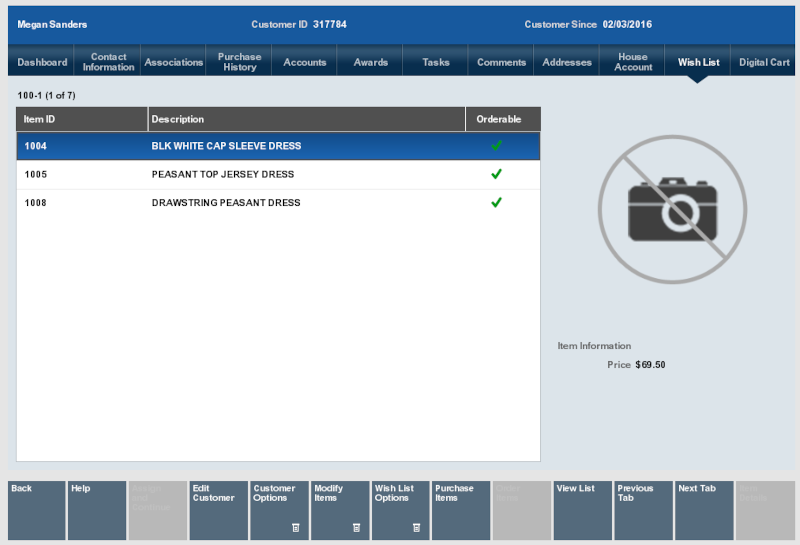
-
Do one of the following:
-
Click Purchase Items to add Wish List items to a sale transaction.
Figure 3-21 Purchase Items
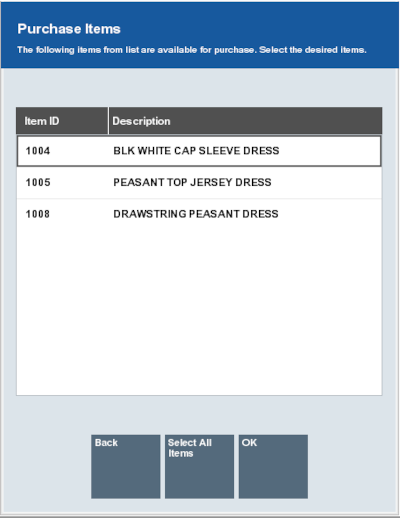
-
Click Order Items to add Wish List items to an order.
-
-
Click the items to include. This will highlight the items.
Note:
Click Select All Items to select all the items in the Wish List.
Figure 3-22 Purchase Items Selected
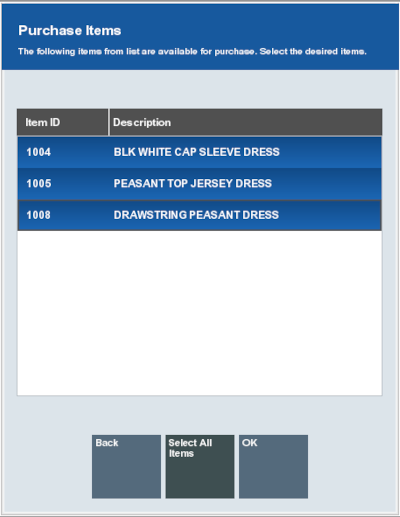
-
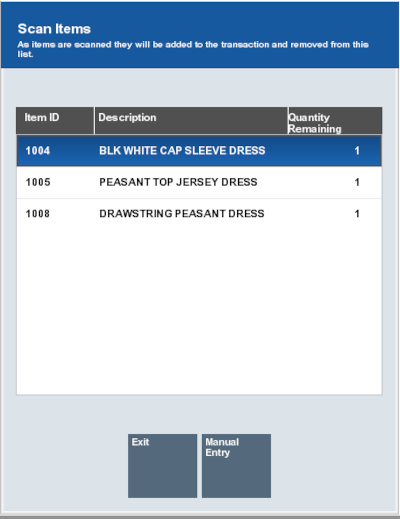
If your system has the Scan Items Prior to Adding to Transaction setting configured, the items display in a list to scan from to confirm they are the correct items.
If your system does not have the Scan Items Prior to Adding to Transaction setting configured, no scanning is required. The Wish List Confirmation Prompt opens. Select OK and continue at step 8.
Figure 3-23 Purchase Item Scan Items Prompt
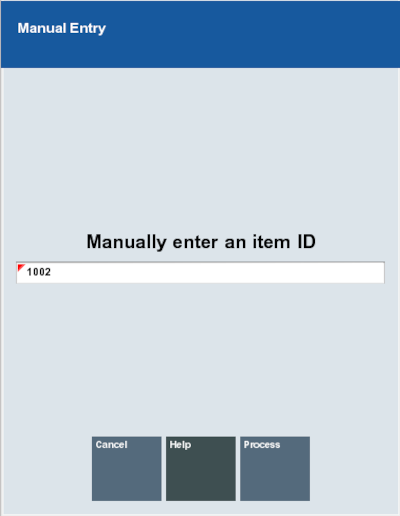
If the item does not scan, select Manual Entry, enter the ID of the item and select Process.
Figure 3-24 Purchase Items Manual Entry
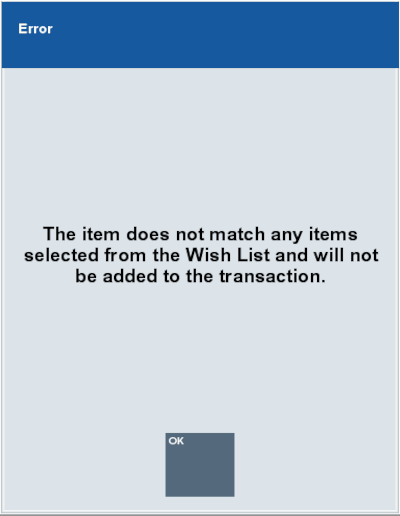
If an item is scanned or entered that does not match any items selected from the Wish List, a warning message is shown, and the item is not added to the transaction. Select OK to continue.
Figure 3-25 Purchase Items Wrong Item Scanned
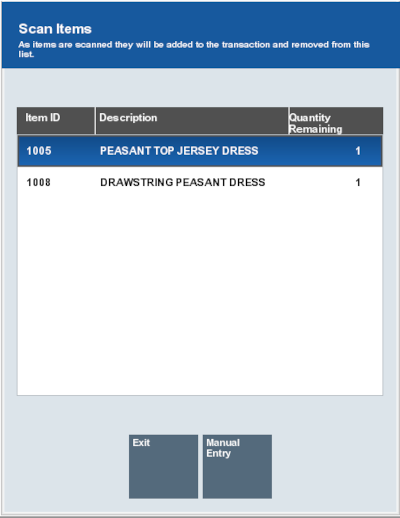
After an item has been scanned or manually entered, it is added to the transaction and removed from the scan items list.
Figure 3-26 Purchase Items After Scan
When all required items have been chosen, select Exit.
-
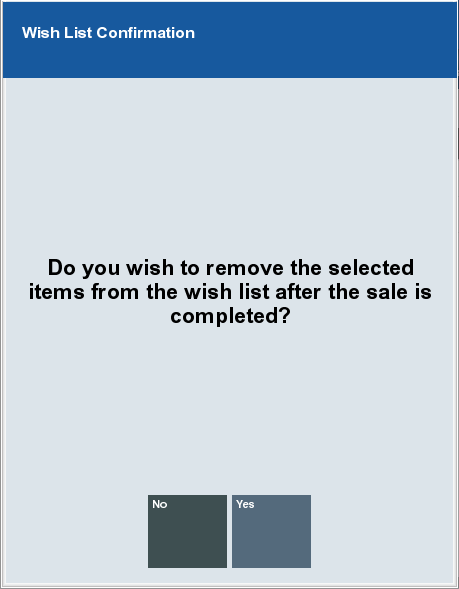
Indicate whether to keep the items in the Wish List:
Figure 3-27 Wish List Confirmation
-
Click Yes to add the items to the sale transaction and remove the items from the Wish List.
Note:
If the transaction is post-voided or returned, the wish list items are not reinstated to the Wish List.
-
Click No to add the items to the sale transaction but not remove the items from the Wish List.
-
-
Continue the transaction.
The items appear in the Sale screen View Port with a Wish List icon.
Figure 3-28 Sales Screen Showing Wish List item Added
