Tender Exchange
The Tender Exchange function permits an associate to exchange one form of tender for another. The types of tenders that may be exchanged and the threshold exchange amounts are determined by your store policy.
To perform a Tender Exchange:
-
Click Tender Exchange.
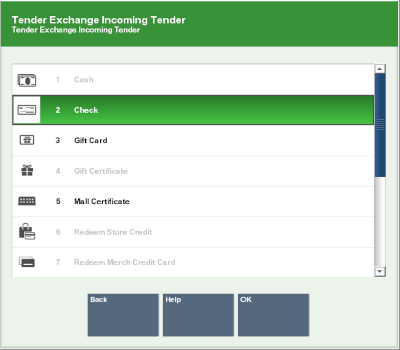
A Tender Exchange Incoming Tender window opens.
Figure 28-7 Tender Exchange Incoming Tender

-
Select the incoming tender type from the tender exchange list:
-
Click the tender.
-
Use the up and down arrow keys to highlight the correct tender, then press the Spacebar.
-
-
Click OK.
-
If a check tender was selected in Step 3, enter information about the check:
-
Enter the check MICR number, then press Enter.
-
Enter the check number, then press Enter.
-
Enter the state or province that issued the ID being used to verify the customer's identity, then press Enter.
-
Enter the ID number, then press Enter.
-
Enter the birthdate on the ID, then press Enter.
-
-
Enter the amount of the incoming tender.
-
If necessary, select whether to add another incoming tender to the exchange:
-
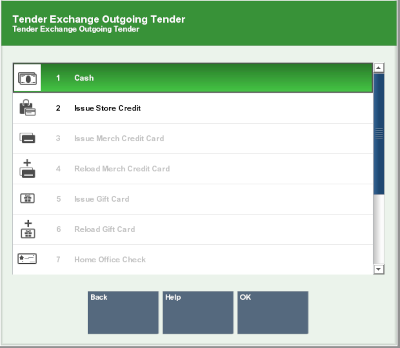
Select the outgoing tender:
-
Click the tender.
-
Use the up and down arrow keys to highlight the correct tender, then press the Spacebar.
-
-
Click OK.
Xstore Point of Service prompts for the amount of the outgoing tender.
Note:
The default value is equal to the maximum amount that can be redeemed in the selected tender.
-
If necessary, change the amount to return to the customer.
-
Press Enter.
-
If necessary, scan the cash drawer with which to perform the tender exchange.
-
Indicate whether the tender exchange is complete:
-
Click Yes to complete the transaction.
Receipts will print.
-
Click No and a Tender Exchange Incoming Tender window opens. Return to Step 3.
-
