

|
|
|
|
|
|
Performing Post-Installation Tasks
After you have completed the installation process and verified your installation, complete the post-installation tasks in the following sections to ensure that WebLogic JAM operates properly.
Updating Your license.bea File
You must update your license.bea file if at least one of the following is true:
In each case, you receive a license update file in an e-mail attachment. Update your license.bea file by performing the following steps for your system.
Updating Your license.bea File on a Microsoft Windows System
To update your existing license.bea file on a Microsoft Windows system follow these steps:
set PATH=.\jkd131\bin;%PATH%
UpdateLicense license_update_file
license_update_file is the name to which you saved the license update file that you received through e-mail. Running this command updates your license.bea file.
Updating Your license.bea File on a Unix System
To update your existing license.bea file on a Unix system, follow these steps:
PATH=./jkd131/bin;$PATH
export PATH
sh UpdateLicense.sh license_update_file
license_update_file is the name to which you saved the license update file that you received through e-mail. Running this command updates your license.bea file.
Deploying WebLogic JAM in the WebLogic Server Environment
After WebLogic JAM has been installed, it must be deployed in the WebLogic Server environment. The following tasks must be completed if you are not running a pre-configured sample.
You can deploy WebLogic JAM in the following ways:
Adding the jam.jar File to the WebLogic Server CLASSPATH
The jam.jar file adds classes to the WebLogic Server CLASSPATH. The jam.jar file must be added to the CLASSPATH in the WebLogic Server startup script for each server where it will run.
To manually add the jam.jar file to the WebLogic Server CLASSPATH, perform the following steps:
set CLASSPATH=.;.\lib\weblogic_sp.jar;
.\lib\weblogic.jar;e:\bea\wljam5.0\lib\jam.jar
In this example, e:\bea\wljam5.0 is the install directory for WebLogic JAM.
CLASSPATH=$WL_HOME:$WL_HOME/lib/weblogic_sp.jar:$WL_HOME/lib/weblogic.jar:./ext/weblogic-tags.jar:/bea/wljam5.0/lib/jam.jar
In this example, /bea/wljam5.0 is the install directory for WebLogic JAM.
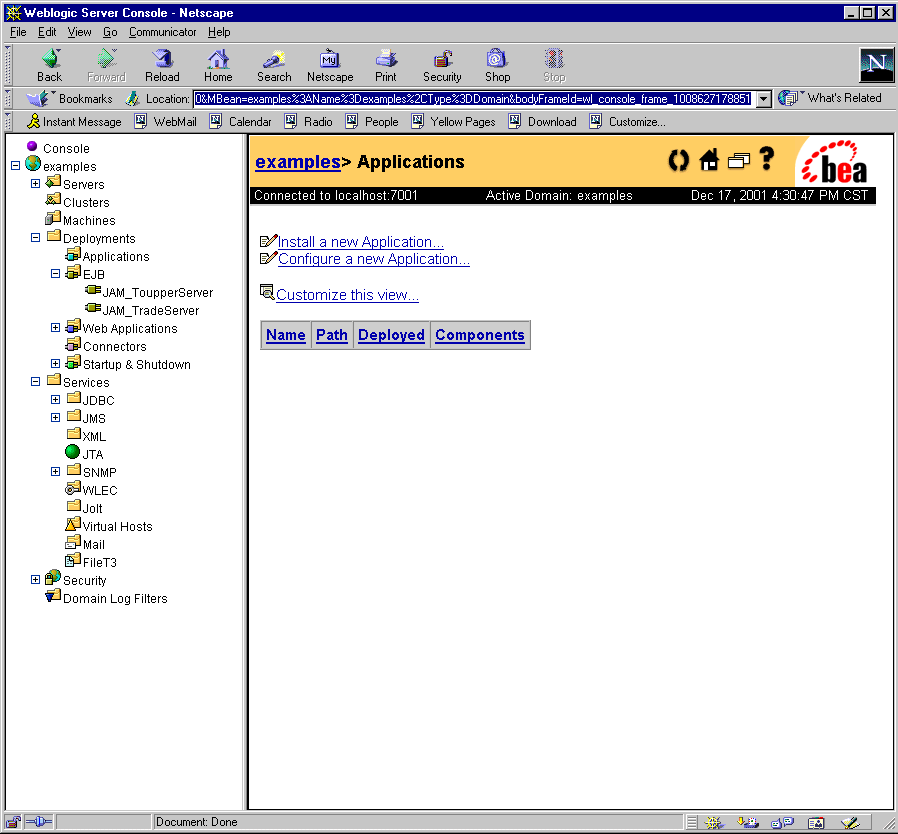
Deploying the jam.ear File
The jam.ear file deploys the WebLogic JAM applications and the WebLogic JAM extension to the WebLogic Administration Console. This file contains the following EJBs:
Deploy the jam.ear file on the appropriate servers using the WebLogic Administration Console. To manually deploy the jam.ear file, perform the following steps:
2. Click Browse to locate the jam.ear file in wljam5.0\lib directory. Click Upload.
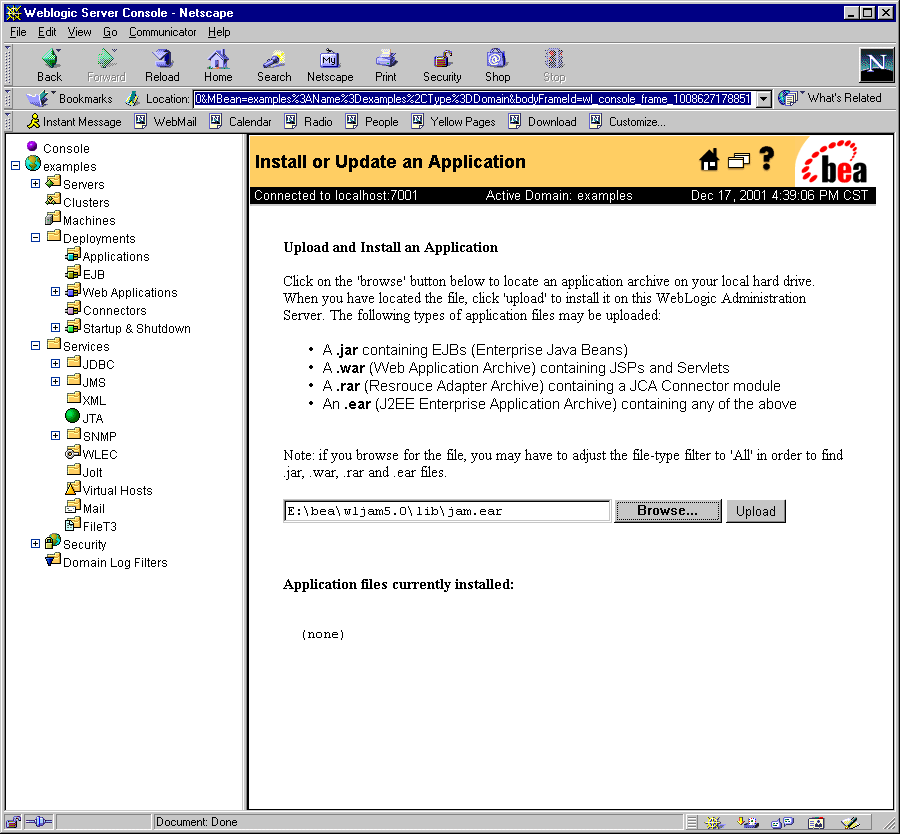
Note: The Path field and the Browse button specify directories and files relative to the computer that the browser is running on.
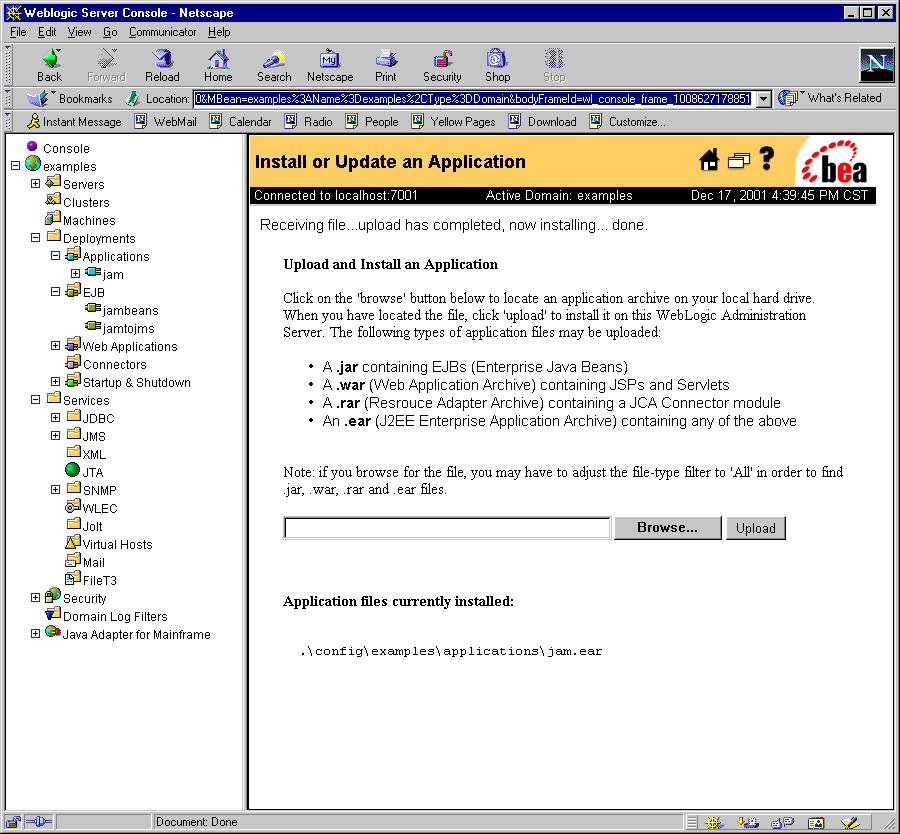
The following screen displays. The jam.ear file has been uploaded and WebLogic JAM applications and components are available in the left pane of the WebLogic Administration Console. The application files that have been installed are listed in the lower part of the right pane.
Defining the WebLogic JAM Startup Class
The WebLogic JAM startup class defines a class that is launched at WebLogic Server startup. To manually define the WebLogic JAM startup class using the WebLogic Administration Console, perform the following steps:
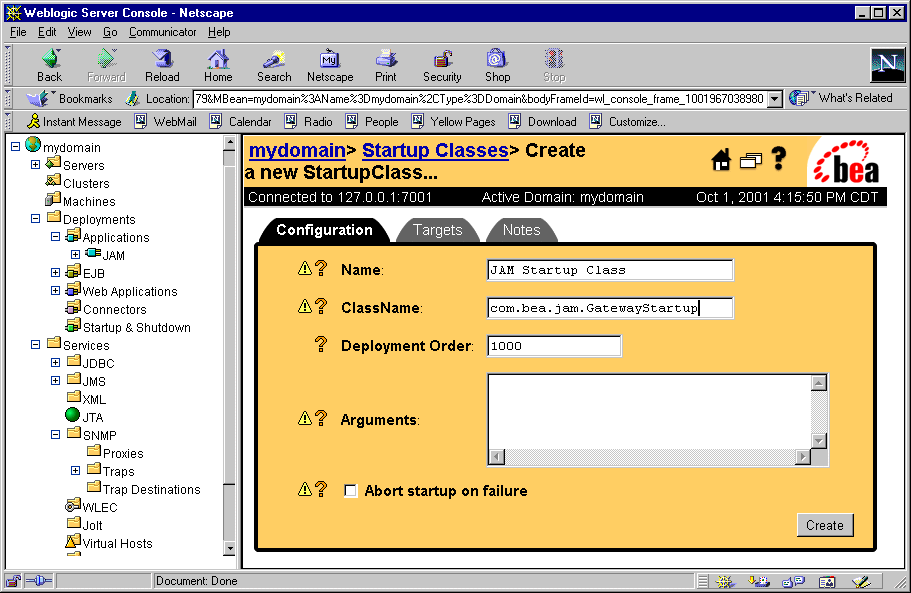
5. Select the Targets tab. Select the target server from the available list and click the arrow to add it to the chosen list. Click Apply to apply the new startup class.
See the BEA WebLogic Java Adapter for Mainframe Configuration and Administration Guide
for additional information about deploying WebLogic JAM.

|

|

|
|
|
|
Copyright © 2002 BEA Systems, Inc. All rights reserved.
|