
|
|
|
|
|
|
Uninstalling BEA WebLogic Java Adapter for Mainframe
The following sections describe the process for uninstalling BEA WebLogic Java Adapter for Mainframe (WebLogic JAM). The WebLogic JAM product may be removed or uninstalled in the following ways, however, the CRM on the mainframe is not uninstalled:
Note: You must use the same method to uninstall the product that you used to install.
Uninstalling WebLogic JAM Using Graphical-Mode
The following sections provide instructions for uninstalling the WebLogic JAM product in graphical mode based on your platform.
Prepare to Uninstall
Prepare to uninstall WebLogic JAM on the platform that corresponds to your system by completing the following steps.
On Microsoft Windows
To prepare to uninstall WebLogic JAM on Microsoft Windows:
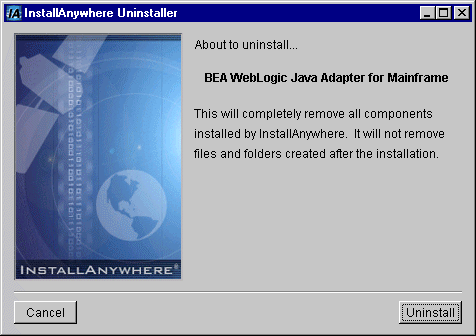
The screen in Figure 6-1 displays. Continue to uninstall WebLogic JAM by completing the steps in the Uninstall WebLogic JAM section.
On Unix
To prepare to uninstall WebLogic JAM on Unix using graphical mode:
>cd /usr/bea/wljam5.0/uninstaller
/usr/bea/wljam5.0/uninstaller> sh Uninstall
The screen in Figure 6-1 displays. Continue to uninstall WebLogic JAM by completing the steps in the Uninstall WebLogic JAM section.
Figure 6-1 Uninstalling WebLogic JAM
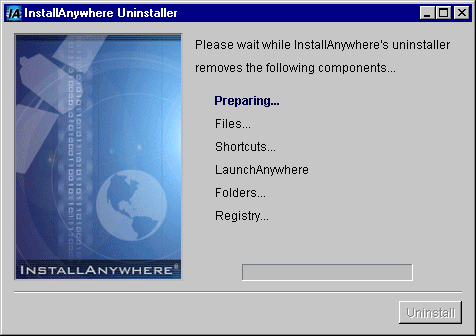
Uninstall WebLogic JAM
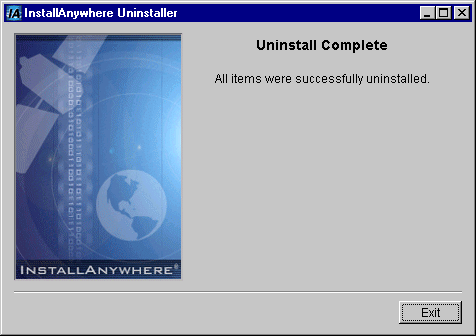
2. When the following screen displays, the uninstall is complete. Click Exit to close the uninstall program.
The uninstall process removes all effects of the installation, including:
Uninstalling WebLogic JAM Using Console-Mode
To uninstall WebLogic JAM on Unix in console mode, perform the following steps:
> cd /usr/bea/wljam5.0/uninstaller
/usr/bea/wljam5.0/uninstaller> sh Uninstall -i console
Listing 6-1 displays an example of a WebLogic JAM uninstallation.
Note: The single-dash bar just beneath the double-dash bar in Listing 6-1 is a progress indicator. When the single-dash bar becomes the same length as the double-dash bar, uninstallation is complete.
4. When the uninstall is complete, press ENTER to exit the program.
Listing 6-1 Console Mode Uninstallation Example
Preparing CONSOLE Uninstall...
=================================================================
BEA WebLogic Java Adapter for Mainframe (InstallAnywhere Uninstaller by Zero G)
-----------------------------------------------------------------
About to uninstall...
BEA WebLogic Java Adapter for Mainframe
This will completely remove all components installed by InstallAnywhere. It will not remove files and folders created after the installation.
PRESS <ENTER> TO BEGIN THE UNINSTALL, OR 'QUIT' TO EXIT THE UNINSTALLER: <ENTER>
=================================================================
Uninstall...
------------
[==================|==================|==================|======]
[------------------|------------------|------------------|------]
================================================================
Uninstall Complete
------------------
All items were successfully uninstalled.
PRESS <ENTER> TO EXIT THE UNINSTALLER: <ENTER>

|

|

|
|
|
|
Copyright © 2002 BEA Systems, Inc. All rights reserved.
|