

|
|
|
|
|
|
Installing the WebLogic JAM Plug-In
This section provides information on the following subjects:
Preparing to Install WebLogic JAM Plug-in
Before installing the WebLogic JAM Plug-in, you must:
Verify Software Requirements
The WebLogic JAM Plug-in is dependent on the following software. Verify the installation and configuration of:
Verify that these software products have been properly configured by referring to the appropriate product documentation.
Determine the Appropriate Platform
The WebLogic JAM Plug-in may be installed on a variety of platforms. Refer to the BEA WebLogic Java Adapter for Mainframe Release Notes for a complete list of supported platforms.
You must decide the platform on which platform you will install the WebLogic JAM Plug-in before proceeding.
Download WebLogic JAM Plug-in from the Web
An evaluation copy of WebLogic JAM Plug-in is available for download from the BEA corporate Web site at:
http://commerce.bea.com/downloads/weblogic_server.jsp#jam.
Because the WebLogic JAM Plug-in shares the WebLogic JAM license, its license will be updated when you update the WebLogic JAM license.
Determine the Installation Method
The WebLogic JAM Plug-in can be installed in the following ways:
Graphics mode installation is the graphics-based method of executing the BEA Installation program. It can be run on both Windows and Unix systems.
Note: To run Graphics mode installation, the console attached to the machine on which you are installing the software must support a Java-based GUI.
Console-mode installation is the text-based method of executing the BEA Installation program It can be run only on Unix systems and is intended for Unix systems with non-graphic consoles.
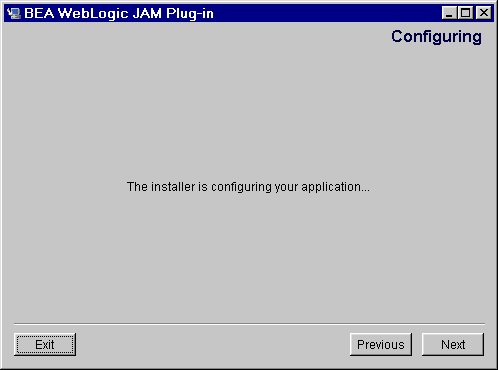
Installing the WebLogic JAM Plug-in
After performing the tasks described in Preparing to Install WebLogic JAM Plug-in, you can begin the installation procedure. There are two ways to install the WebLogic JAM Plug-in:
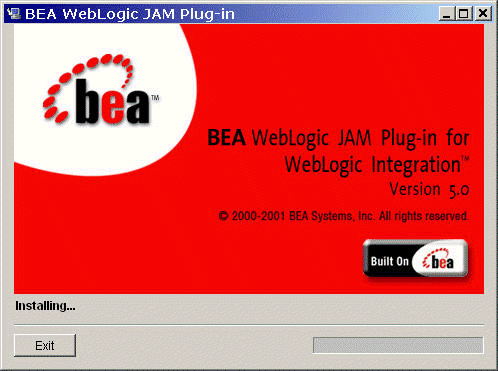
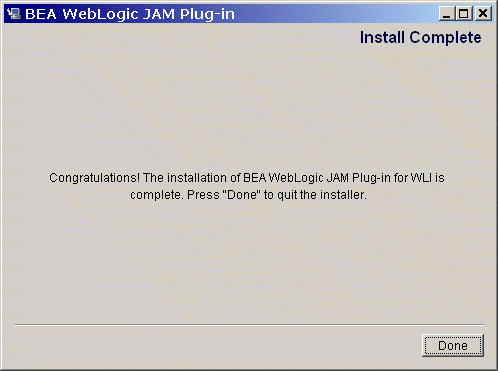
Using Graphics Mode Installation
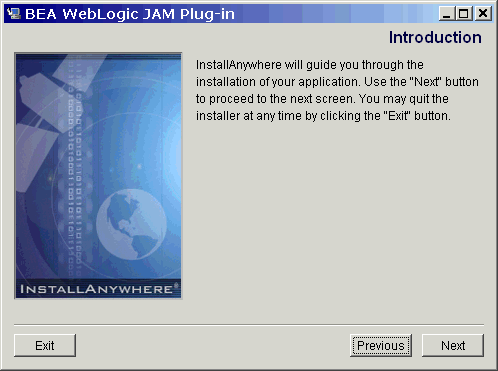
To install the WebLogic JAM software in graphics mode, perform the following steps:
For Unix platforms, do the following:
/mnt> export DISPLAY=xx.xx.xx.xx:0.0
(xx.xx.xx.xx is the IP address of the machine from which you are installing)
/mnt> sh jampi_Unix.bin


Note: You can have several BEA Home directories, but products that are dependent on each other must be installed in the same BEA Home directory. For example, WebLogic Server and WebLogic JAM must be in the same BEA Home directory.
Using Console Mode Installation
To install the WebLogic JAM Plug-in on Unix systems using the console-mode installation, run the BEA standard installation shell script as follows:
jampi_Unix.bin
Perform the following steps:
/mnt> export JAVA_HOME=<BEA_HOME>/<JDK_DIR>
/mnt> export PATH=<BEA_HOME>/<JDK_DIR>/bin:$PATH
Example: If your BEA Home directory is /usr/bea, then these environment variables should be set as follows:
/mnt> export JAVA_HOME=/usr/bea/jdk131
/mnt> export PATH=/usr/bea/jdk131/bin:$PATH
mnt> sh jampi_Unix.bin -i console
Listing 2-1 Console Mode Installation Script
Preparing to install...
Preparing CONSOLE Mode Installation...
=================================================================
BEA WebLogic JAM Plug-in (created with InstallAnywhere by Zero G)
-----------------------------------------------------------------
=================================================================
Introduction
-------------
This installer will guide you through the installation of 'BEA WebLogic JAM Plug-in'. On each step, answer the questions provided. Type "quit" at any time to exit the installer.
PRESS <ENTER> TO CONTINUE:
=================================================================
Choose BEA Home Directory
-------------------------
1- Create a New BEA Home
2- Use Existing BEA Home
Enter a number: 2
1- /bea
2- /tmp/install.dir.15582
Existing BEA Home: 1
Installing...
-------------
[---------------|---------------|---------------|---------------]
=================================================================
Install Complete
----------------
Congratulations. 'BEA WebLogic JAM Plug-in' has been successfully installed to:
/bea/wlintegration2.1
PRESS <ENTER> TO EXIT THE INSTALLER:
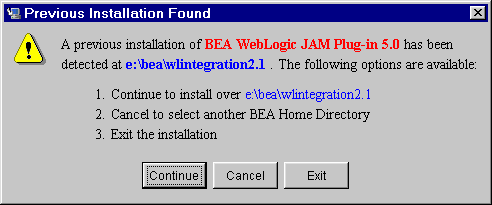
Installing Over a Previous Version
If you are installing over a previous version of the WebLogic JAM Plug-in, you will see the following section of the installation script:
>>>> THIS PART ONLY APPEARS WITH A PREVIOUS INSTALL <<<
------------------------------------------------------------
A previous installation of BEA WebLogic JAM Plug-in 5.0 has been detected at /bea/wlintegration2.1.
The following options are available:
1- Continue to install over /bea/wlintegration2.1
2- Cancel to select another BEA Home Directory
3- Exit the installation
Choose a number: 1
>>>> THIS PART ONLY APPEARS WITH A PREVIOUS INSTALL <<<
=================================================================
Installing Without WebLogic JAM
If you attempt to install the WebLogic JAM Plug-in without a valid installation of WebLogic JAM, you will see the following section of the installation script:
=================================================================
WebLogic JAM Plug-in requires a valid installation of the WebLogic JAM 5.0. Check your BEA Home directory to ensure that product is installed. Hit <ENTER> to quit an installation.:
[machine_name]:/home/tmp
.............................................................
Installing Without WebLogic Server
If you attempt to install the WebLogic JAM Plug-in without a valid installation of WebLogic Server 6.1, SP2, you will see the following section of the installation script:
=================================================================
WebLogic Server 6.1 SP2 NOT FOUND!
----------------------------------
WebLogic Server 6.1 SP2 is not installed. It should be installed into the same BEA Home as WebLogic JAM 5.0. Hit <ENTER> to quit an installation.:
[machine_name]:/home/tmp
.............................................................
Installing Without WebLogic Integration
If you attempt to install the WebLogic JAM Plug-in without a valid installation of WebLogic Integration 2.1, you will see the following section of the installation script:
=================================================================
WebLogic Integration 2.1 NOT FOUND!
-----------------------------------
WebLogic Integration 2.1 is not installed. It should be installed into the same BEA Home as WebLogic JAM 5.0. Hit <ENTER> to quit an installation.:
[machine_name]:/home/tmp
[===============|===============|===============|===============]
Verifying Your Installation
You can verify the installation of the WebLogic JAM Plug-in by verifying the installation of the following directories and files for the supported platforms.
The following platforms are supported for the WebLogic JAM Plug-in.
Uninstalling BEA WebLogic Java Adapter for Mainframe Plug-in
The WebLogic JAM Plug-in may be removed or uninstalled in the following ways:
Graphical mode
Either graphical or console mode.
Note: You must use the same method to uninstall the product that you used to install it
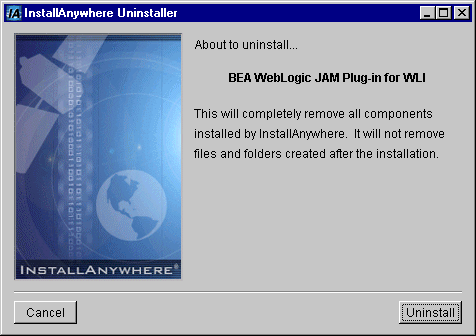
Uninstalling in Graphics Mode
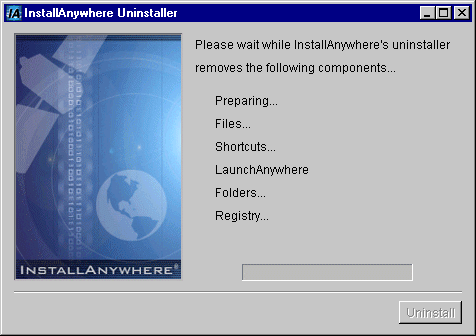
To uninstall WebLogic JAM Plug-in in graphics mode, perform the following steps:
On Unix platforms, do the following:
>cd <BEA_HOME>/wlintegration2.1/uninstaller_JAMPI
/usr/bea/wlintegration2.1/uninstaller_JAMPI> sh Uninstall
The following screen displays.
Uninstalling in Console Mode
To uninstall WebLogic JAM Plug-in in console mode, perform the following steps:
> cd <BEA_HOME>/wlintegration2.1/uninstaller_JAMPI
<BEA_HOME>/wlintegration2.1/uninstaller_JAMPI> sh Uninstall -i console
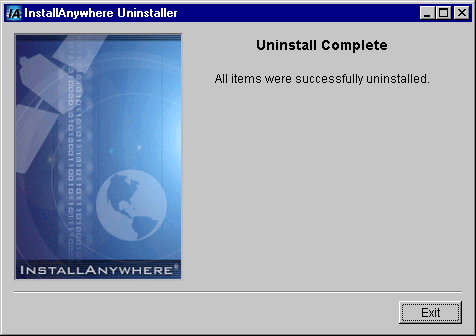
Note: The single-dash bar just beneath the double-dash bar in Listing 2-1 is a progress indicator. When the single-dash bar becomes the same length as the double-dash bar, uninstallation is complete.

|

|

|
|
|
|
Copyright © 2002 BEA Systems, Inc. All rights reserved.
|