


|

|
|
|
|
Installing BEA WebLogic Commerce Servers
This topic includes the following sections:
Licensing WebLogic Commerce Servers
WebLogic Application Solutions requires a license to run.
When you registered to download WebLogic Applications Solutions you should have also downloaded a current evaluation license. If you received the product on a disk, you should find a license file on the disk as well. See below for instructions on how to install the license.
If you need a new evaluation license please e-mail support@theorycenter.com with your contact information.
How WebLogic Application Solutions Licensing Works
WebLogic Application Solutions license keys are stored in WEBLOGICAC_HOME/license in a file called WebLogicACLicense.xml that looks like this:
<WEBLOGICAC-LICENSES>
	<LICENSE OWNER="BEA Systems"
		SERIAL="Evaluation"
		PRODUCT="BEA WebLogic Components"
		IP="any"
		UNITS="1"
		EXPIRATION="15-April-2000"
		KEY="MRNjUZEVKMVPBD8tAv5gnZJ7//Ca5qeQQrsmpQ==" />
	<LICENSE OWNER="BEA Systems"
		SERIAL="Evaluation"
		PRODUCT="BEA WebLogic Portal"
		IP="any"
		UNITS="1"
		EXPIRATION="15-April-2000"
		KEY="Mn8yzDAhQPAJjWp3ninzQbXstYXTd4zJ4D1g==" />
</WEBLOGICAC-LICENSES>
This XML file must be either in your working directory or in a directory included in your CLASSPATH. We recommend that you add the WEBLOGICAC_HOME\license directory to your CLASSPATH, but moving the WebLogicACLicense.xml file to a directory that is already in your classpath will also work.
How to Reinstall the WebLogicACLicense.xml File by Hand
If you receive a new WebLogicACLicense.xml, you should:
Note: If you have two license statements for the same product in the file only the first one will be used.
We're Here to Help!
If you experience any difficulties, please do not hesitate to contact us at support@theorycenter.com.
Installation Instructions on Microsoft Windows NT
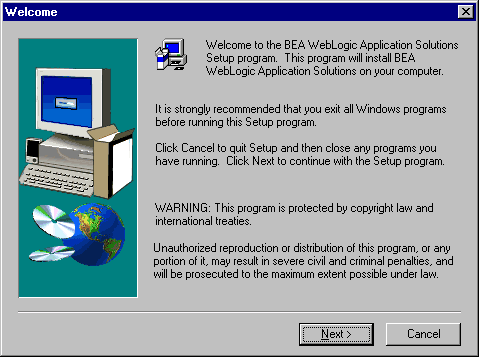
Unzip the product download to a Temp directory. Double-clicking Setup.exe will launch a series of step-by-step installation windows to help you quickly install the WebLogic Commerce Servers. The windows are self-explanatory.
You can cancel the installation at any time. (If the install program detects the presence of a previous WebLogic Commerce Servers installation, you are given the option of quitting the current installation or overwriting the existing one.)
Refer to Figure 1-1 for additional information on the installed directory structure.
Notes: Please review the software requirements section of this Installation Guide before starting the installation.
Make sure you have your license key handy in the form of an .xml file named WebLogicACLicense.xml. (See Licensing WebLogic Commerce Servers.)
Figure 2-1 WebLogic Commerce Servers Welcome Window
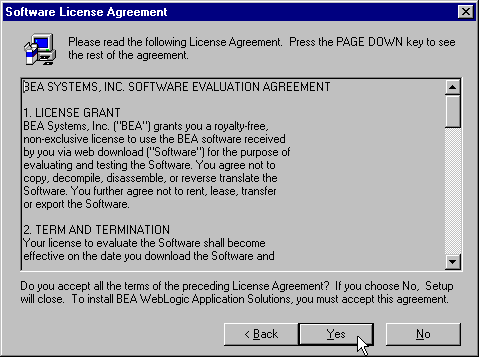
To continue with the installation, you must accept the terms of the license agreement. If you accept the terms, click Yes and continue with the installation. If you you do not accept the terms, click No to stop the installation.
Figure 2-2 Software License Agreement
The next window that appears is Select your WebLogicACLicense.xml File (see Figure 2-3). Enter the complete path to its location directly or browse to it in your directories. If it is not found or invalid the installation program will tell you that it "does not exist," and quit.
Figure 2-3 WebLogicACLicense.xml locator
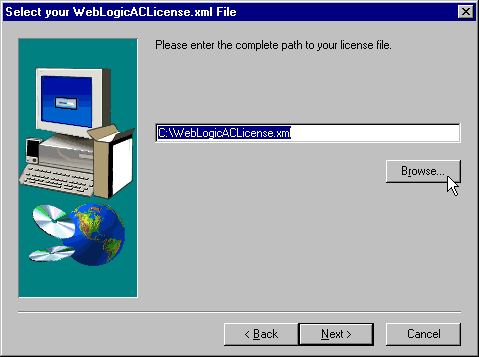
Figure 2-4 Java Detect Agent
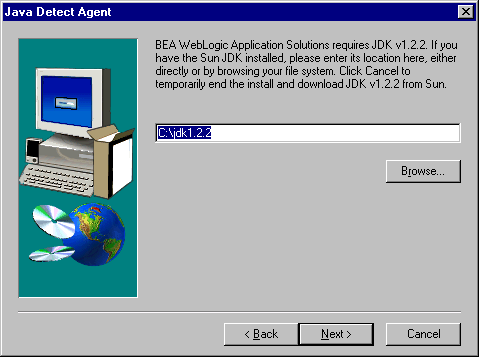
Note: In the case of the Java Developer Kit, your Web browser will automatically launch to the JDK1.2.2 (JAVA2 SDK) download site at http://java.sun.com/products/jdk/1.2/ (See Figure 2-5.)
Figure 2-5 JDK Not Found

Figure 2-6 WebLogic Server Detect Agent
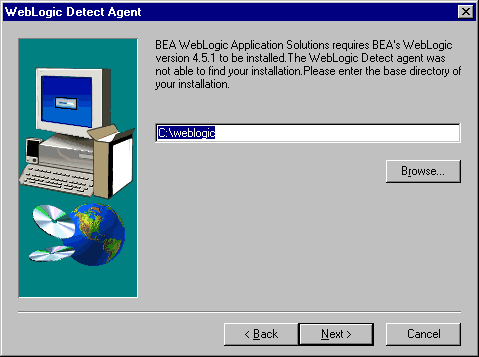
After installing WebLogic Server and/or JDK1.2.2, restart the Setup.exe to resume the installation program.
Figure 2-7 Rose Detect Agent

If you don't have Rose the installation will proceed, but certain parts will not install (see Table 2-1).
|
WebLogic Components 1.7 Part |
|---|
|
Rose Add-in |
|
UML Model (source code) |
|
Smart Generator |
If you choose to install Rational Rose later, simply restart this product's Setup.exe installation program. The installation will add the additional parts to your original installation directory, as well as overwrite the previously installed product parts.
Figure 2-8 Select WebLogicAC Destination
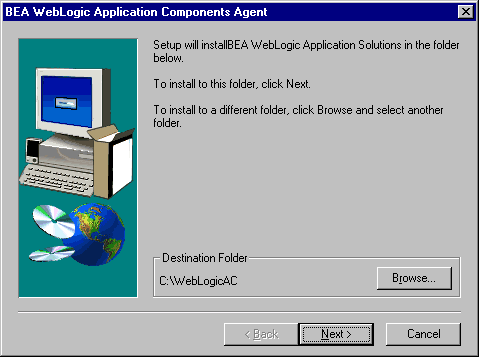
Figure 2-9 Select Program Folder
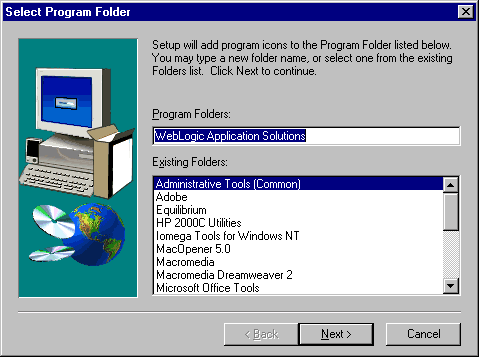
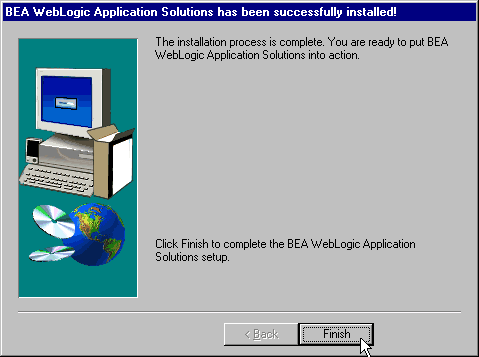
Figure 2-10 Installation Successful
To run the My BuyBeans.com example:
To run the Acme example:
For more information about the example Portals, see About the example applications.
Installation Instructions on UNIX
Installing the product
After installing or downloading the product file weblogicac.zip , follow these steps to install BEA WebLogic Commerce Servers:
$ jar xvf weblogicac.zip
This creates the weblogicac directory on your root, and extracts all files and puts them in the proper folders.
$ cd weblogicac
$ . install.sh
As the script runs, it will ask for the directory location of your JDK 1.2 and of WebLogic 4.5.1. Enter these when prompted.
Note: The script will not ask for your license - the license key is evaluated at runtime. If a valid license key is not located as given in step 2 above, a fatal exception will be generated when you try to run either demo application or any of the the examples.
Then the script will complete the installation, which may take more than a minute. Wait for the message, WebLogic Application Components Installation complete!
Running the example portal applications (UNIX)
From the installation directory, run the StartPortal script:
$ . StartPortal.sh
This runs the WebLogic server and starts the sample Cloudscape database.
Note: In the original implementation, you should see 34 EJBs deployed using .ser files, and 2 EJBs deployed using .jar files.

|
|
|
Copyright © 2000 BEA Systems, Inc. All rights reserved.
|