

|
|
|
|
|
|
Events
This topic provides information about standard events and how to register custom events. It is intended for use by Business Analysts or marketing professionals. The first part provides general information about events that you can use when writing scenarios actions. The second part tells you how to register custom events.
BEA supplies standard events with each product. A Java developer can create additional events, referred to as custom events. More information about custom events is provided in Registering Custom Events and at http://download.oracle.com/docs/cd/E13210_01/wlcs/docs35/events/index.htm.
In general, an event is a notification that something has happened in a computer program. Events are used for a variety of things. You can use events with campaigns to enhance promotion of products and services. You can also use a special kind of event called a behavior tracking event to gather intelligence about customer interactions on an e-commerce site. E-analysis and e-marketing systems use this information to help you understand your customers so that you can improve your marketing and build long-lasting customer relationships.
This topic contains the following sections:
Standard Event Categories
Events are organized into categories. The following list presents each category of standard event along with a brief description:
Standard Events
This section describes standard events in more detail. You can use it to reference events when writing scenario actions. The following list presents each type of standard event along with a brief description:
Registering Custom Events
This topic contains basic information about registering custom events. This information includes background information about custom events, how to register events using the Events Editor in the BEA E-Business Control Center, and what you need to do when you make changes to custom events.
This topic contains the following sections:
Note: You cannot change any of the standard events supplied with the Campaign Manager for WebLogic, the WebLogic Commerce Server, or the WebLogic Personalization Server.
Overview of Creating a Custom Event
The creation of a custom event is a multiple-step process. The following list provides an overview of the process:
You can find detailed information about defining an event, creating a trigger, modifying the weblogiccommerce.properties file, and creating an entry in the EVENT_TYPE table, at http://download.oracle.com/docs/cd/E13210_01/wlcs/docs35/events/index.htm.
Why Register an Event?
When you create a custom event, you must register the event. Registering a custom event lets the E-Business Control Center know that the custom event exists. Registering permits campaign developers using the E-Business Control Center to create scenario actions that refer to the event. Registering also identifies the event's properties.
Whenever you change the event code, you must update the event registration. Conversely, whenever you change the event registration, you must also update the event code. A possible ramification of event modification is that the scenario actions that refer to the event's properties may need to be modified.
Registering a Custom Event
The Event Editor in the E-Business Control Center allows you to easily register a custom event. For the purpose of registering an event, you can consider an event property as a name-value pair. During the registration of a custom event, you specify the event's name, description, and one or more properties. Each property has a range, type of permissible value, and default value. The information you need to register for an event should be available from your Commerce Business Engineer (CBE) or Java developer.
The properties for a custom event includes the following information:
Note: When you set property values, you are not guaranteed that the property will adhere to these restrictions at run time. Events are not checked by the SchemaManager for adherence to a property schema. Therefore, you need to keep the event type definition and the event registration synchronized.
As the previous list suggests, a combination of property values are possible. The possible combinations of properties are listed here:
To create a custom event:
Figure 7-1 E-Business Control Center Window
Note: For more information on connecting the E-Business Control Center to a server, see Connecting the BEA E-Business Control Center to a Server. Note: You cannot edit the standard events.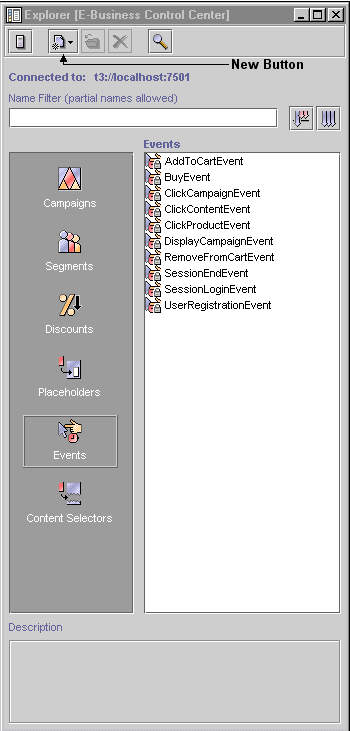
Figure 7-2 Event Editor Window
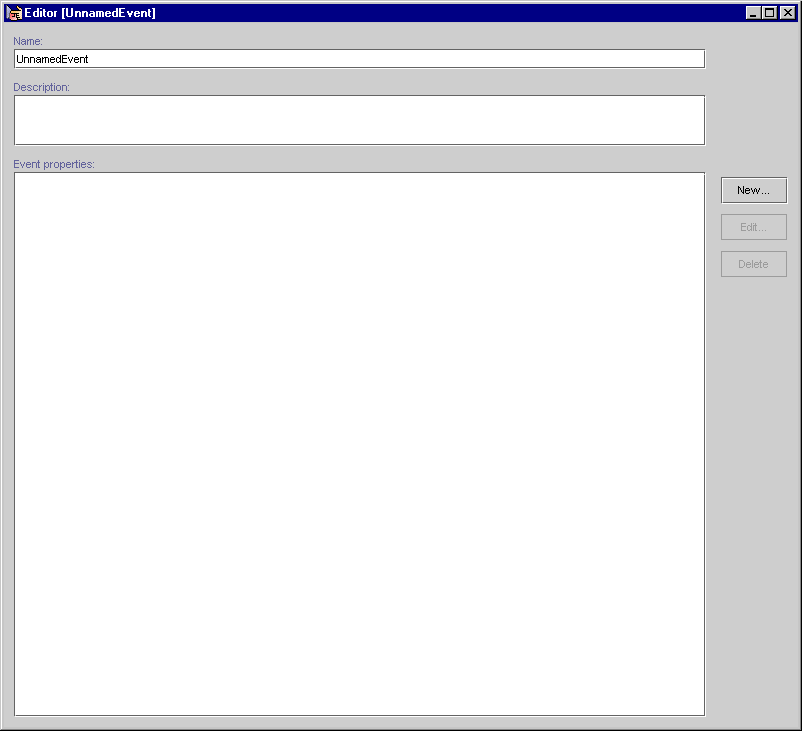
Figure 7-3 Edit Event Property Window

The type of window that appears depends on the values selected.
Entering Property Values and Setting the Default Value
Depending on the data type, different steps are required for entering values and setting default values. The following property categories are available:
Properties with Boolean or a Single Value and Single Default
To enter the default value for Boolean property or a property with a single value and a single default (unrestricted), complete the following steps:
Figure 7-4 Enter Property Values Window—Boolean
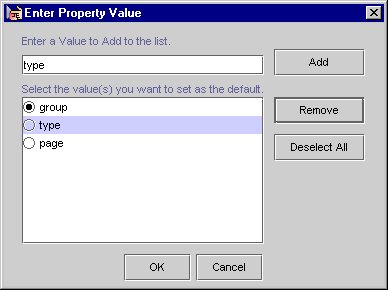
Figure 7-5 Enter Property Values Window—Single Value, Single Default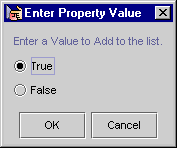
Properties with Multiple Values and Single, Multiple, or All Defaults
To enter multiple property values and set one or more defaults (unrestricted), complete the following steps:
Figure 7-6 Enter Property Values—Multiple Values, Single Default
Figure 7-7 Enter Property Values—Multiple Values, Multiple Restricted Defaults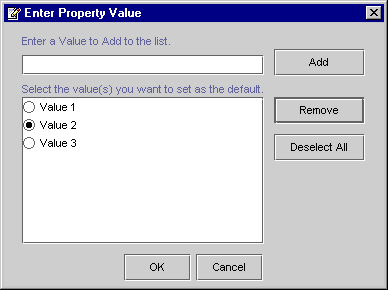
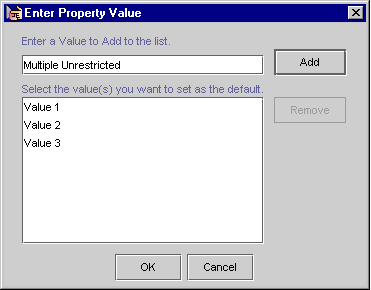
Figure 7-8 Enter Property Values—Multiple Values, Multiple Unrestricted Defaults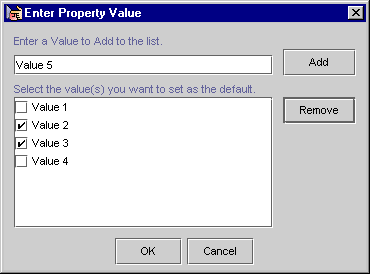
Note: To remove the default value for a property with multiple values and a single default, click the Deselect All button.
Note: For multiple values without restrictions (that is, the Value range is Unrestricted), you do not need to select any defaults.
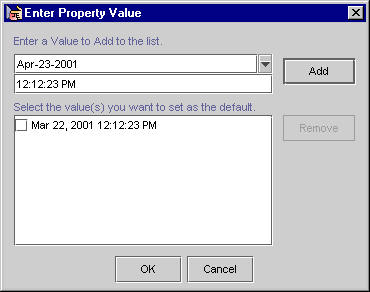
Properties with Date and Time Values
Properties with date and time values can use all Selection mode and Value range settings. For more information about these settings, see Properties with Boolean or a Single Value and Single Default and Properties with Multiple Values and Single, Multiple, or All Defaults.
To enter date and time values and set one or more defaults, complete the following steps:
Figure 7-9 Enter Date/Time Values
Updating a Registered Custom Event
Whenever you make changes to a custom event's code, you should update that event's registration. Updating the registration lets the E-Business Control Center know about the changes in the custom event and aids campaign developers using the E-Business Control Center to modify any scenario actions that refer to the event.
To update a custom event:
Note: For more information on connecting the E-Business Control Center to a server, see Connecting the BEA E-Business Control Center to a Server.
Note: You cannot edit standard events.
Figure 7-10 Explorer Window
Figure 7-11 Event Editor Window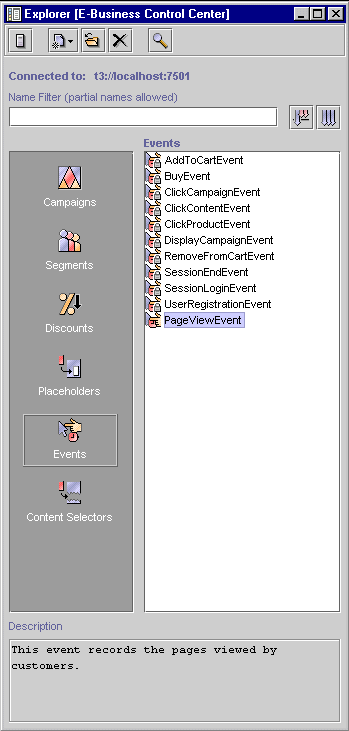
Note: For more information about setting custom event properties, see Entering Property Values and Setting the Default Value. Figure 7-12 Edit Event Property Window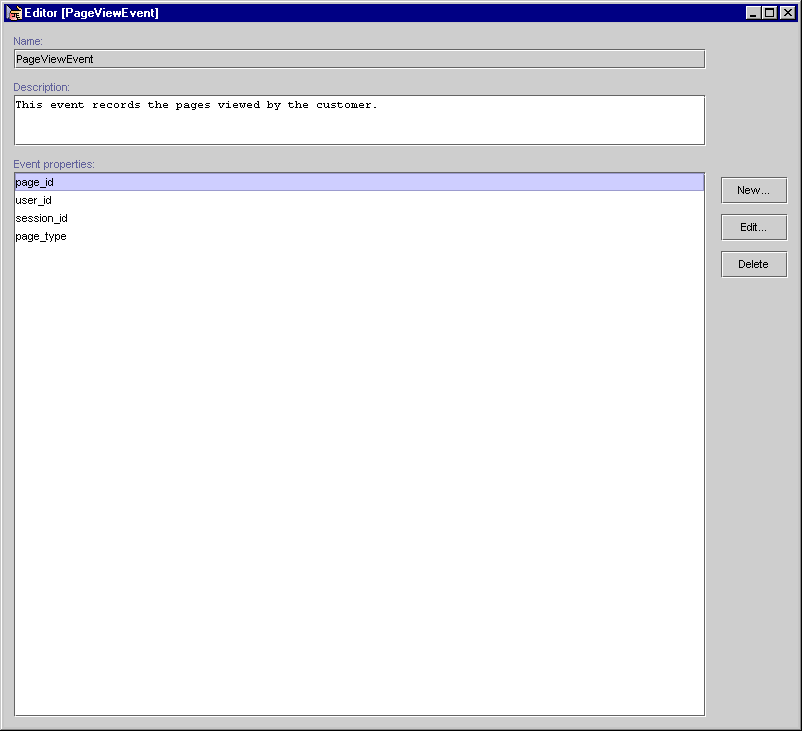
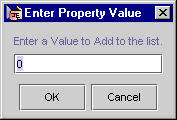
Note: If you change the property setting Data type, Selection mode, or Value range, the associated values will be erased. Figure 7-13 Enter Property Value Window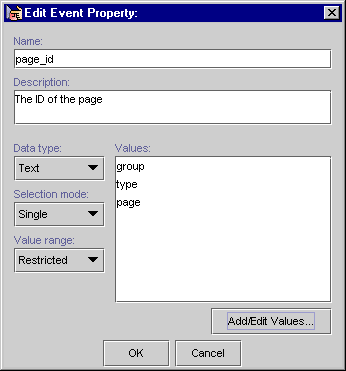

|

|

|
|
|
|
Copyright © 2001 BEA Systems, Inc. All rights reserved.
|