BEA Logo BEA WebLogic Process Integrator Release 1.1

  Corporate Info  |  News  |  Solutions  |  Products  |  Partners  |  Services  |  Events  |  Download  |  How To Buy


   WebLogic Process Integrator Doc Home   |   Installation and Configuration Guide   |   Previous Topic   |   Next Topic   |   Contents   |  

Installing WebLogic Process Integrator on Windows NT


The following sections describe installing WebLogic Process Integrator on Windows NT systems:


Installing the WebLogic Process Integrator Software Package

The following procedure explains how to install WebLogic Process Integrator on Windows NT. After installation, you must perform certain configuration tasks before you can run the product. For instructions, refer to Configuring and Starting WebLogic Process Integrator.

To install WebLogic Process Integrator on Windows NT:

  1. Insert the WebLogic Process Integrator CD in the CD tray.

  2. Choose Start—>Programs—>Windows NT Explorer from the Start menu.

  3. Click on the CD drive and navigate to the nt\ folder.

  4. Double-click Setup.exe to start the installation process. The Welcome screen displays.

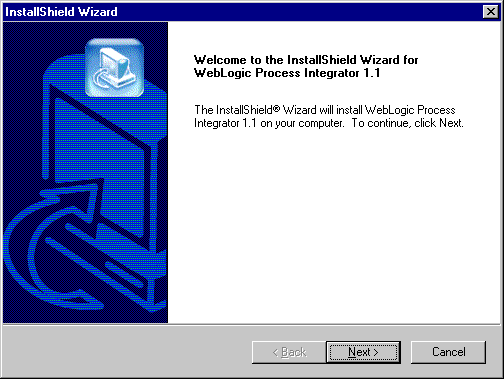
    Figure 2-1 Welcome screen

    Note: If you already have a version of WebLogic Process Integrator installed on your system, the Confirm File Deletion dialog is displayed instead of the Welcome screen.

    Figure 2-2 Confirm File Deletion dialog box

    You must delete the earlier version of WebLogic Process Integrator before you can install the current version.

    1. Click OK to delete the earlier version and display the Maintenance Complete screen.

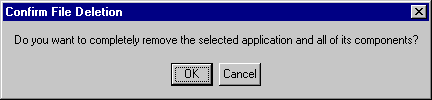
      Figure 2-3 Maintenance Complete screen

    2. Click Finish to complete the deletion process and exit.

    3. Restart the installation process as described in step 2 to install the current version.

  5. Click Next on the Welcome screen to display the License Agreement screen.

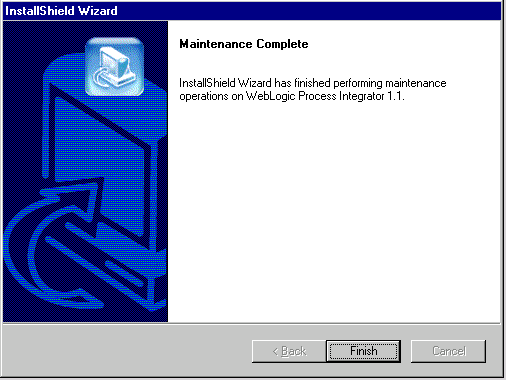
    Figure 2-4 License Agreement screen

  6. Click Yes to accept the license agreement and display the Customer Information screen.

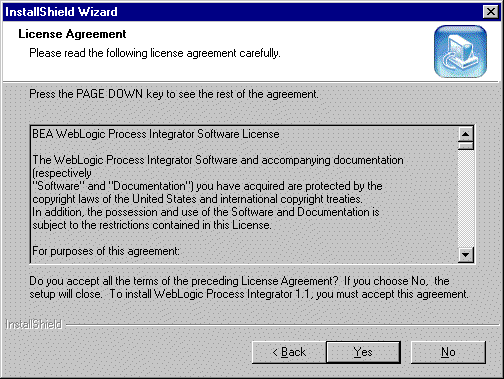
    Figure 2-5 Customer Information screen

  7. Enter your name and company information. Click Next to display the Choose Destination screen.

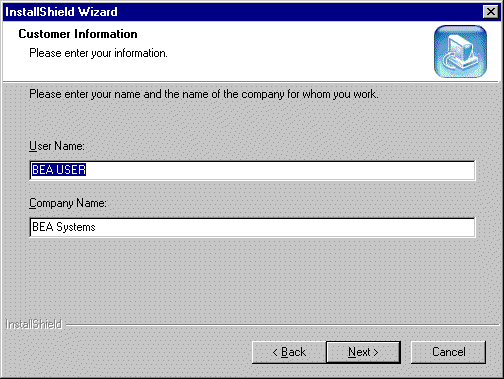
    Figure 2-6 Choose Destination screen

  8. Accept the default location or click Browse to specify a different location. Click Next to display the Select Components screen.

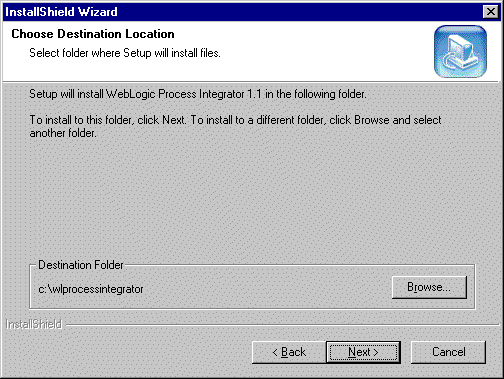
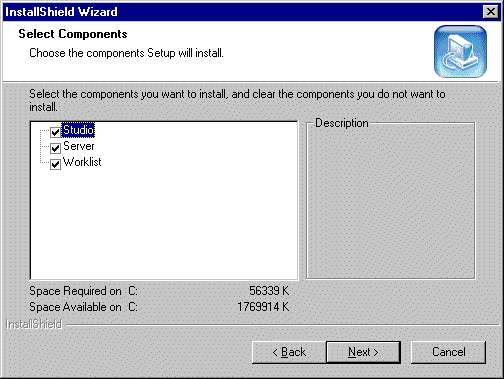
    Figure 2-7 Select Components screen

  9. Choose the WebLogic Process Integrator components you want to install by selecting or deselecting the checkboxes. Note the "Space Required" and "Space Available" indicators at the bottom of the screen, and make sure you have enough space to install on the selected disk.

    After you have selected the components to install, click Next to display the Select Program Folder screen.

    Figure 2-8 Select Program Folder screen

  10. Accept the default or choose a different folder in the Existing Folders list. Click Next to start the installation and display the Setup Status screen.

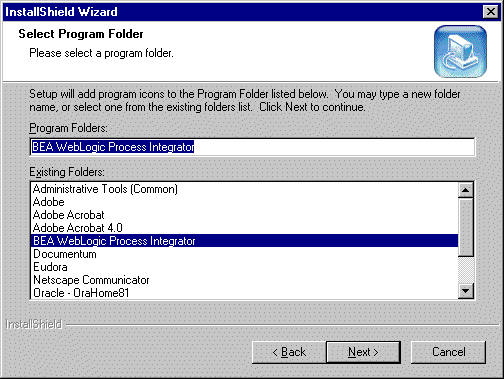
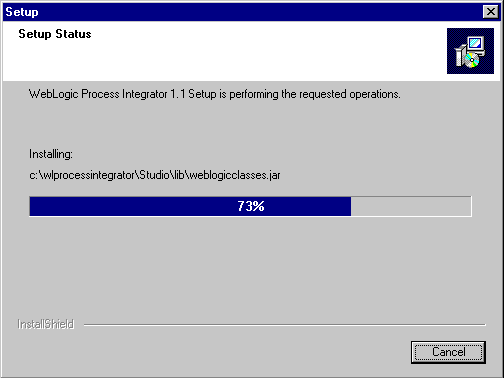
    Figure 2-9 Setup Status screen

    After the installation process has completed, the Setup Complete screen displays.

    Figure 2-10 Setup Complete screen

  11. Click Finish to complete the installation.

    The installation process creates a root directory for WebLogic Process Integrator named \wlprocessintegrator. The server, studio, and worklist components are stored, respectively, in the following subdirectories under the root: \Server, \Studio, and \Worklist.


Installing Your Software License

The WebLogic Process Integrator requires a software license in order to use the product. To install the software license, copy license.bea to the \wlprocessintegrator\Server\license directory.