| Skip Navigation Links | |
| Exit Print View | |

|
Sun Installation Assistant 2.2 User's Guide for the Sun Fire X4640 Server Sun Fire X4640 Server Documentation Library |
| Skip Navigation Links | |
| Exit Print View | |

|
Sun Installation Assistant 2.2 User's Guide for the Sun Fire X4640 Server Sun Fire X4640 Server Documentation Library |
About This Documentation (PDF and HTML)
Introduction to Sun Installation Assistant
Getting Started With Sun Installation Assistant 2.2
SIA Version 2.2 Features and Benefits
Server Support and SIA Media Availability
Starting SIA and Preparing for Deployment or Recovery Tasks
Local and Remote Media Options
Mouse Settings When Using SIA with ILOM Remote Console
How to Install Linux With SIA Using Local or Remote Media
Using SIA to Upgrade System Firmware
How to Upgrade the System BIOS and ILOM Firmware
Performing an SIA PXE-Based Attended Installation
How to Create the SIA Image and Prepare for PXE Boot
How to Boot SIA From a PXE Server for an Attended Installation
Performing an SIA PXE-Based Unattended Installation
Contents of the SIA State File
Preparing for an Unattended SIA Installation of Linux
Preparing for an Unattended SIA Firmware Upgrade
How to Create the SIA Image and Prepare for PXE Boot
How to Boot SIA From a PXE Server and Perform an Unattended Installation
Observing an SIA PXE-Based Unattended Installation
Set Up Passwords for Root and Virtual Access
Using a Virtual Console or Secure Shell (SSH) Connection
ILOM Remote Console Mouse Issue With SIA
Debugging Unattended Installation Problems
Creating a Bootable SIA USB Flash Drive
Setting BIOS Parameters and Booting Off the SIA USB Flash Drive
This section guides you through the initial steps of identifying the system hardware, setting up network access, updating SIA software, and preparing you for a deployment task (such as assisted operating system installation or system firmware upgrade) or recovery task (such as service processor recovery).
Note - In the instructions that follow, example dialog screen shots have been provided as a reference. Information displayed in each dialog may differ depending on your server model.
Locally using a CD/DVD: Insert the SIA CD/DVD into the server’s CD/DVD drive and power on or reboot the server.
Locally using a USB flash drive: Plug the USB flash drive prepared with SIA software directly into one of the server’s USB ports. Redirect the server to boot from the USB flash drive as described in Creating a Bootable SIA USB Flash Drive.
Remotely from a CD/DVD or image file: Log in to the server’s service processor from a remote console (or KVMS) using its LOM (Lights Out Manager) interface and use the Remote Control Launch Redirection feature to redirect the server to the virtual CD/DVD-ROM that contains the SIA CD/DVD image. Then, reboot the server and direct it to boot from your virtual CD/DVD-ROM (typically done using the F8 menu available during server boot).
Remotely using a PXE-based image: If you are using PXE network booting to load the Sun Installation Assistant image from a Linux-based PXE server, proceed to Performing an SIA PXE-Based Attended Installation or Performing an SIA PXE-Based Unattended Installation.
Note - The instructions below assume local CD/DVD drive access. Be sure to modify the instructions accordingly if you are using a local USB flash drive prepared with SIA software, or if you are running SIA from a remote console (or KVMS) with CD-ROM redirection.
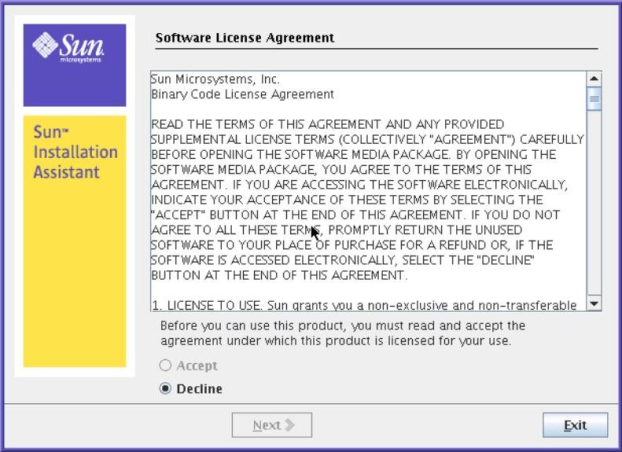
As SIA starts, you will see various start up messages and then the Software License Agreement dialog will be displayed.
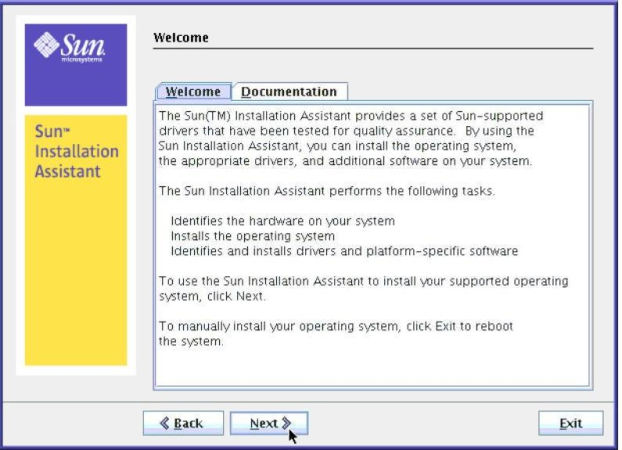
The SIA Welcome dialog appears identifying the tasks that the Sun Installation Assistant performs.
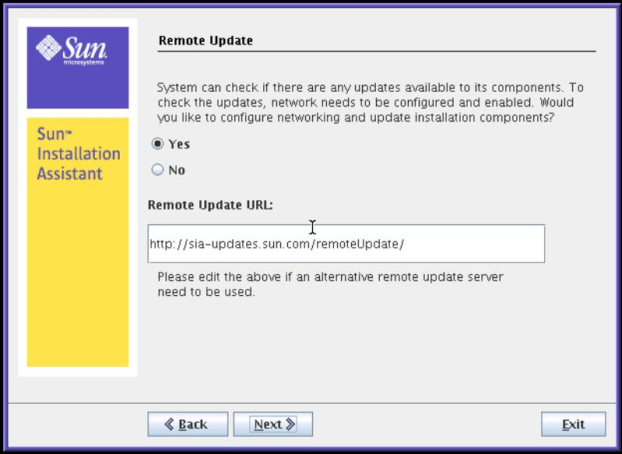
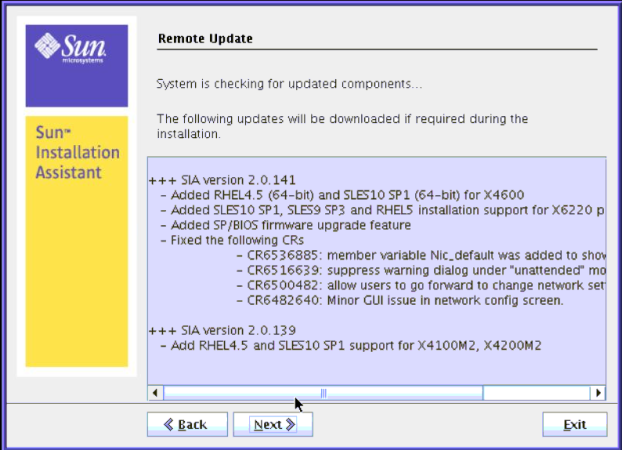
The Remote Update dialog appears.
Remote Update is used to download updates to the SIA program. These updates can include server device drivers and firmware from Sun.
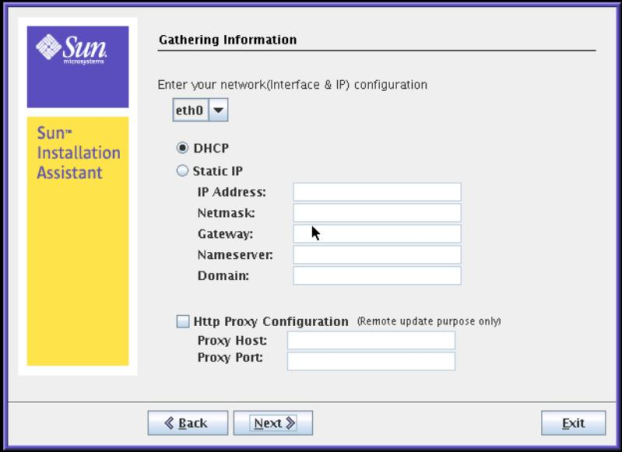
This will enable the network interface used to access the update image. If your server has multiple network cards, be sure to use the network-connected interface that enables access to the host where the update image files reside (whether this is the Sun remote update Internet site, or an internally mounted image on your company intranet).
If static method is selected, provide the necessary information (for example, your server’s IP address, netmask address, gateway address, and so on).
Proxy Host: webproxy.mycompany.com
Proxy Port: 8088
The remote update process checks for updates to the SIA program (see example below). If updates are available the update components are listed.
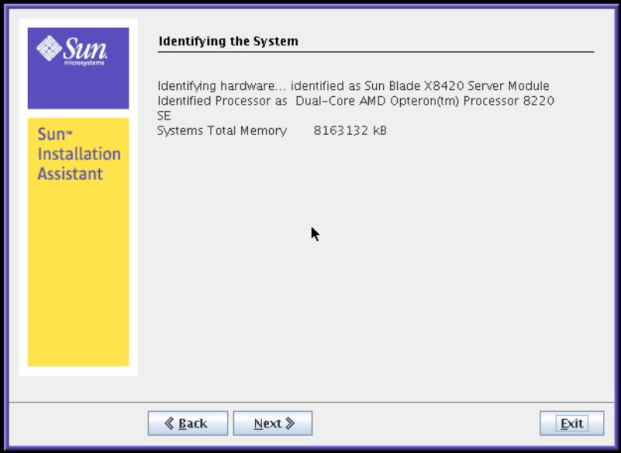
The Identifying the System dialog appears.
SIA then scans the systems for disk drives and displays a list at the Scanning for SCSI Devices dialog.

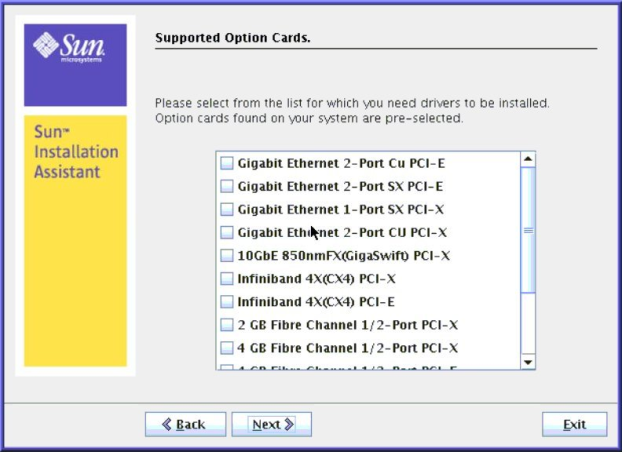
The Supported Option Cards dialog then appears.
SIA automatically selects option cards it finds installed in your system. If you want to install operating system drivers for other option cards, you will need to select them.
The Task Selection dialog appears.
Note - The Task Selection dialog will only appear if your server supports more SIA tasks than OS installation. If it does not, SIA will proceed to OS installation.

The dialog lists only task options supported for your server. For example, your list may include operating system installation, server BIOS/ILOM upgrade, or other tasks.
See Also
If you need to install a supported operating system for your server, proceed to Installing Linux With SIA.
If you need to upgrade system firmware (BIOS/ILOM, HBA or disk expander), proceed to Using SIA to Upgrade System Firmware.