| Skip Navigation Links | |
| Exit Print View | |

|
Sun Installation Assistant 2.2 User's Guide for the Sun Fire X4640 Server Sun Fire X4640 Server Documentation Library |
| Skip Navigation Links | |
| Exit Print View | |

|
Sun Installation Assistant 2.2 User's Guide for the Sun Fire X4640 Server Sun Fire X4640 Server Documentation Library |
About This Documentation (PDF and HTML)
Introduction to Sun Installation Assistant
Getting Started With Sun Installation Assistant 2.2
SIA Version 2.2 Features and Benefits
Server Support and SIA Media Availability
Starting SIA and Preparing for Deployment or Recovery Tasks
Local and Remote Media Options
Mouse Settings When Using SIA with ILOM Remote Console
How to Start SIA and Prepare for Tasks Using Local or Remote Media
Using SIA to Upgrade System Firmware
How to Upgrade the System BIOS and ILOM Firmware
Performing an SIA PXE-Based Attended Installation
How to Create the SIA Image and Prepare for PXE Boot
How to Boot SIA From a PXE Server for an Attended Installation
Performing an SIA PXE-Based Unattended Installation
Contents of the SIA State File
Preparing for an Unattended SIA Installation of Linux
Preparing for an Unattended SIA Firmware Upgrade
How to Create the SIA Image and Prepare for PXE Boot
How to Boot SIA From a PXE Server and Perform an Unattended Installation
Observing an SIA PXE-Based Unattended Installation
Set Up Passwords for Root and Virtual Access
Using a Virtual Console or Secure Shell (SSH) Connection
ILOM Remote Console Mouse Issue With SIA
Debugging Unattended Installation Problems
Creating a Bootable SIA USB Flash Drive
Setting BIOS Parameters and Booting Off the SIA USB Flash Drive
Before You Begin
If your server ships with an integrated RAID controller (LSI-based) and you want to include your boot drive as part of a RAID configuration, you will need to configure a RAID volume on it using the controller’s setup utility (accessible by pressing Ctrl-C when prompted during server boot) before you install the operating system. Consult your platform installation guide for instructions on how to do this.
If you have a Sun StorageTek RAID disk controller (Adaptec-based), you must configure an array volume through the Adaptec RAID Configuration Utility (accessible by pressing Ctrl-A when prompted during server boot) before it can be accessed by SIA. This must be done whether you intend to use RAID or not. Consult your platform installation guide for instructions on how to do this.
The instructions below assume local CD/DVD drive access. Be sure to modify the instructions accordingly if you are using a local USB flash drive prepared with SIA software, or if you are running SIA from a remote console (or KVMS) with CD-ROM redirection.
This dialog will only appear if your server supports more tasks than OS installation. The dialog lists only task options supported for your server. For example, your list may include operating system installation, server BIOS/SP firmware upgrade, or other tasks.

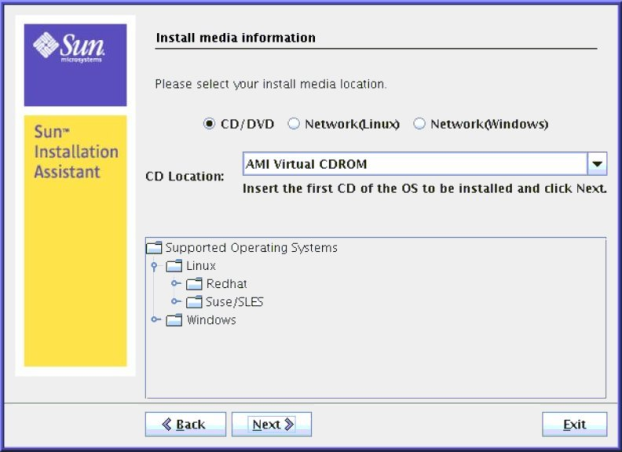
At this dialog, you need to specify the location of your OS installation media. Choose one of the following:
CD/DVD—This option allows you to install the OS source from:
- a local CD/DVD, or
- a redirected CD/DVD or ISO CD-ROM image
Network (Linux)—This option allows you to install the OS source from a network share.
Note - SIA might not recognize the Linux installation media if you chose to use a CD/DVD ROM device other than the one you previously used to boot the SIA program. Therefore, it might be necessary to insert the Linux OS media into the same device that you used to boot the SIA program.
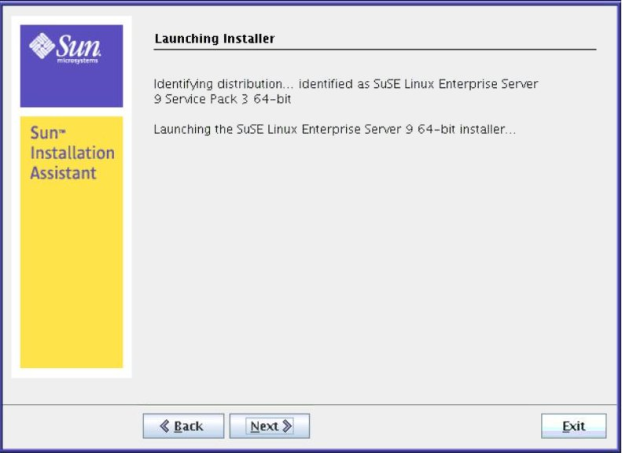
The Identifying Distribution dialog appears.
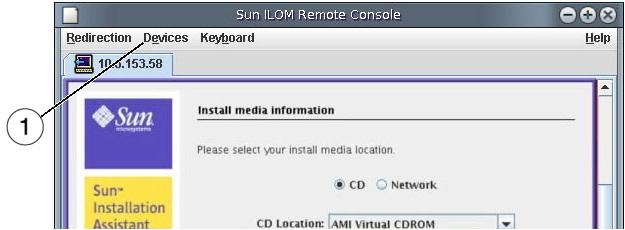
If you booted SIA from a CD/DVD drive, eject the SIA CD from this drive and insert the first disk of the operating system into the drive. In the service processor LOM Remote Console, select the CD-ROM option from the appropriate menu (see graphic below for an integrated LOM example).
If you booted SIA from an ISO CD-ROM image, unmount the SIA ISO CD-ROM image from the service processor LOM Remote Console by deselecting CD-ROM Image from the appropriate menu (see graphic below for an integrated LOM example), then select CD-ROM Image and specify the location of the ISO OS CD-ROM image.
| ||||
The Identifying Distribution dialog appears.
For OSes requiring multiple images (CD1, CD2, etc.), multiple address fields are available.
Note - The URL address can not contain spaces.
|
Where hostname_or_IPaddress is either the hostname or the IP address of the server containing the ISO image, extractedISOdirectory is the directory containing the extracted Linux OS installation ISO image files, and ISOimagedirectory the directory containing the Linux OS installation ISO image file. For Linux, only the path to the directory containing the ISO image source should be used; individual files (including .iso) cannot be part of the URL path.
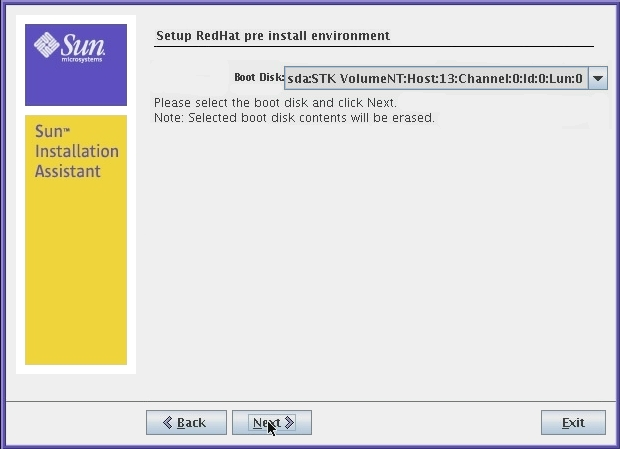
After setting up the pre-installation environment, the SIA Installing Additional Software dialog appears.
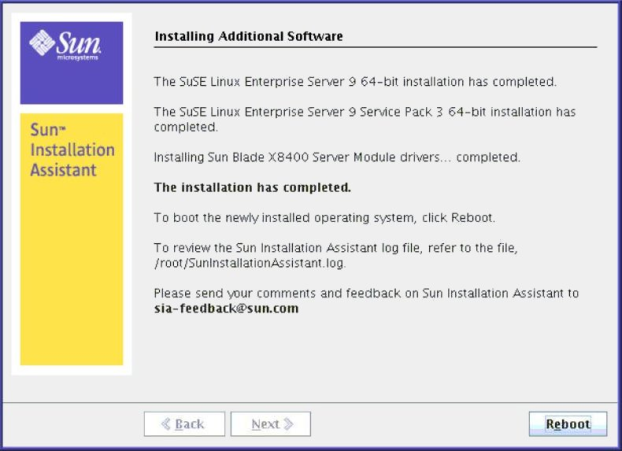
The server reboots and continues with the installation of the operating system. If remote update was selected, SIA retrieves the latest files from the web. Otherwise it uses the files on the OS distribution media. Follow the on-screen instructions and perform reboot(s) as prompted.
Next Steps
After completing the OS installation, do the following:
Install and configure additional drivers and utilities for your server not installed by SIA. This provides you the supported feature set for installed server components (for example, additional drivers may include ACPI, video, network and mass storage).
Install Sun-specific optional software available on your server’s Tools and Drivers (also known as Resource) CD/DVD as described in your server OS installation and Product Notes documentation.
Download and install the latest Linux operating system updates and fixes from the Linux operating system vendor’s web site.