| Skip Navigation Links | |
| Exit Print View | |

|
Sun Blade X6275 M2 Server Module Installation Guide |
About This Documentation (PDF and HTML)
Overview of the Sun Blade X6275 M2 Server Module
Server Module Front Panel and Indicators
Installing and Powering On the Server Module
About Your Server Module Shipment
Finding the Serial Number and Accessing Warranty Support Information
How to Install Your Server Module
How to Apply Full Power to a Server Module Node
How to Power Off a Server Module Node
Troubleshooting Server Power States
How to Display the ILOM IP Address Using the Web Interface
How to Display the ILOM IP Address Using the CLI
How to Log In to the ILOM Web Interface Using an Ethernet Connection
How to Log In to the ILOM CLI Using an Ethernet Connection
How to Log Into ILOM Using a Serial Connection
Configuring an ILOM IP Address
How to Configure a DHCP IP Address
How to Configure a Static IP Address
Accessing the Host Console Through ILOM
How to Connect to the Host's Serial Console Using the ILOM Command-Line Interface
Before You Begin
In order to connect to the host console from a remote system, your remote system must meet the following requirements:
An operating system such as Oracle Solaris, Linux, or Windows is installed.
The system must be connected to a network that has access to the CMM Ethernet management port.
Java Runtime Environment (JRE) 1.5 or later is installed. For CD-ROM redirection, 32–bit Java must be used.
If the remote console system is running Oracle Solaris OS, volume management must be disabled for the remote console to access the physical floppy and CD/DVD-ROM drives.
If the remote console system is running Windows, Internet Explorer Enhanced Security must be disabled.
The remote console system and ILOM service processor are set up according to the instructions in the Oracle Integrated Lights Out Manager (ILOM) Web Interface Procedures Guide.
These steps are described in How to Log In to the ILOM Web Interface Using an Ethernet Connection.
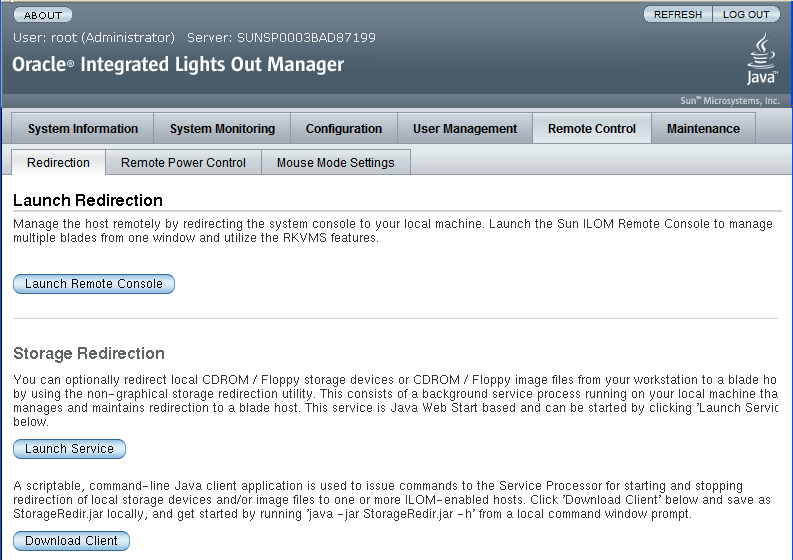
The Launch Redirection screen appears.
Note - Make sure that the mouse mode is set to Absolute mode in the Mouse Mode Settings tab.

Note the following:
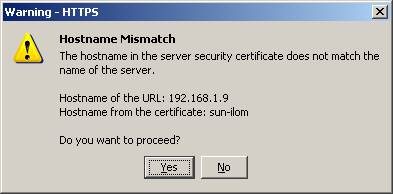
When using a Windows system for JavaRConsole System redirection, a Hostname Mismatch warning dialog box might appear after you click Launch Remote Console. If it does, click the Yes button to clear it.

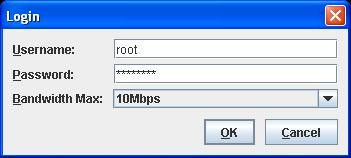
A Remote Control login dialog box might appear appear. If it does, reenter your user name and password and click OK.

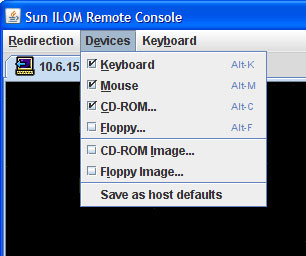
The JavaRConsole screen appears.

Remote Physical Floppy Disk – Select Floppy to redirect the server to the physical floppy drive attached to the remote system.
Remote Floppy Image – Select Floppy Image to redirect the server to the floppy image file located on the remote system.
Remote Physical CD/DVD – Select CD-ROM to redirect the server to the CD/DVD in the CD/DVD drive attached to the remote system.
Remote CD/DVD Image – Select CD-ROM Image to redirect the server to the .iso image file located on the remote system.
Note - Using either of the CD/DVD options to install software on your server significantly increases the time necessary to perform the installation because the content is accessed over the network. The installation duration depends on the network connectivity and traffic.
See Also