From a working ticket, click Send Ticket to Group in the Next Steps panel. The Send Ticket to Group pop-up window is displayed.
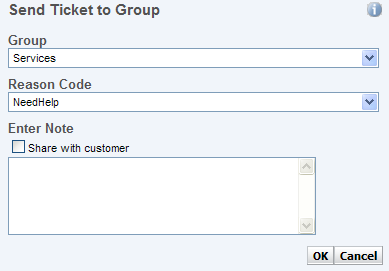
Select a ticket group from the Group drop-down list.
Select a reason for the reassignment from the Reason Code drop-down list.
Type notes related to the ticket in the Enter Note box. Notes are helpful to other users after a ticket is reassigned to provide further explanation for the reassignment reason code.
Select the Share with Customer check box to make the note available to the customer. Selecting the Share with Customer check box makes the note public and will be visible to customers using your Self Service site.
Click OK. The individual ticket ownership is released and the reassignment to the selected group is recorded as an activity in the Ticket Activity panel.
