| Oracle® Retail Xstore Point of Service Mobile User Guide Release 20.0 F35714-03 |
|

 Previous |
 Next |
| Oracle® Retail Xstore Point of Service Mobile User Guide Release 20.0 F35714-03 |
|
Previous |
Next |
The Xcommerce functionality stands for Extended Commerce support within Xstore and allows a retailer to utilize an existing microsite (digital component or digital content). An associate can launch the Xcommerce functionality from the tablet and thin client to browse a wider portfolio of products based on images and based on the alternative product hierarchies and descriptions used on a website or a digital platform. A collection of items can be built together and then return those back to the store so that within the store system they can either select them from existing inventory in the store or convert them into orders for shipping or collecting at a later point in time. This utilizes the existing store processes for payment, for reconciliation, and for reporting.
|
Note: You must associate a customer with the transaction. See Associating a Customer with a Transaction. |
To create an Xcommerce transaction:
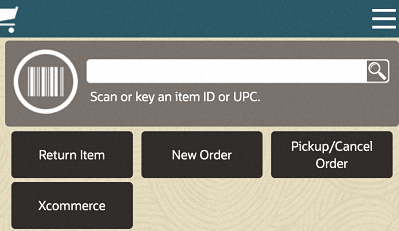
If configured, select the Quick Action Buttons Xcommerce from the Sale screen, or select Extended Transaction from the Context Menu then select Xcommerce. The browser launches in Xstore.
Add items to the shopping cart in the Xcommerce site.
When all items have been added select Retrieve Items. Xstore displays the items as a list with the options to Mark for Sale, or Mark for Order.
Mark each of the items or remove items. When done select Complete.
The transaction proceeds with the standard order flow (See Creating an Order or sale transaction process.
Add additional items to the transaction. See Entering Items.
Click Complete Transaction to tender the transaction. See Tendering the Transaction for more information.
Continue the transaction.