| Oracle® Communications EAGLE Application Processor Alarms and Maintenance Guide Release 16.3 E96331 |
|
 Previous |
 Next |
| Oracle® Communications EAGLE Application Processor Alarms and Maintenance Guide Release 16.3 E96331 |
|
 Previous |
 Next |
Alarm Type: TPD
A filesystem has exceeded a failure threshold, which means that more than 90% of the available disk storage has been used on the filesystem.
More than 90% of the total number of available files have been allocated on the filesystem.
A filesystem has a different number of blocks than it had when installed.
Severity: Major
OID: 1.3.6.1.4.1.323.5.3.18.3.1.2.13
Alarm ID: TKSPLATMA133000000000001000
Recovery
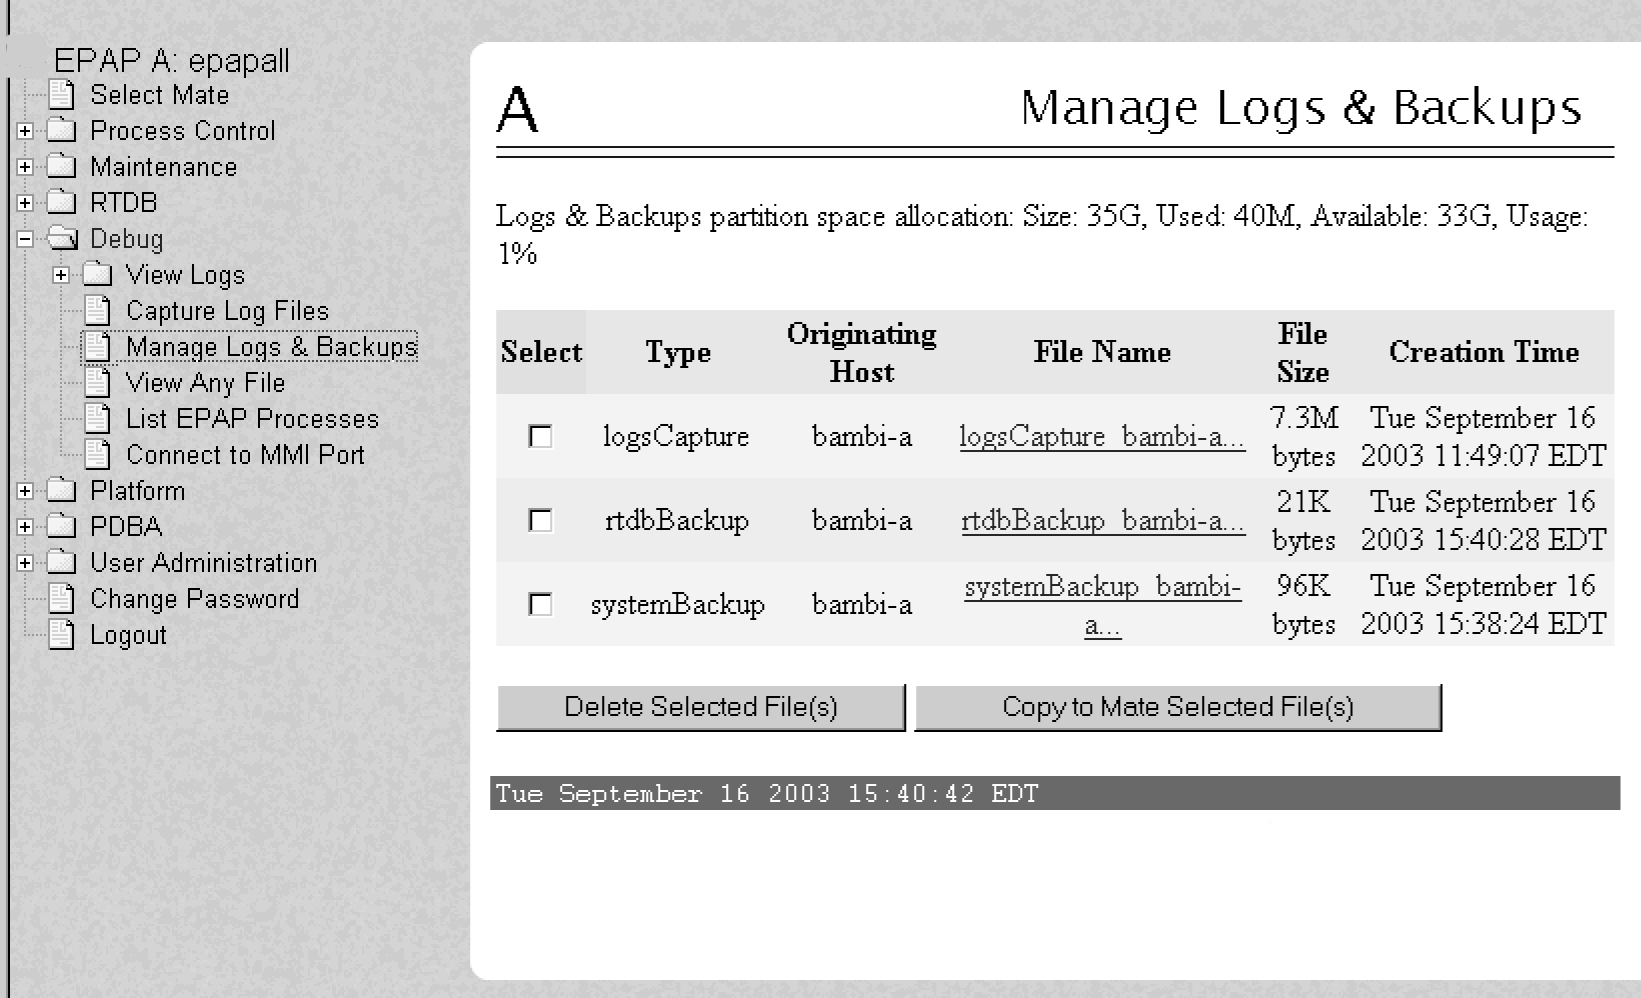
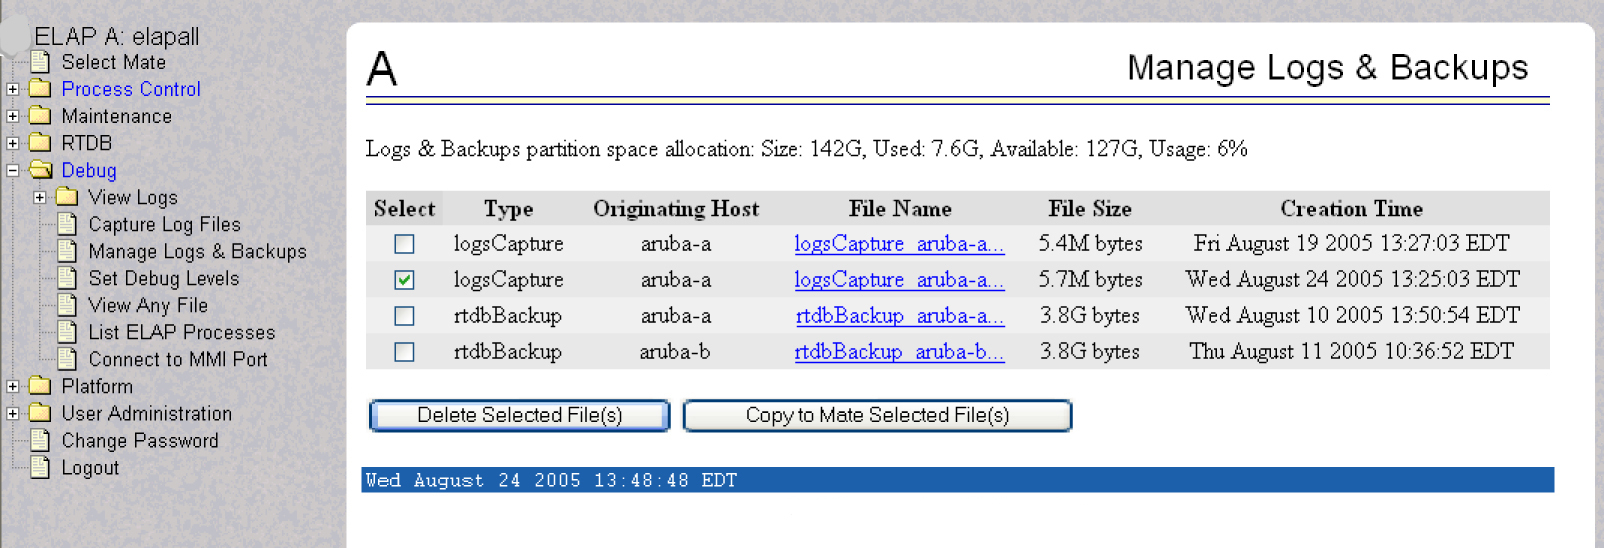
syscheck. /var/TKLC/epap/free/var/TKLC/elap/free is low on space. If it is, continue to the next step. Otherwise, go to 4Figure 4-1 Manage Logs and Backups


/var/TKLC/epap/logs/var/TKLC/elap/logs is the file system that syscheck is reporting to be low on space, execute the following steps:Login: admusr Password:<Enter admusr password>
/var/TKLC/epap/logs directory:$cd /var/TKLC/epap/logs
/var/TKLC/epap/logs directory:$pwd/var/TKLC/epap/logs
pwd command is executed, if /var/TKLC/epap/logs is not output, go back to sub-step b.rm command for each:where$ sudorm <filename>
<filename> is replaced by the name of the file to be deleted.syscheck.If the alarm is cleared, the problem is solved.
If the alarm is not cleared, go to the next step.
Login:  admusr
Password:<Enter admusr password>
<mountpoint> is the file system’s mount point:$ sudofind <mountpoint> -name core.[0-9]\* -print -exec gzip -9 {} \;
Note:
The find command shown above will list any core files found and then compress and rename the file adding a “.gz” extension.syscheck.If the alarm has been cleared, the problem is resolved.
If the alarm has not been cleared, proceed to 7.
/tmp, otherwise skip to 11.Login: admusr Password:<Enter admusr password>
/tmp directory:$cd /tmp
/tmp directory:$pwd/tmp
pwd command is executed, if /tmp is not output, go back to 5.$ls *.iso *.bz2 *.gz *.tar *.tgz *.zip
ls will show them. For each of the files listed, execute the rm command to delete the file:$ sudorm <filename>
syscheck.If the alarm is cleared, the problem is solved.
If the alarm is not cleared, go to the next step.
/tmp directory. $ sudoshutdown -r now
syscheck.If the alarm has been cleared, the problem is resolved.
If the alarm has not been cleared, proceed to the next step.
/var, otherwise skip to 11.Login: admusr Password:<Enter admusr password>
/var/tmp directory:$cd /var/tmp
/var/tmp directory:$pwd/var/tmp
pwd command is executed, if /var/tmp is not output, go back to 6.rm * command to delete all files from the directory:$ sudo rm -i *syscheck.If the alarm is cleared, the problem is solved.
If the alarm is not cleared, go to 11.
Login:  admusr
Password:<Enter admusr password>
/var/TKLC/upgrade directory:$cd /var/TKLC/upgrade
/var/TKLC/upgrade directory:$pwd/var/TKLC/upgrade
pwd command is executed, if /var/TKLC/upgrade is not output, go back to 6.rm * command to delete all files from the directory:$ sudorm -i *
syscheck.If the alarm is cleared, the problem is solved.
If the alarm is not cleared, go to 11.
<mountpoint> is the file system’s mount point: This will produce a list of files in the given file system sorted by file size in the file$ sudofind <mountpoint> -type f -exec du -k {} \; | sort -nr > /tmp/file_sizes.txt
/tmp/file_sizes.txt.Note:
Thefind command noted above could possibly take a few minutes to complete if the given mountpoint contains many files. savelogs to gather all application logs (see Saving Logs Using the EPAP GUI).savelogs_plat to gather system information for further troubleshooting, (see Saving Logs Using the EPAP GUI), and contact My Oracle Support (MOS).