Using Fluid Candidate Gateway to Manage Account Information
This topic provides an overview of account information and discusses how applicants manage their name, contact information, account passwords, and secret question and answer.
Note: Applicants must sign in before they can perform these tasks.
|
Page Name |
Definition Name |
Usage |
|---|---|---|
|
HRS_APP_PRFINFO_FL |
External applicants use the My Account Information page to view and update their name and contact information, to view their registration acknowledgements and to access pages for making changes to passwords and secret questions. |
|
|
HRS_APP_PRFINFO_FL |
External applicants use the Registration Acknowledgement section to view the consents that they have given during account registration. |
|
|
HRS_APP_PRFINFO_FL |
Internal applicants use this page to view name and contact information from the PeopleSoft HR system and to update their preferred contact method. |
|
|
HRS_APP_PSSWD_SCF |
External applicants use this page to make password changes. |
|
|
HRS_APP_PSWDSQ_SCF |
External applicants use this page to update or change the secret question that the Forgot Password process uses to authenticate a password reset request. |
|
|
HRS_CE_E_EMAIL_SCF |
External applicants use the Add/Edit Email page to add, update, or delete an email address. |
|
|
HRS_CE_E_PHONE_SCF |
External applicants use the Add/Edit Phone page to add, update, or delete a phone number. |
|
|
HRS_CE_PHN_VER_SCF |
Use this page to enter the One Time Password and verify the phone number. |
External applicants use the My Account Information page to update their name and contact information and to change their passwords, their secret questions, and the answers to their secret questions. Applicants cannot change their user names.
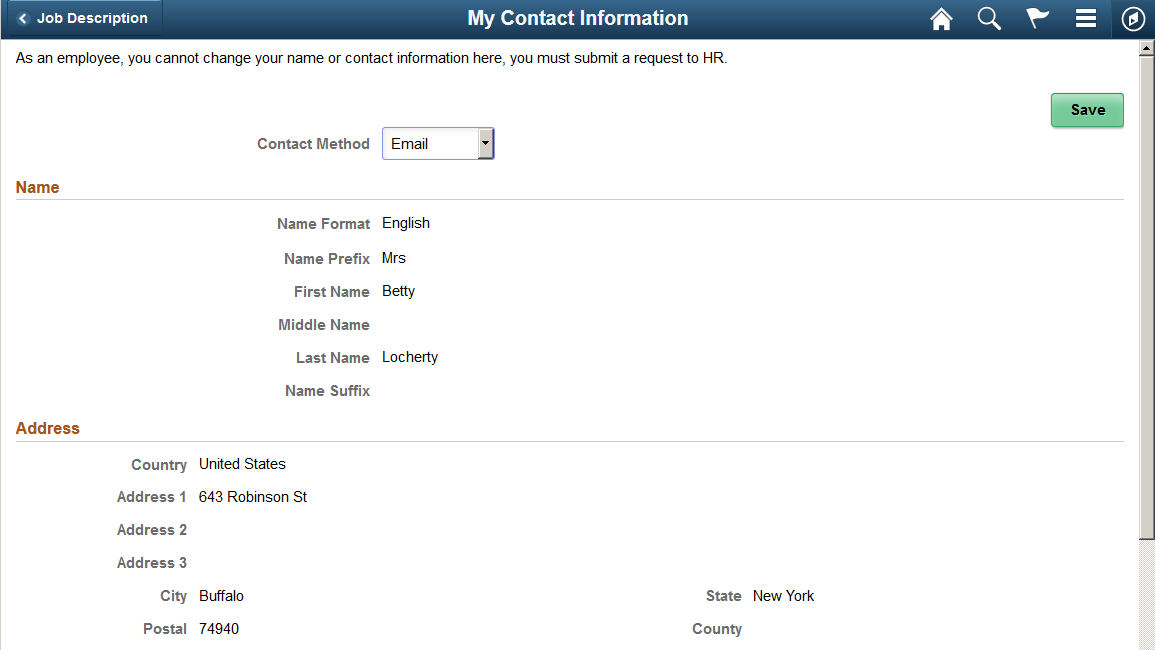
Internal applicants do not self-register for Candidate Gateway, so they do not have Candidate Gateway user names or passwords. Their account information is limited to read-only name and contact information from the Human Resources system. The page where internal applicants view this data is accordingly called My Contact Information rather than My Account Information.
Default Country for External Applicants
Contact information for external applicants include a Country field that is required, even if no other address information exists. The system uses this country to determine whether an application with no job opening will include the USA-specific Diversity step where applicants optionally supply gender and ethnicity information.
The default value for the Country field comes from the Site Setup Page. If the site does not have a default country, then the default country comes from the primary permission list for the user ID that is being used to provide guest access to the site.
To set the default country for the guest user IDs:
Choose or create the PeopleTools user ID and permission list that will be used use for this purpose.
See PeopleTools: Security Administration
Access the User Profiles - General page for the guest user ID, and enter the permission list in the Primary field in the Permission Lists section of the page.
Access the Org Defaults by Permission Lst - Defaults page and enter the default country in the Country field.
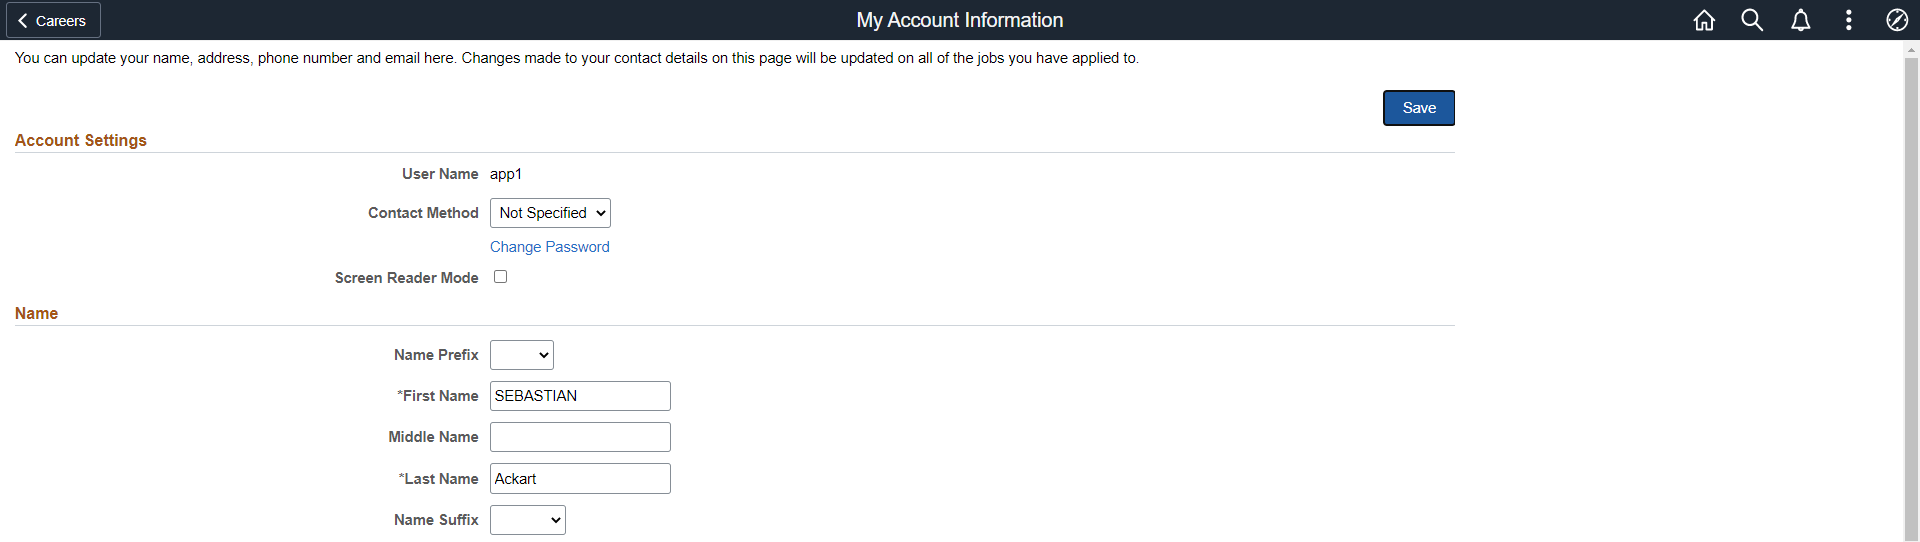
External applicants use the My Account Information page (HRS_APP_PRFINFO_FL) to view and update their name, contact information, consent for text messaging, registration acknowledgements and to access pages for making changes to passwords and secret questions.
Navigation:
Click the My Account Information action on the Careers page
Click the My Account Information item in the Actions List. This menu item appears only when the applicant is already signed in.
This is the first of two examples illustrating the My Account Information page for external applicants.
This is the second of two examples illustrating the My Account Information page for external applicants.
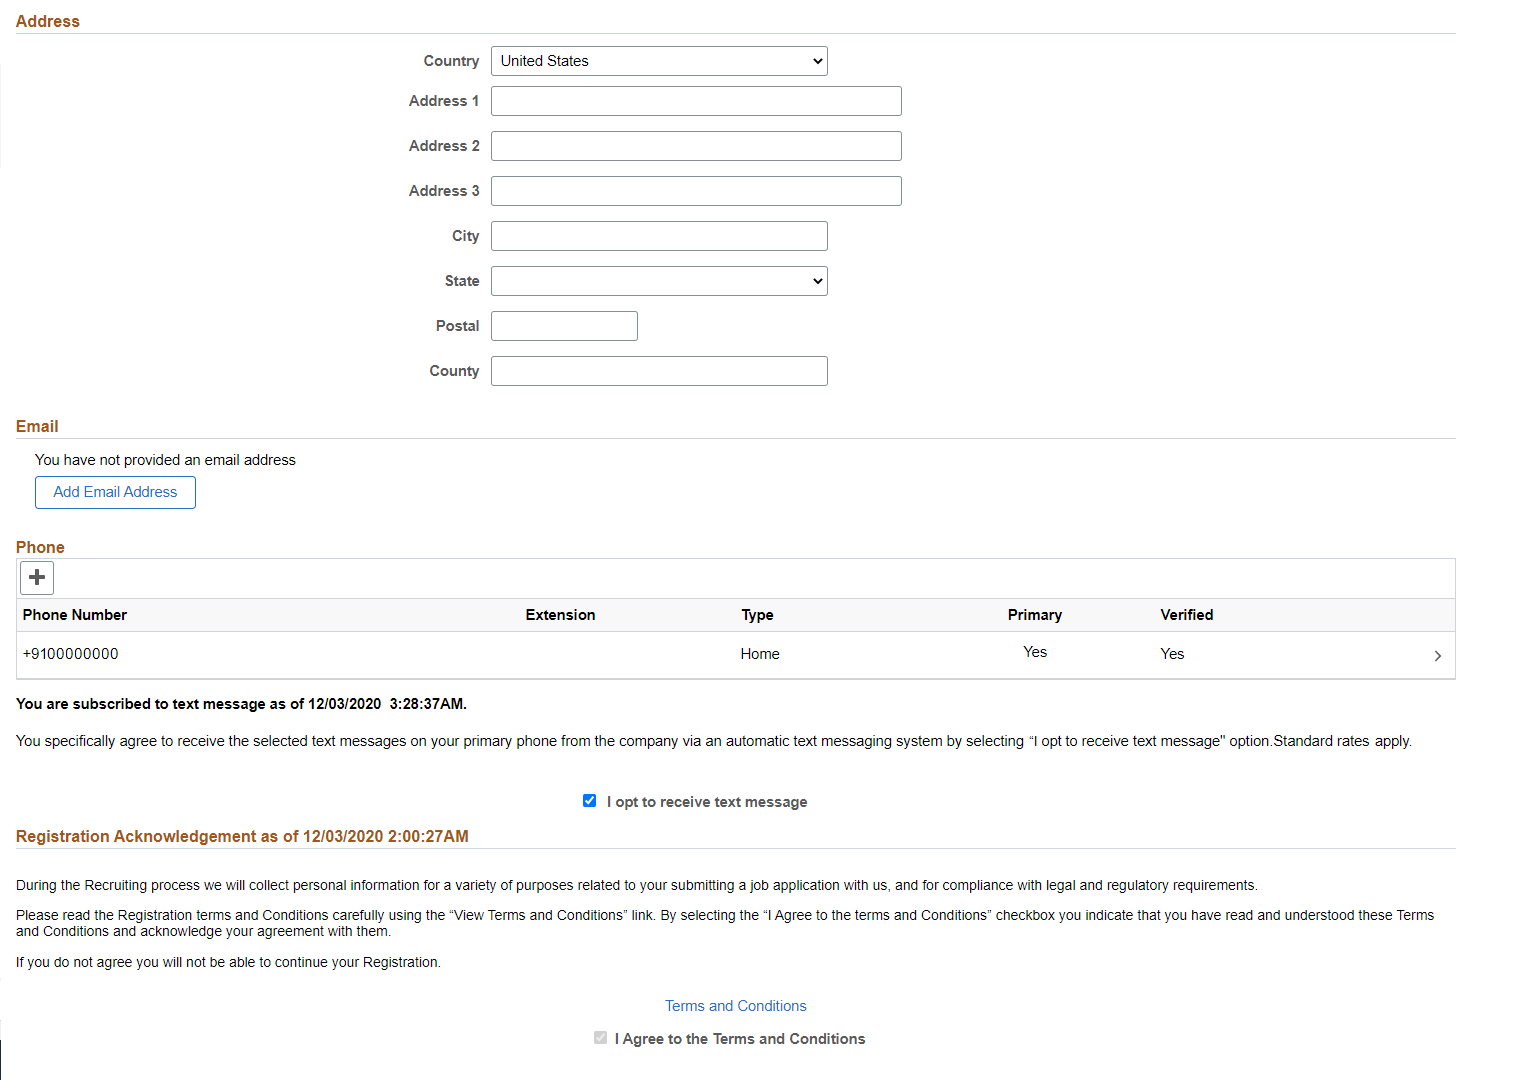
This example illustrates the Account Information page when the applicant has provided the consent to receive the text messages while registration.
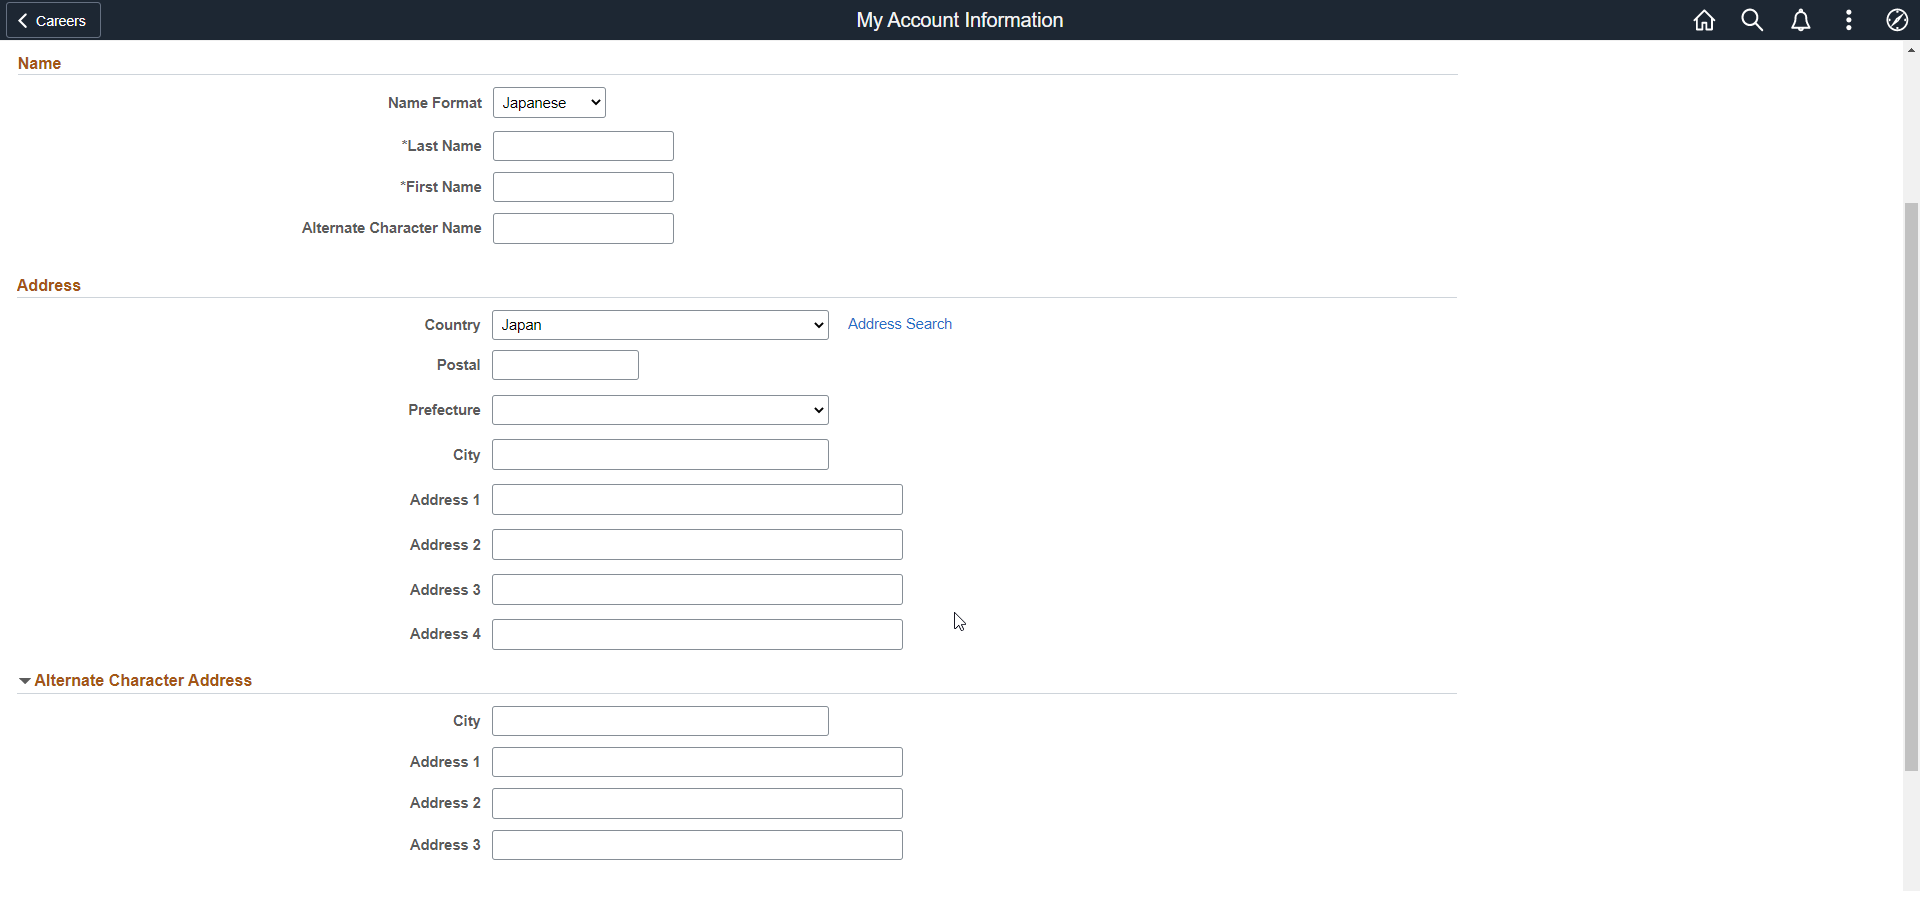
This example illustrates the alternate character fields for the applicant’s name and address on the My Account Information page. These fields are visible if the site is configured to show them and if the name format and country are for China, Japan, or Hong Kong.
Account Settings
Field or Control |
Description |
|---|---|
User Name |
Displays an external applicant’s user name. This cannot be changed. |
Preferred Contact Method |
Applicants select from the following preferred contact methods: Email, Mail, Phone, or Not Specified. Recruiters can refer to this information when they want to contact the applicant. When a recruiter prepares an online job offer, the option to notify the applicant of the offer is selected by default if the applicant’s preferred contact method is Email. |
Change Password |
External applicants click this link to access the Change Password page. |
|
Screen Reader Mode |
External applicants can select the check box to set the Screen Reader Mode preference for subsequent logins. Once the option is selected and saved, the Candidate Gateway session flips to screen reader mode. Note: This check box is visible only if the 'Allow Dynamic Screen Reader' option is enabled on the Site Setup Page. |
Change Secret Question |
External applicants click this link to access the Change Secret Question page. This link is visible only if secret question functionality is enabled on the Password Controls Page. |
Name
External applicants use these fields to view and update name information.
Field or Control |
Description |
|---|---|
Name Format |
If the site is configured to show the Name Format field, external applicants can use this field to choose a name format other than the default format for the site. The default name format is based on the Country field specified on the Site Setup Page. |
<Name> |
The specific fields for the applicant’s name depend on the name format. For more information about defining the fields for name formats, see Setting Up Additional Name Information. |
Alternate Character Name |
Settings on the Site Setup Page (or, if the site’s alternate character setting is None, settings on the Org Defaults by Permission Lst - Defaults Page) control whether the Alternate Character Name field appears. Even when the field is configured to appear, it is visible only if the name format is Chinese, Japanese, or Hong Kong. A help icon appears next to the field if you have entered custom help text in the Text Catalog entry HRAM_FL_SIGNIN_HLP. |
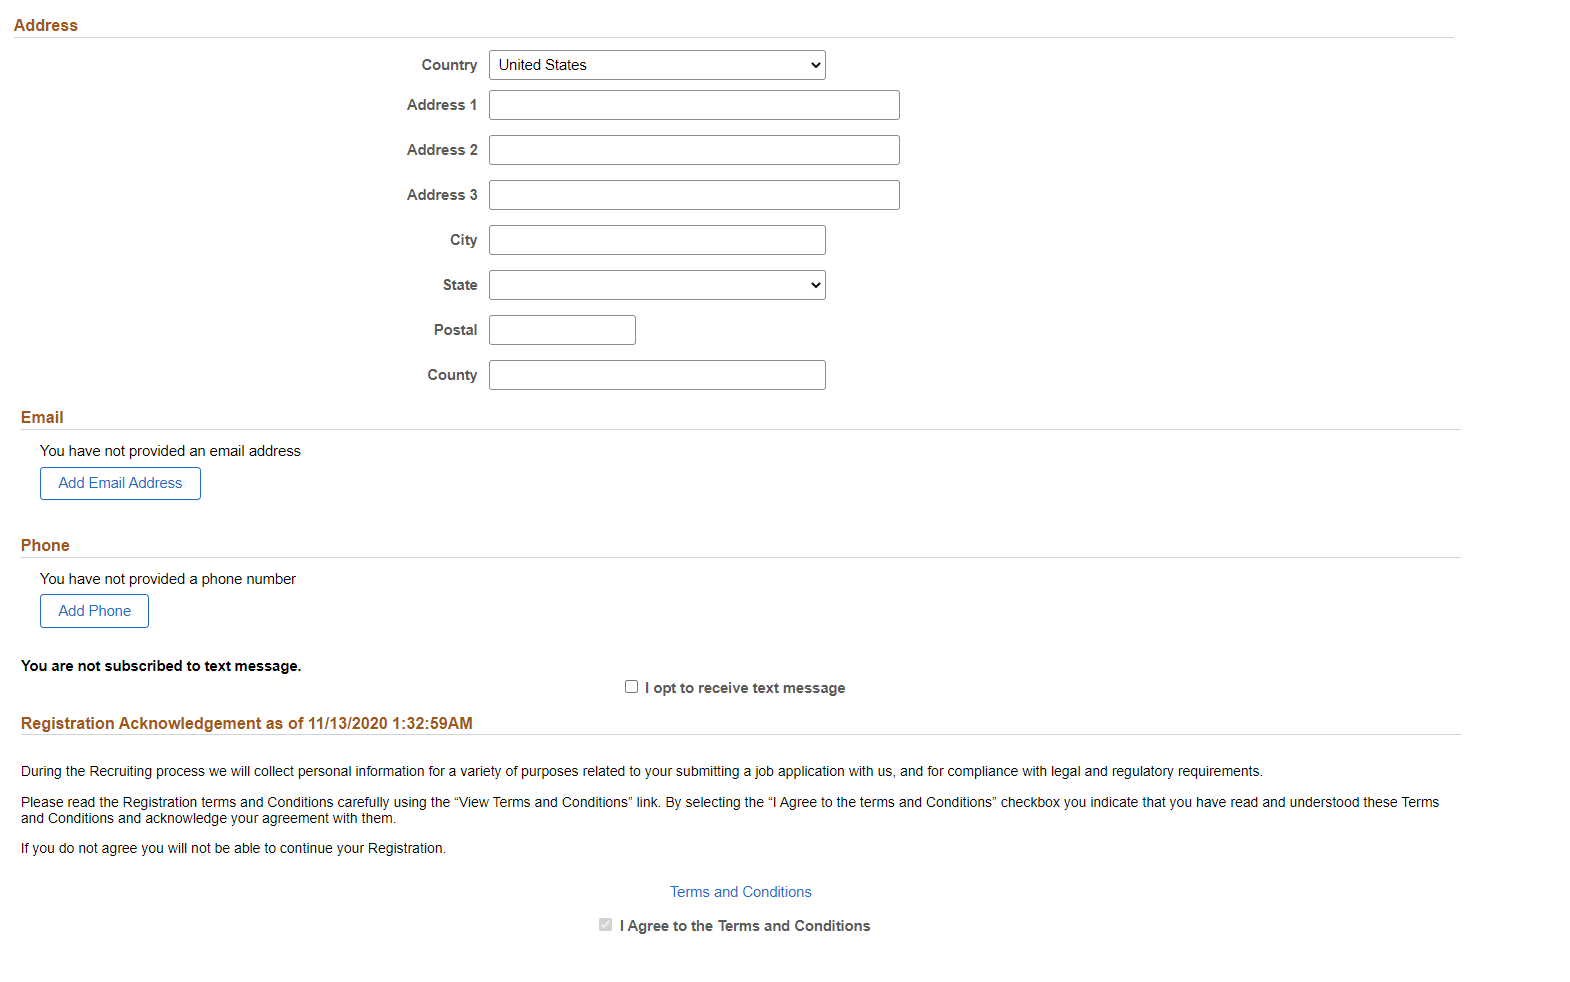
Address
Field or Control |
Description |
|---|---|
Address |
Candidate Gateway displays only one address. If an employee has multiple addresses in the HR system, Candidate Gateway displays the one with type Home and a current effective date. The specific address fields depend on the selected Country. Address fields (with lookup) appear as drop-down by default. However, this configuration can be changed from the framework using the Country Format setup. For more information, see Entry and Validation Page Note: The system displays warning messages when any address fields are left blank. If it is not a mandatory field, the applicant can ignore the message and save the data. |
Alternate Character Address |
Settings on the Site Setup Page (or, if the site’s alternate character setting is None, then settings on the Org Defaults by Permission Lst - Defaults Page) control whether the Alternate Character Address section appears. Even when the alternate character address is configured to appear, it is visible only if the Country is China, Japan, or Hong Kong. |
If the system requires an email address during registration, the grid title includes the word Required.
Field or Control |
Description |
|---|---|
|
Applicants click this icon to open the Add Email page. |
Email Address |
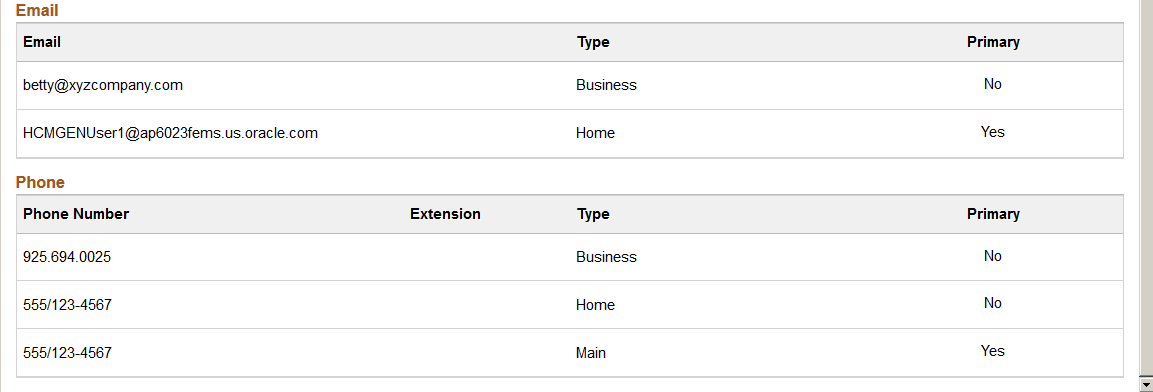
Applicants click an existing email address row to access the Edit Email page, which is used for deleting email addresses as well as for updating them. Each email address must be associated with a type (home, business, and so forth), and one row must be marked Primary unless the grid is empty. To change the primary email address, go to the Add Email or Edit Email page to mark a new email address as primary. This removes the primary designation from the previous primary email address. If an email address was provided during registration, that email is assigned the type Home and is the default primary address. Only applicants who provide an email address can receive recruiting-related email notifications, which are always sent to the primary email address. |
 (Add
Email Address icon)
(Add
Email Address icon)Phone
If the system requires a phone number during registration, the grid title includes the word Required.
Field or Control |
Description |
|---|---|
|
Applicants click this icon to open the Add Phone page. |
Phone |
Applicants click an existing phone row to access the Edit Phone page, which is used for deleting phone numbers as well as for updating them. For more information, see Add/Edit Phone Page Each phone number must be associated with a type (home, business, and so forth), and one row must be marked Primary unless the grid is empty. To change the primary phone number, go to the Add Phone or Edit Phone page to mark a new phone number as primary. This removes the primary designation from the previous primary phone number. If a phone number was provided during registration, that number is assigned the type Home and is the default primary phone number. Enter the phone number in the following format: [+] [Country Code][ Area Code][Phone Number]. If text messaging feature is enabled at the site setup and the applicant has opted to receive text message, system verifies the phone number using One Time Password. |
Text Message
Applicants can receive text messages on their verified phone number. The option to choose text message appears only if ‘Allow text Notification’ check box is selected on Text Message Page.
Field or Control |
Description |
|---|---|
I opt to receive text message |
Select this check box to receive text messages on your primary phone number. Once this check box is selected, applicant must enter the phone number. Note: If an applicant opts for text message, he/she will be able to update any account information only after verifying phone number. This field appears selected when the applicant has opted to receive text messages while registration. Deselect the option to stop receiving text messages. Note: The label/text on this section will change based on the acknowledgment configuration. For more information, see Understanding the Acknowledgement Framework |
On clicking the Save button, applicant receives a One Time Password to verify the phone number. Enter the One Time Password within the specified time to save the changes. For more information, see Verify Phone Page
The Registration Acknowledgement section lists all the registration acknowledgements that the user has agreed to. This section appears only if Acknowledgement is enabled in the Site setup page and the user has given at least one acknowledgement. Only the acknowledgements created using the Acknowledgement Framework are listed here. The latest registration agreement is displayed with the date and time of acceptance of the acknowledgement. The details of previous acknowledgements are available in the View History link.
Registration Acknowledgement section
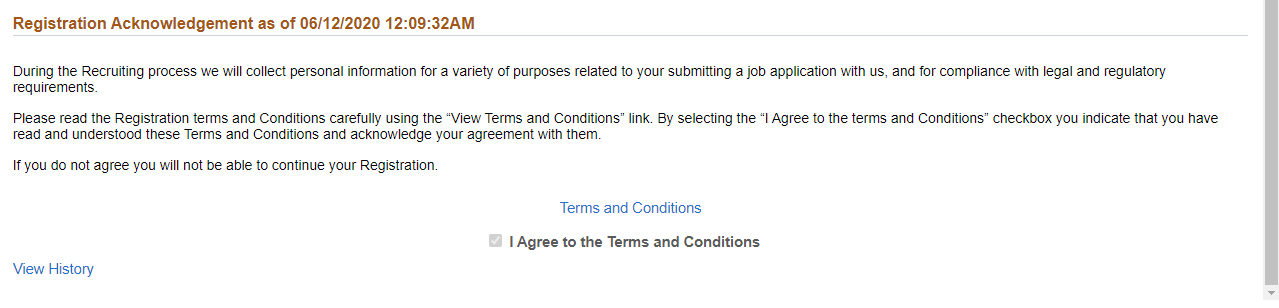
Note: The label/text on this section will change based on the acknowledgment configuration. For more information, see Understanding the Acknowledgement Framework
Internal applicants use the My Contact Information page (HRS_APP_PRFINFO_FL) to view name and contact information from the PeopleSoft HR system and to update their preferred contact method.
Navigation:
Click the My Contact Information link on the Careers page
Click the My Contact Information item in the Actions List.
This is the first of two examples illustrating the My Contact Information page for internal applicants.
This is the second of two examples illustrating the My Contact Information page for internal applicants.
Field or Control |
Description |
|---|---|
Preferred Contact Method |
Applicants select from the following preferred contact methods: Email, Mail, Phone, or Not Specified. Recruiters can refer to this information when they want to contact the applicant. When a recruiter prepares an online job offer, the option to notify the applicant of the offer is selected by default if the applicant’s preferred contact method is Email. |
Name, Address, Email, and Phone
These fields are the same as the fields on the My Account Information Page, except that they are read-only for internal applicants. The data comes from the HR system.
External applicants use the Change Password page (HRS_APP_PSSWD_SCF) to make password changes.
Navigation:
Click the Change Password link on the My Account Information page.
This example illustrates the Change Password page.
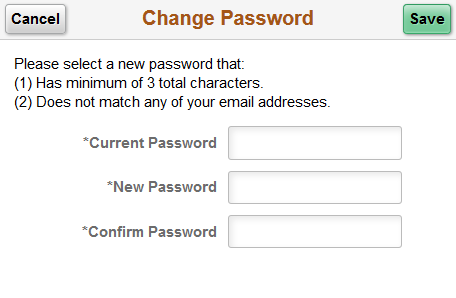
To change the password, an applicant enters the current password, enters the new password, reenters the new password to confirm it, and clicks Save. The system validates that the new password is not the same as the old password.
When the new password is saved, the system sends the applicant an email stating that the password has been changed. This email uses the template HRS_APP_PSWD_CHANGE.
If password controls are enabled, a description of the password requirements appears at the top of the page and the system validates that the password meets any requirements established on the Password Controls Page.
Use the Change Secret Question page (HRS_APP_PSWDSQ_SCF) to update or change the secret question that the Forgot Password process uses to authenticate a password reset request.
Note: This page is available only if secret question functionality is enabled on the Password Controls Page.
Navigation:
Click the Change Secret Question link on the My Account Information page.
This example illustrates the Change Secret Question page.
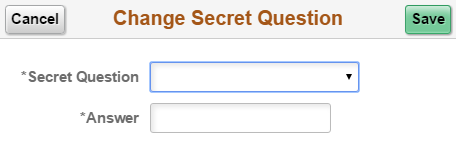
The fields on this page are identical to the same-named fields on the New User Registration Page.
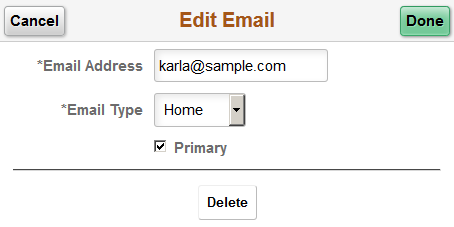
Applicants use the Add/Edit Email page (HRS_CE_E_EMAIL_SCF) to add, update, or delete an email address.
The page has the same fields in Add mode and Edit mode, except that the delete option appears only in Edit mode.
Navigation:
Access the Add Email page by clicking the Add icon in the Email grid on the My Account Information page.
Access the Edit Email page by clicking an existing row in the Email grid on the My Account Information page.
This example illustrates the Edit Email page.
Field or Control |
Description |
|---|---|
Email Address |
The applicant enters an email address in this field. The system validates that this field contains a properly formatted email address. |
Email Type |
The applicant selects Business, Campus, Dormitory, Home, or Other. |
Primary |
The applicant selects this check box to make this email address into the primary email address that is used for all notifications. If this is the first email address for the applicant, it will be marked as the primary address even if this check box is not selected. If this is not the first email address for the applicant, marking it as primary also removes the primary designation from the previous primary email address. |
Delete |
The applicant clicks this button to delete this email address. This button appears only if the applicant accesses the page in Edit mode. If the system is configured to require an email address, the button is visible only if another email address exists. If the primary email address is deleted, the system marks the applicant’s next email address as the new primary one. |
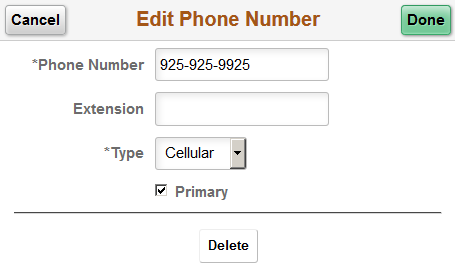
Applicants use the Add/Edit Phone page (HRS_CE_E_PHONE_SCF) to add, update, or delete a phone number.
The page has the same fields in Add mode and Edit mode, except that the delete option appears only in Edit mode.
Navigation:
Access the Add Phone page by clicking the Add icon in the Phone grid on the My Account Information page.
Access the Edit Phone page by clicking an existing row in the Phone grid on the My Account Information page.
This example illustrates the Edit Phone page.
Field or Control |
Description |
|---|---|
Phone Number and Extension |
Enter a phone number and, if needed, an extension. Use the format: [+] [Country Code][ Area Code][Phone Number]. The system validates that the phone number field contains only numbers, but it does not validate the phone number format. Note: If text messaging feature is enabled at the site setup and the applicant has opted to receive text message, system verifies the phone number using One Time Password. For more information, see Verify Phone Page. |
Type |
Select a phone type such as Home or Cellular. |
Primary |
Select this check box to make this phone number into the primary phone number. If this is the first phone number for the applicant, it will be marked as primary even if this check box is not selected. If this is not the first phone number for the applicant, marking it as primary also removes the primary designation from the previous primary phone number. |
Delete |
Click to delete this phone number. This button appears only if the applicant accesses the page in Edit mode. If the system is configured to require a phone number, the button is visible only if another phone number exists. If the primary phone number is deleted, the system marks the applicant’s next phone number as the new primary one. |