Using PeopleSoft Fluid User Interface for Expenses
PeopleSoft Fluid User Interface is an alternative to the PeopleSoft Classic User Interface, but is designed to be used on all types of devices such as smart phones, tables, laptops and desktops.
To use Expenses in Fluid, you must configure system-wide settings. See Fluid Approval Setup - General Settings Page.
Enable receipt attachments and images for expense reports from the Installation Options - Expenses Page. To view non-image attachments, you must specify the Process Server on the Mobile Approval Options page for report node setup. See Fluid Approval Setup - General Settings Page
When accessing a PeopleSoft Fluid page, the system detects the device you are using and renders the appropriate page. The Expenses homepage is virtually identical whether you launch from a mobile phone or a tablet and includes the same functionality. The only difference is that the mobile phone version is scaled to fit the smaller screen size of the mobile phone device. Select the Expenses tile to view individual tiles.
This topic discusses the tile available on the Expenses Homepage.
|
Tiles |
Description |
|---|---|
|
View notifications and navigate to various PeopleSoft Expenses processes. |
|
|
Displays messages regarding expense policy notices, changes in travel security, and so on. |
|
|
Select to add transactions directly to My Wallet. |
|
|
Select to review and edit My Wallet transactions. |
|
|
Select to add a new expense report. |
|
|
Select to view all the active expense reports (expense reports that have not been paid, closed or rejected by an approver). |
|
|
Select to review past wallet items and expense reports. |
|
|
Configure search criteria for the expense history. |
Use the Expenses tile to access the Expenses homepage. This tile can be placed on any homepage by your system administrator.
This example illustrates the expenses tile.
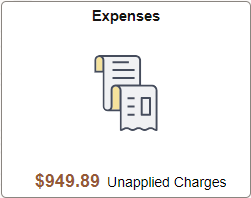
The Expense tile alerts you with the total amount of expenses in your wallet that have not been applied to an expense report. The amount displayed is for the employee ID that is linked to the login ID. If a user has access to multiple employees expenses, this amount does not include the amount from other employees.
Use the Expenses Homepage (PT_LANDINGPAGE) to view notifications and navigate to various PeopleSoft Expenses pages and processes.
Navigation:
Select the Expenses tile.
This example illustrates the fields and controls on the Expenses Homepage.
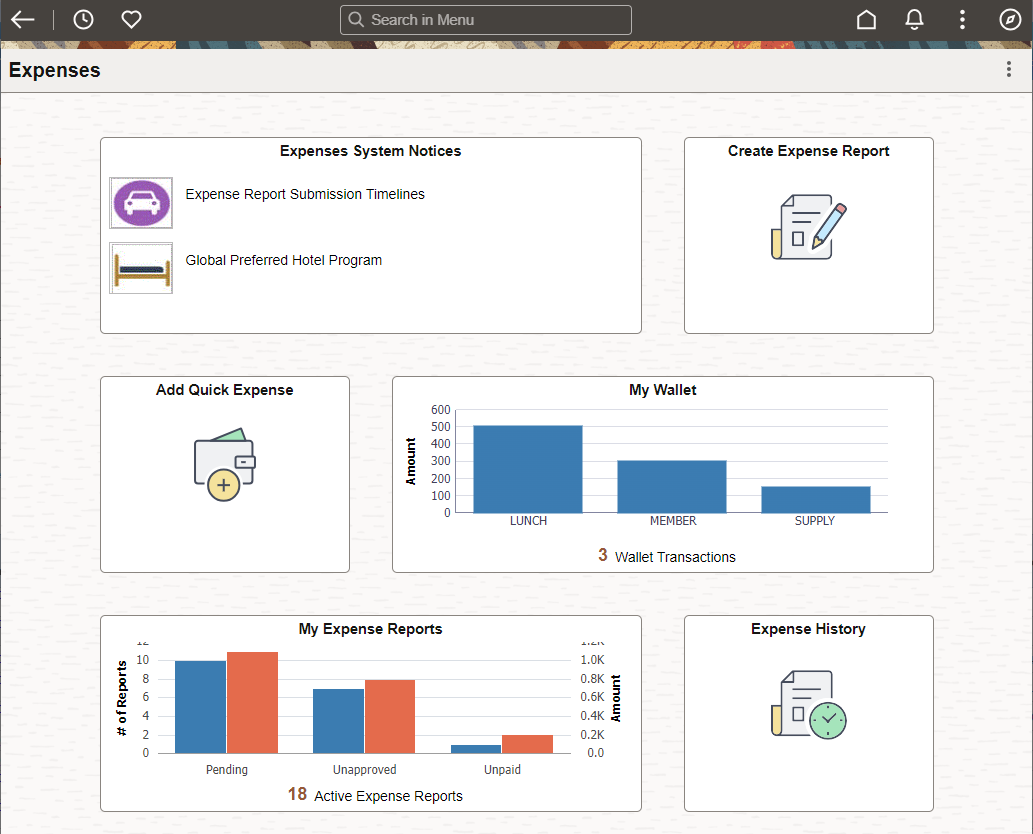
Use the Expenses System Notices tile to view notices on the Fluid Expenses homepage.
The Expenses System Notices tile displays the latest announcements from your travel and expenses department. Select the tile to view the Notices page.
Use the Notices page (EX_MBL_NOTICE_FL) to review the complete list of the announcements.
Navigation
This example illustrates the fields and controls on the Notices page.
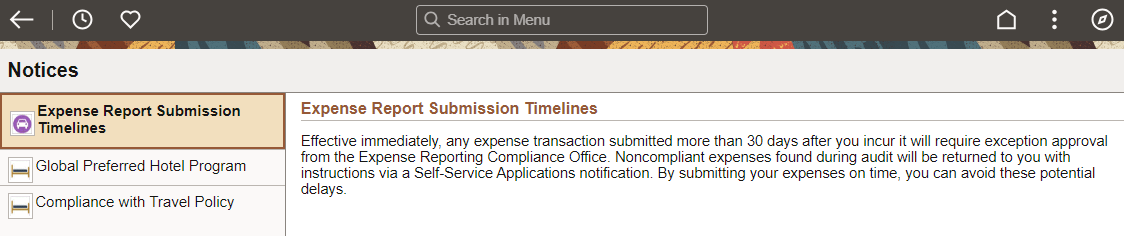
Displays messages regarding expense policy notices, changes in travel security, and so on. The data displays in a two-panel format. A summary of the notices is listed on the left panel (this is pulled from the Title field on setup page), and the right panel displays the details based on the option you select on the left panel (this is pulled from the Description field on the setup page.
Use the Notices/ Annountement Page to add or modify notices for Expenses.
Use the Add Quick Expense tile to create a new wallet transaction.
Select the Add Quick Expense tile to access the Wallet Entry Page where you can create a new expense transaction.
For more information on My Wallet transactions, see Understanding My Wallet Transactions.
Use the My Wallet tile to review and edit wallet transactions.
Select the My Wallet tile to view the Wallet Entry Page.
If you are using a smartphone, the graphical information in the tile displays the top 7 expense types in your wallet. If you are using a tablet or desktop, the tile displays the top 10 expense types. The tile also indicates the number of expenses stored in your wallet. If you have zero wallet transactions, you can still select the tile to create a transaction.
If your organization uses shared credit cards, the data can also include charges made by shared credit card users. See Using Shared Credit Cards.
If the employee logged in is authorized to create expense reports for other employees (a delegate or proxy), this amount does not include the amount from those other employees.
Only Wallet entries that are not assigned to an expense report are included.
Use the Create Expense Report tile to access the Expense Report Page where you can create a new expense report by adding expenses manually, or import expense information from your wallet.
For information on importing from wallet, see Importing My Wallet Data into an Expense Report using PeopleSoft Fluid
Use the My Expense Reports tile to view all active expense reports.
The My Expense Report tile displays the total number of expenses that have not been submitted, approved or paid. If you are using a larger device, the system displays a graphical view of the expense amount and the number of expenses in each status.
The data displayed is for the employee ID that is linked to the login id. Select the My Expense Report tile to view the My Expense Reports Page.
Use the Expense History tile to access the Expense Report History Page.
Use the Expense Report History page (EX_RPT_HIST_FL) to view the expense report and wallet history.
The Expense Report History page is in the EX_RPT_HISTORY_FL component.
The data displays in a two-panel format. The left panel displays the expense history categories and the report-count for each category. The right panel displays the expense history based on the expense category you select on the left panel.
By default, the system displays the last 6 months of your data and you can adjusted it using the My Preferences - Expense History Page.
A larger device such as an iPad, tablet, or desktop displays the history in a grid format. It may contain additional data such as report description and business purpose, which is not displayed on a smartphone.
|
Field or Control |
Description |
|---|---|
|
Actions - Change Employee |
Select an employee for whom you want to view the expense history. The Employee Search grid displays the list of employees for whom the current user has the Edit or Edit/Submit access to view expense history. For more information on setting up authorized users to process expense transactions for themselves and for others, see Setting Up Authorized Users |
|
|
Select to change the date range if no reports are displayed based on the search criteria entered in My Preferences page. For information, see the section My Preferences page in this document. This Update Filter button displays if you tried to filter the data and there is no data returned. This filter button will be displayed in green to indicate there is filter criteria being entered. |
|
Create Expense Report |
Select Create Expense Report to create a new expense report. For more information, see Expense Report Page Note: When you create an expense report from the Expense Report History page, the expense report will be created for the employee you have selected and not for the employee linked to the login ID. |
|
|
Sort the data within the expense history list. The Sort button is displayed in green to indicate specific sort criteria that is being used. |
|
|
Select an expense report or view the expense report. If the expense report selected is not submitted yet, the system will display the Expense Detail page. Otherwise, the system will display the Report Summary page. |
|
|
Select the slider to show the left panel of expense history. |
 (filter)


Expense Report History
Select Expense Report History on the left to perform these actions:
|
Field or Control |
Description |
|---|---|
|
Copy To New Report |
Copy the existing report to a new expense report. |
|
Delete Report |
Select to delete the transaction. |
|
Send Notification |
Select to access the Send Email Page and send a notification. |
Use My Wallet History page (EX_WALLET_HIST_FL) to the view list of expenses in your wallet that have been applied to expense report in the last 6 months.
Navigation:
. Select My Wallet History
By default, the system displays the last 6 months of your data and you can adjusted it using My Preference page.
|
Field or Control |
Description |
|---|---|
|
|
Select to change the date range if no reports are displayed based on the search criteria entered in My Preferences page. For information, see the section My Preferences page in this document. This Update Filter button displays if you tried to filter the data and there is no data returned. This filter button will be displayed in green to indicate there is filter criteria being entered. |
|
Add Expense |
Select Add Expense to create a new wallet transaction. For more information, see Add Quick Expense Tile |
My Wallet History - Actions
Within the My Wallet History, you can perform these actions:
|
Field or Control |
Description |
|---|---|
|
View Expense Report |
View the expense report. This option is available only if the wallet entry is assigned to an expense report. |
|
Send Notification |
Select to access the Send Email Page and send a notification. |
|
Restore My Wallet |
Restore My Wallet receipts that were previously deleted. |
Use the My Preferences - Expense History page (EX_MY_PREF_FL) to configure search criteria for the expense history.
Navigation
This example illustrates the fields and controls on the My Preferences - Expense History page. You can find definitions for the fields and controls later on this page.
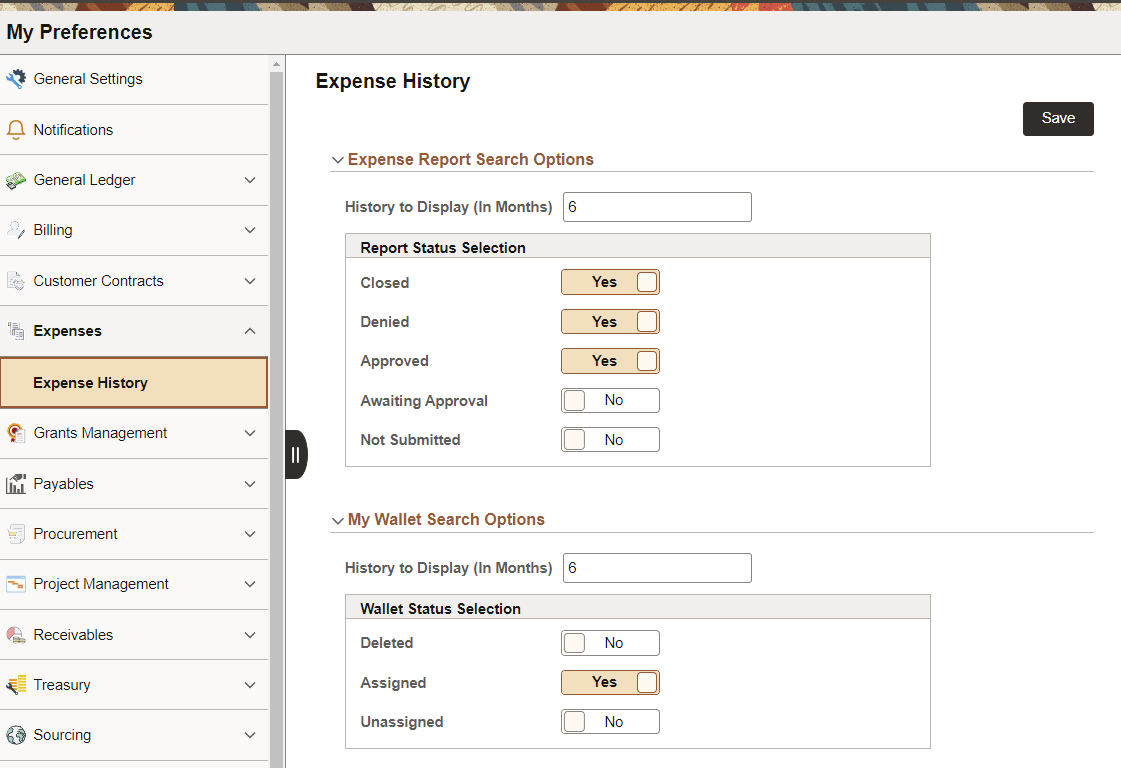
Select your preferences to determine how history displays on the Expense History page.
|
Field or Control |
Description |
|---|---|
|
History to Display (In Months) (report or wallet) |
Enter the number of months that you want to display your history of expense reports or wallet transactions. By default, the system displays the last 6 months of your data. |
|
Report or Wallet Status Selection |
Select whether you want to see expense reports that have each status. |