Creating events
You can create custom events specific to your organization's needs.
To create a custom event:
-
Click the Oracle icon
 in the bottom-right corner to open the navigation menu.
- Select Events.
- In the top-right corner, click Create event.
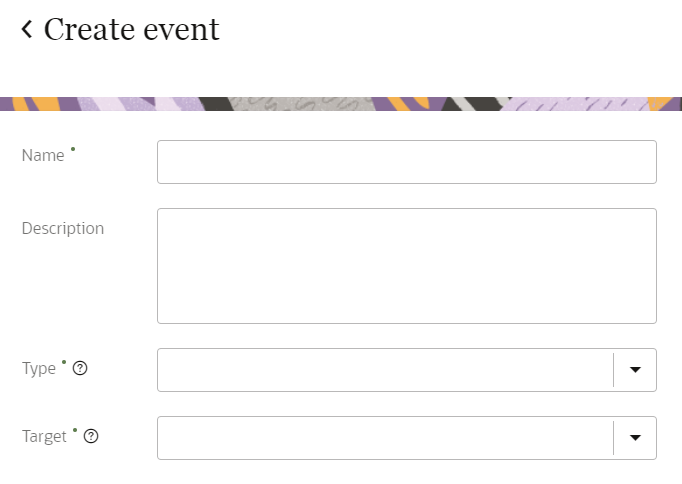
- Enter the details for the event.
- Name: Enter a name. The name must be 1 or more characters, up to a maximum of 50. Other than underscores (_) and hyphens (-), special characters are not allowed. The first character cannot be a space. You can use characters from all languages supported in the language settings.
- Description: Enter a description. This field is optional, but it is highly recommended to add descriptions for any entity created. This helps all other users get additional context when using and navigating Oracle Unity. The description can have a maximum of 512 characters with no restrictions on characters used. You can use characters from all languages supported in the language settings.
- Type: The event type defines the type of interaction. For example, an "Email sent" event would use the event type "Sent". Use the drop-down list to select an existing event type or create a new one by entering the name in the Type field. Enter 1 or more characters, up to a maximum of 30. Other than underscores (_) and hyphens (-), special characters are not allowed. The first character cannot be a space.
- Target: The event target defines the item affected by the interaction. For example, an "Email sent" event would use the target "Email". Use the drop-down list to select an existing event target or create a new one by entering the name in the Target field. Enter 1 or more characters, up to a maximum of 30. Other than underscores (_) and hyphens (-), special characters are not allowed. The first character cannot be a space.
- Under Linked data objects, add data objects that have attributes related to the event. Enter the name of the data object in the search field and click the Add
 .
. - Click Save or Save and close.
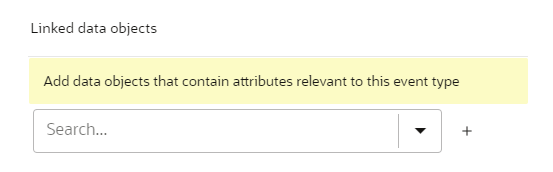
Note: Data objects you link should be related to the event. For example, the event "Email click" stores additional information in the campaign, message, and launch tables. So, this event should be linked to the Campaign, Message, and Launch data objects.
After you create the event, you will need to publish the changes. Learn more about Publishing changes.