Steps to Complete in Oracle Cloud Console
For each account for which you want to set up SSO, complete these actions:
- Manage Oracle Fusion Cloud Enterprise Performance Management users
- Setup Azure AD as a SAML IdP and Assign to an IdP Policy
Manage Users
- Create users. See Creating User
- Assign users to predefined roles. See Assigning Roles.
Setup Microsoft Entra ID as a SAML IdP and Assign to an IdP Policy
For detailed instructions on this task, see Add a SAML Identity Provider in Oracle Cloud Infrastructure Documentation.
- Sign into IAM Interface as an Identity Domain Administrator. See Accessing the IAM Interface.
- Navigate to the Federation tab.
- Click Actions, select Add SAML IdP and submit the
tasks in the workflow.
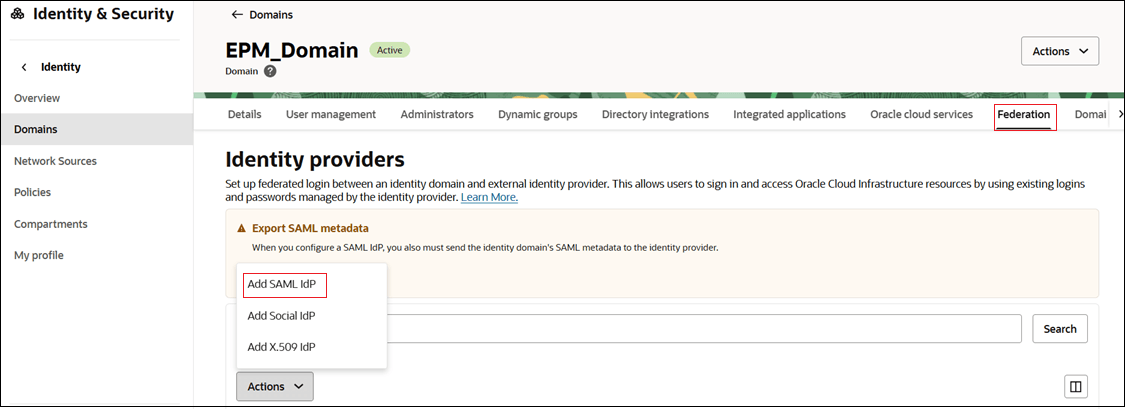
- Task 1 - Add details:
- Name: Enter the name of the SAML IdP.
- (Optional) Description: Enter a description of the IdP.
- (Optional) Identity provider icon: Drag and drop
a supported image, or click select one to browse for the
image.
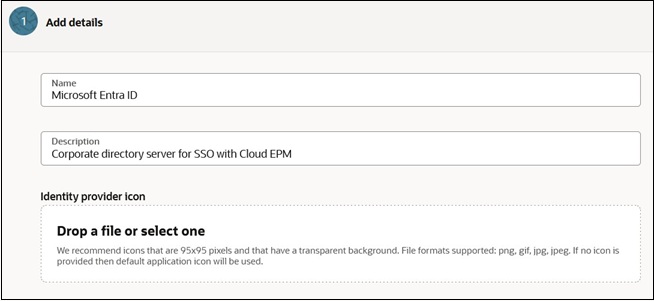
- Click Next.
- Task 2 - Exchange metadata:
- Click Export SAML metadata button to send the SAML metadata to Microsoft Entra ID.
- Select Import IdP metadata.
- Browse and select the Microsoft Entra
ID metadata file that you downloaded. See Steps to Complete in Microsoft Entra ID.

- Click Next.
- Task 3- Map user identity. map user's identity attributes received from
Microsoft Entra ID to an Oracle Cloud
Infrastructure identity domain.

- For Requested NameID Format, select the format in which Microsoft Entra ID forwards the user attribute to Oracle Identity Cloud Service.
- For Test identity provider, select the Microsoft Entra ID attribute that uniquely identifies the user. To use an attribute other than user ID (for example, email ID), select SAML Attribute. Otherwise select Name ID.
- For OracleIdentityCloudService identity domain, select the Oracle Identity Cloud Service attribute to which you want to map the Microsoft Entra ID attribute that you selected.
- Click Next.
- On the Review and Create page, verify the entered details. Click Create IdP.
- Under Identity Providers, click Microsoft Entra ID
- On the Microsoft Entra ID details page, verify
SAML SSO.
- Using the Identity Provider's Actions menu,
select Test Login from the menu.
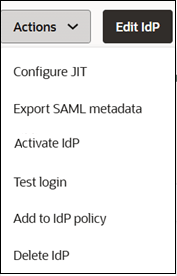
- Authenticate with your credentials to test the connection.
If successful, a message will appear: "Your connection is successful."

- Using the Identity Provider's Actions menu,
select Test Login from the menu.
- Activate Microsoft Entra ID so that the identity domain can use it. Using Actions menu, select Activate IdP.
- Assign Microsoft Entra ID to an existing policy rule you have created. Using Actions menu, select Add to IdP policy. If you plan to create a policy and then assign a rule, see Create an IdP Policy and Assign Rule.
Create an IdP Policy and Assign Rule
- On the Federations tab, scroll-down to Identity providers policies.
- Click Create IdP policy.

- On the Create identity provider policy page, enter the Name and
then click Create identity provider policy.
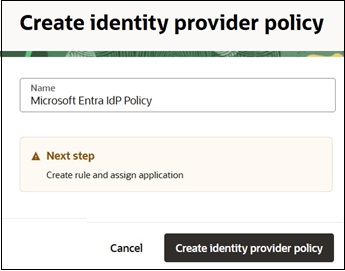
- Navigate to Identity provider rules tab.
- Click Add IdP rule to define rules for this policy.
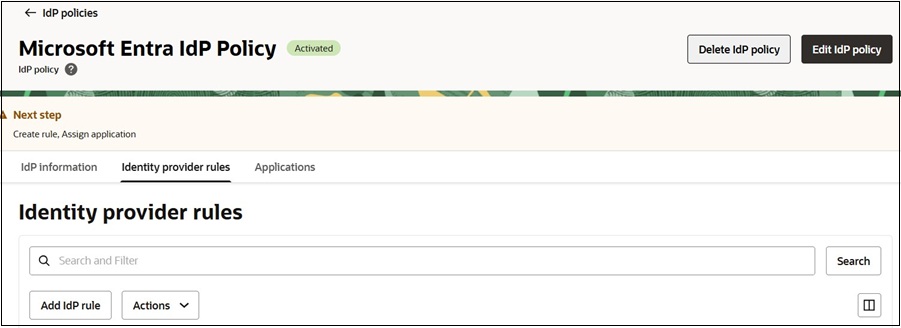
- On Add identity provider rule page:
- Enter a Rule name.
- Use the Assign identity providers menu to assign Microsoft Entra ID to this rule.
- Configure conditions.
- Click Add IdP rule.
- Assign application to this policy. Navigate to Applications tab.
- Click Add apps.
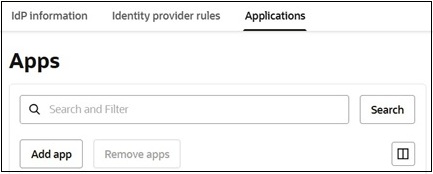
- On the Add app page:
- Search and select the apps to assign to this IdP policy.
- Click Add App.
You can now SSO to these environments using any of the configured IdPs.