Adding contacts to a canvas based on WebEx attendance
Using Oracle Eloqua's WebEx integration, attendees for both meetings and events are able to flow into Eloqua as contacts at regularly scheduled intervals. This feeder service allows you to add contacts who attended the WebEx meeting or event but did not register through Eloqua. New contacts are created in Eloqua and existing contacts are updated using information provided during WebEx registration. You can use this service on the campaign canvas and program canvas.
Note: It can take 48-72 hours for WebEx to make attendance data available.
Important: When you create events in WebEx, do not select the Delete from My Meetings when Complete option. Otherwise, WebEx API errors can occur and Eloqua's WebEx app cannot access needed event data.
To add a contact to a campaign or program based on WebEx attendance:
- Open an existing campaign or program, or create a new one.
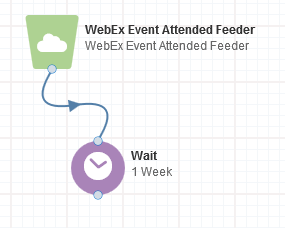
- Drag the appropriate WebEx element, from the Audience section, onto the canvas:
- WebEx Meeting Attended Feeder
- WebEx Event Attended Feeder
- Double-click the element to open the configure screen. The window that opens enables you to do the following:
- Change the name of the step to something more meaningful
- Configure the element
- Click the Edit icon to configure the action. The configuration screen provides the following options:
Tip: If you are using Firefox and the configuration screen does not load properly, clear the browser cache.
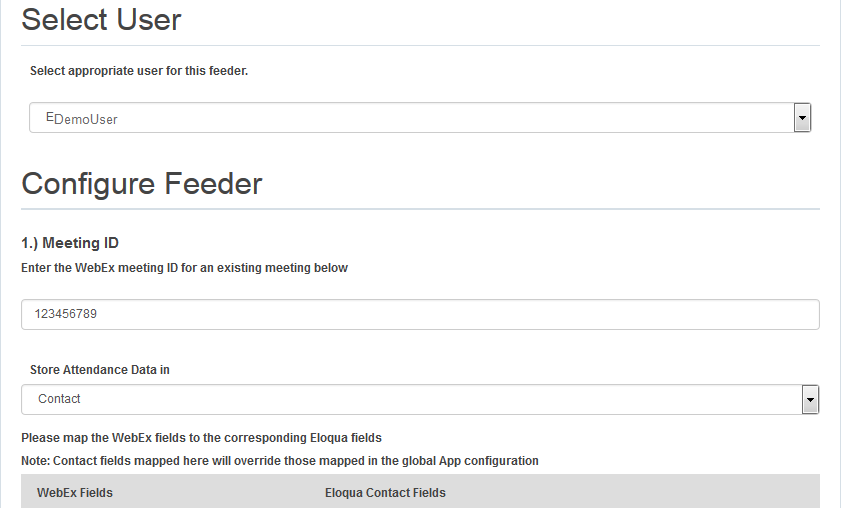
- Select User: Select a WebEx user for this service. Administrators with appropriate permissions can add and modify WebEx users by re-configuring the app.
- Meeting ID or Event ID: Enter the WebEx ID for an existing meeting or event.
Note: You may wish to copy the ID for future reference so that you can easily refer to it.
- Store Attendance Data in: Select one of the mapping options.
- Contact: Maps WebEx contact information to Eloqua contact fields.
- Custom Object: Maps WebEx contact information to both contact fields and custom object fields. Additional fields appear when this option is selected. Choose a custom object to store data in and an email address field.

Note: Only custom objects with a unique code field are available. The unique code field must be a text field.
- Map the WebEx fields to corresponding Eloqua contact fields and custom object fields, if applicable. The contact field mappings are populated based on the configuration during app installation. You can modify them for this particular audience feeder.
Tip: The WebExId + (Email Address) WebEx field captures the contact's email address with the WebEx ID as a prefix. This results in a unique custom object record for each WebEx event/meeting the contact attends.
- Attendance Duration: Enter how long someone needs to attend a meeting or event before appearing in the feeder.
Important: The total minutes attended for a record with an email address are added together. If user@example.com attends on Monday for 5 minutes, and again on Tuesday for 10 minutes, the total time (15 minutes) is considered for the acceptance threshold.
- Timing:
- Run Every: Select the frequency for the feeder (from 15 minutes up to 1 day).
- Until: Select the end date.
Note: It is recommended to set the feeder end date to 3 days after the meeting or event, unless a recording will be provided.
- Click Save.
- Test your configuration.
When WebEx attendees flow through the audience element, they are added to Eloqua as contacts at the scheduled intervals.
Testing your WebEx audience service configurations