Configuring campaign canvas elements: Assets
When you add assets to your campaign you are adding the elements with which your contacts will interact. The following is a list of the assets available on the campaign canvas:
Send your campaign members emails in your campaign flow.
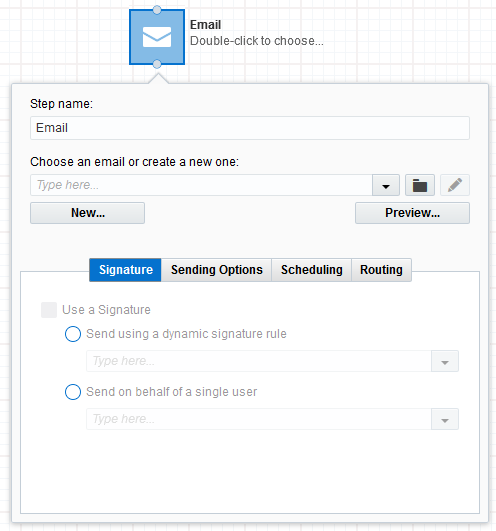
To configure the Email asset:
- Type a new name into the Step name field.
- Select an email from the drop-down list or click Folder
 and browse to the email. To create a new email, click New.
 - Select additional configuration options by clicking on the corresponding tabs:
- Signature: Enable the Use a Signature check box (optional), then select either Send using a dynamic signature rule or Send on behalf of a single user, and select an option from the corresponding drop-down list. Learn more about signature rules. In addition, if a signature layout was added to the email, the signature will be dynamically be populated based on the sender. Learn more about signature layouts.
The sender's user account does not need to be active nor does the person associated to the user account need to have access to Oracle Eloqua. The user account and associated signature fields will be used to populate the email sender and sender information like a signature where applicable. Learn more.
-
Sending Options: Select the check box next to the sending options that you want to utilize for this email.
-
Break send into smaller batches: Allows you to divide the overall email send into smaller batches. Specify the number of hours or days, then select the appropriate time unit.
Note: If you select days, one batch will be sent per day.
-
Allow emails to be re-sent to past recipients: Allows emails to be re-sent to recipients who previously received the same email.
Note: In most cases, you should not select this option, as it increases the likelihood that recipients will mark your email as spam. Use this option only if the email contains critical or emergency information, or if a significant correction has been made to the original content.
- Include List-Unsubscribe header: Includes a group or global list-unsubscribe header. The default is the group unsubscribe option.
- Send email to master exclude members: Sends the email to contacts on the master exclude list. This ensures they do not miss critical non-marketing emails, such as product information.
- Send email to unsubscribed members: Sends the email to unsubscribed contacts. This ensures they do not miss critical non-marketing emails, such as product information.
-
- Scheduling: Select the check box next to the scheduling option that you want to use for this email.
- Only send during certain days and hours: Select the days and the specific time range that you want to send the email. The default time zone is your local time zone.
If you would like to configure a batch send and distribute it evenly over a specific period, you must configure both the Sending and Scheduling options.
Under Sending Options, select Break into smaller batches and specify the sending period in hours or days.
Note: If selecting days, the email send will be broken up with one email send per day.
- Under Scheduling, select Only send during certain days and hours and specify the start and end time.
ExampleAs part of your campaign, you want to send an email to 100,000 contacts over a five day period between 9:00 am - 5:00 pm ET so that a group of 20,000 contacts receives the email each day with one email send per day.
To configure the email options in your campaign:
- Double-click the email element on the campaign canvas.
- Click Sending Options and select Break into smaller batches. Set the Sending Period to 5 days.
- Click Scheduling and select Only send during certain days and hours. Set the Start Time for 9:00 AM and End Time for 5:00 PM.
Your campaign is now configured to send the email to 20,000 contacts each day with one email send per day for the five day period.
- Enable Send Time Optimization: This option located under the Scheduling tab of an Email asset allows marketers to send emails at the optimal time for each contact. An email with Send Time Optimization enabled is indicated with
 on the Campaign Canvas. Learn more about Send Time Optimization.
Important: Effective June 12, 2025, Oracle Eloqua's Advanced Intelligence (AI) features are available for all customers. To enable Eloqua's classic and Generative AI (Gen AI) functionality, open a service request with Oracle Support. Please review our product notice for more information.
- Optimization: Select whether to Optimize by time of day or Optimize by time of day and day of week when sending the email. With Optimize by time of day, a contact will receive emails at the optimal time of day, within 24 hours of trigger. With Optimize by time of day and day of week, Eloqua will determine which combination of time of day and day of week is optimal for each contact, within the next 7 days of trigger.
- Only send during certain days and hours: Select the days and the specific time range that you want to send the email. The default time zone is your local time zone.
-
Routing: Enable the check box if you want to automatically route contacts excluded from the email send. Click Choose and specify a target.
SMS
Important: This feature is only available if your organization has purchased SMS services. Please contact your account manager for additional information and pricing.
Send your campaign members SMS messages in your campaign flow.
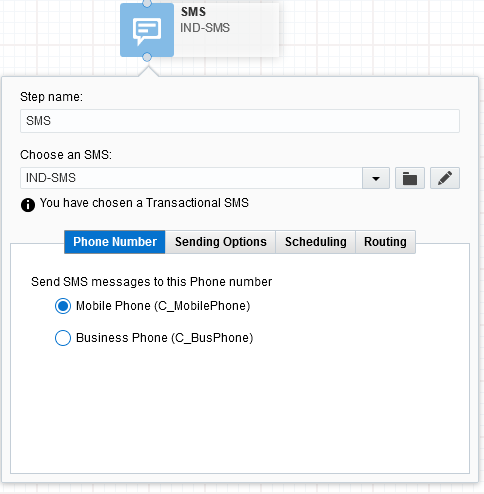
To configure the SMS asset:
- Type a new name into the Step name field.
- Select an SMS message from the drop-down list or click Folder and browse to the email. To create a new SMS message, click New
 .
. - Select additional configuration options by clicking on the corresponding tabs:
- Phone Number: Select which phone number Eloqua should send the SMS message to. You can choose from two contact fields: Mobile Phone or Business Phone.
- Sending Options: Choose your sending options.
- Allow SMS to be re-sent to phone numbers previously sent to: Select the check box to allow resending the SMS message to the same phone number. Additionally, you can specify the time period to check against for the resending option.
For example, if you select 2 months, this would prevent resending the same SMS message to the same phone number within the last 2 months. If the same message was sent 3 months ago, the message would resend.
Send SMS to opted-out phone numbers: If you have selected a transactional SMS message, select this check box to send this message to phone numbers that have opted-out of SMS communications. You must have permission to access this check box.
- Allow SMS to be re-sent to phone numbers previously sent to: Select the check box to allow resending the SMS message to the same phone number. Additionally, you can specify the time period to check against for the resending option.
- Scheduling: Select the check box next to the scheduling option that you want to use for this SMS.
- Only send during certain days and hours: Select the days and the specific time range that you want to send the SMS. The default time zone is your local time zone.
- Routing: Enable the check box if you want to automatically route contacts excluded from the SMS send. Click Choose and specify a target.
Form
If you add an email that links to a form or to a landing page with a form, you can add that form to the campaign canvas for reporting purposes. After you add a form to the canvas, you do not connect it to other campaign elements. It is on the canvas so that it is visible to users and included in reporting.
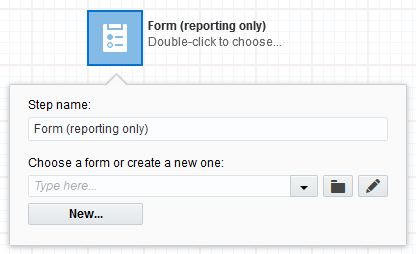
To configure the Form asset:
- Type a new name into the Step name field.
- Select a form from the drop-down list, or click Folder to browse to the form. To create a new form, click New.
Landing Page
If you add an email that links to a landing page, you can add that landing page to your campaign canvas. This allows you to include landing page activities in your campaign reports. After you add a landing page to the canvas, you do not connect it to other campaign elements. It is on the canvas so that it is visible to users and included in reporting.
Note: If a landing page on the canvas contains a form that is also on the canvas, Oracle Eloqua connects the two on the canvas to show the relationship.
To configure the Landing Page asset:
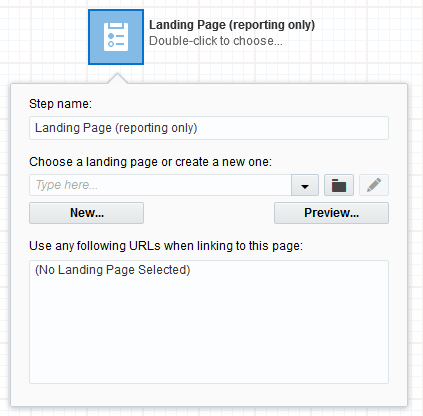
- Type a new name into the Step name field.
- Select a landing page from the drop-down list, or click Folder to browse to the landing page. To create a new landing page, click New.
Sharing a hosted form across multiple campaigns
Sharing an externally-hosted form across multiple campaigns
Knowledge Base: How to Re-Send Emails to Previous Recipients