Working with Dynamic Content
Important: This information applies to the Email Message Designer. Speak to your Account Administrator about access to this feature.
Note: The Email Campaign Workbook now has an updated interface and is now called the Email Campaign Designer. Campaign Designer is now enabled for all accounts, and it replaces Campaign Workbook for this channel. Unlike the Campaign Designer, there were no major changes made to the Message Designer's interface.
You can use the Email Message Designer to build dynamic content in your email campaign. Using dynamic content, you can design email campaigns that display content to your subscribers dynamically. This enables you to design a single message that is tailored to each recipient’s unique profile and related data. For example, a clothing retailer could use dynamic content to display different content depending on the gender of a recipient.
Learn more by watching the video!
To build a dynamic content email campaign, you need to add the Dynamic Content widget to your email. This creates a dynamic content region that you can then associate rules to. Rules use profile data to select what content is displayed in the region.
You can find the following content on this page:
- Adding dynamic content to an email
- Creating dynamic content rules
- Saving rules for reuse
- Create a dynamic subject line
- Testing dynamic content
- Creating a dynamic content region
Note: The following steps assume you do not have the rich text editor enabled. Learn more about the rich text editor settings.
To add dynamic content to a region and configure it:
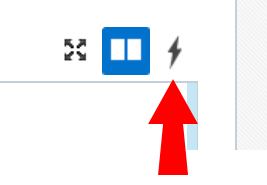
- With the email open in the Email Message Designer, click Dynamic Content Editor
 .
. - Drag the Dynamic Content Rules widget to the region.
Tip: Alternatively, you can click the Create Dynamic Content Region icon in a region candidate's overlay, then double click on the Dynamic Content Rules widget.
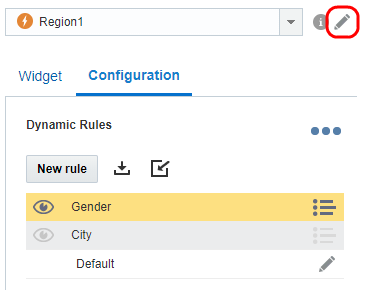
- Click Edit
 next to the region drop-down list and give the dynamic content region a descriptive name. This will help make it easier to identify the region later.
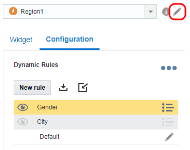
- Define the dynamic content rules and content for the dynamic content region. To import a rule set, click Import rule set
 . Learn more about rule sets.
A default rule is automatically created for you to edit. So if no rule resolves to true, then the default content will display. To edit the default content, click Edit
.
- Save your changes.
After you add rules, they are evaluated in the order they appear in the list. To change the order, drag the rule to the position you want or click  .
.
Creating dynamic content rules
To create a dynamic content rule with the classic Rules Editor:
Note: If your account has the new Rules Editor, learn how to add data sources with the new Rules Editor.
- With the email open in the Email Message Designer, click Dynamic Content Editor.
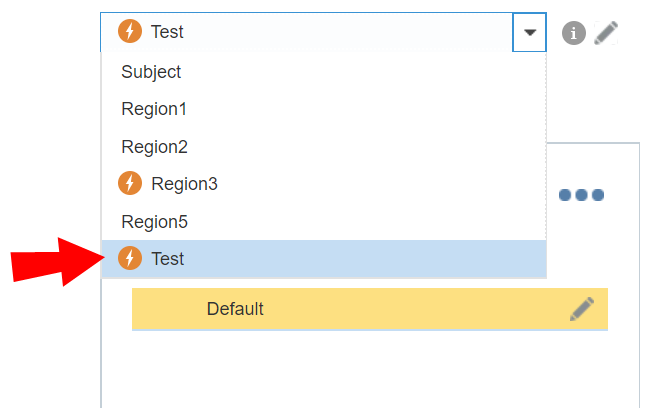
- Select the dynamic content region from the drop-down list.
- Click New Rule and provide a name for the new rule.
- Choose the list you want to use. If a profile list is not assigned to the campaign, Oracle Responsys will prompt you to select a profile list. After you select a profile list, a personalization token can be created based on the list columns.
- Drag fields to the Conditions area. You can add up to 30 conditions.
- If a field isn't showing in the list, click Add columns
 .
. - To add additional data sources, click Add table.
- To combine multiple conditions and build more complex logic, drag Insert enclosure to the Conditions area.
- If you add multiple conditions, join the filters using a Boolean AND or OR comparison. To switch between AND or OR, click the drop-down list.
- If a field isn't showing in the list, click Add columns
- Configure each condition. To find out more about configuring conditions relating to dates, see Configuring Dynamic Content Rules by Days/Weeks.
- Specify the content to display when the conditions of the rule are met:
- Select Content: Choose a document from the Content Library or from your computer, or create a new one from scratch.
- Script: Execute a script using Responsys Personalization Language.
- Skip Recipient: Skip the recipient from receiving the email.
- Display No Content: Do not display content in the region.
- When you're done, click OK.
To create a dynamic content rule with the new Rules Editor:
Note: If your account has the classic Rules Editor, learn how to add data sources with the classic Rules Editor.
Important: The new Rules Editor has an updated user interface that simplifies the user experience for marketers.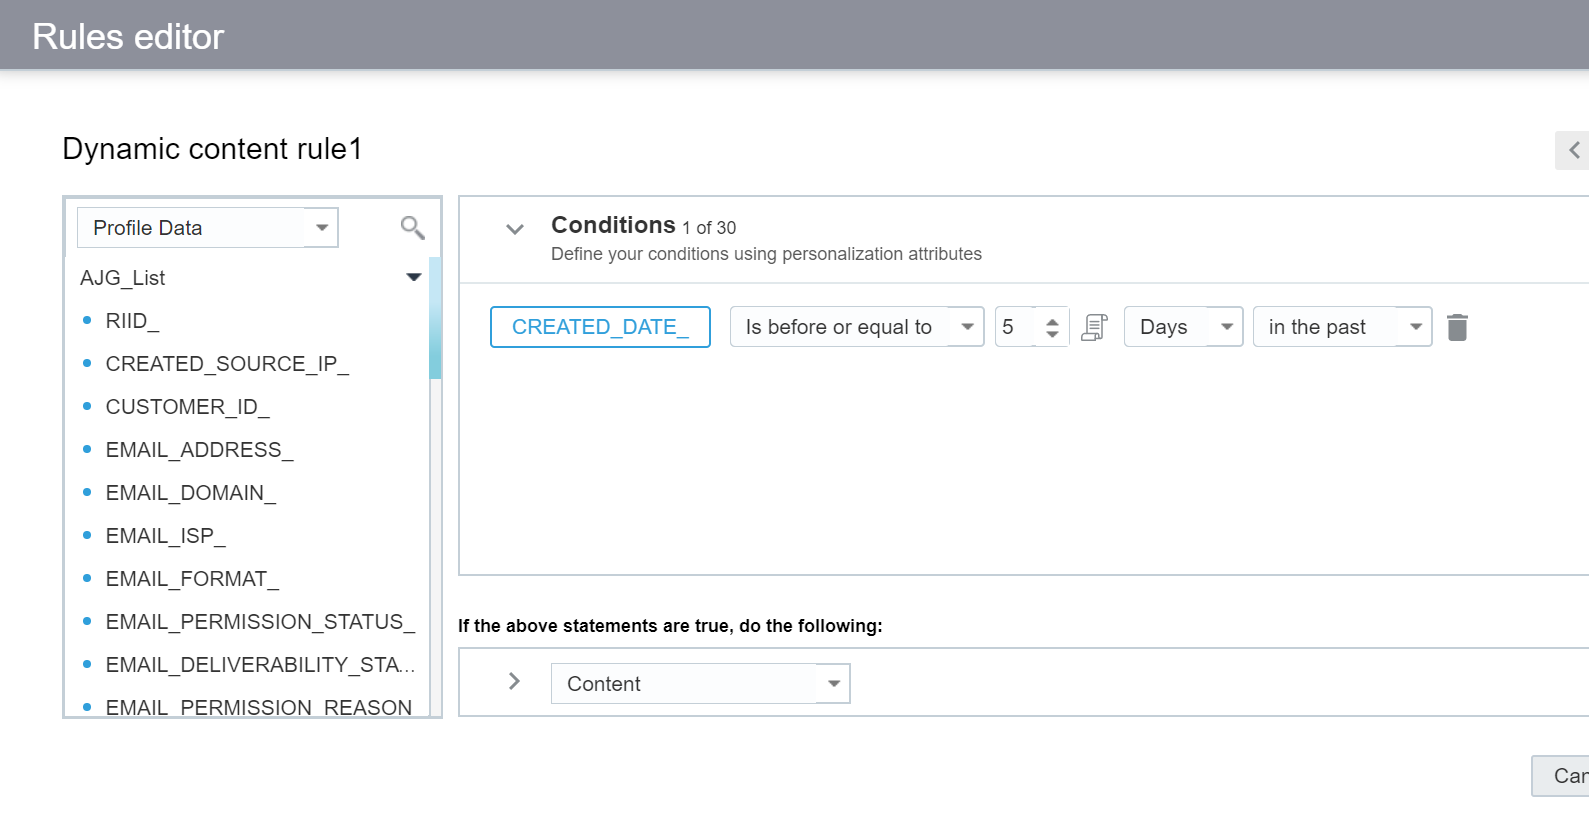
This feature is currently released under our Controlled Availability program. To request access to this feature, please log in to My Oracle Support and create a service request.
- With the email open in the Email Message Designer, click Dynamic Content Editor.

- Select the dynamic content region from the drop-down list. Learn more about adding the dynamic content widget to a region.

- Click New Rule . If you haven't yet selected a profile list, you will be prompted to do so now.
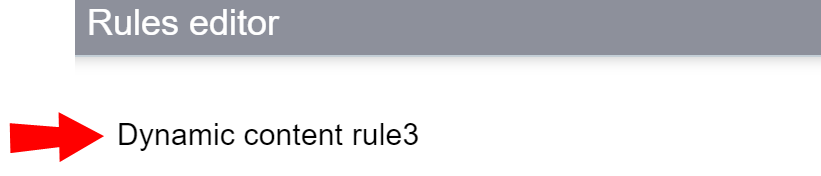
The Rules editor dialog opens.
- (Optional) Click on the rule's current name to change it.
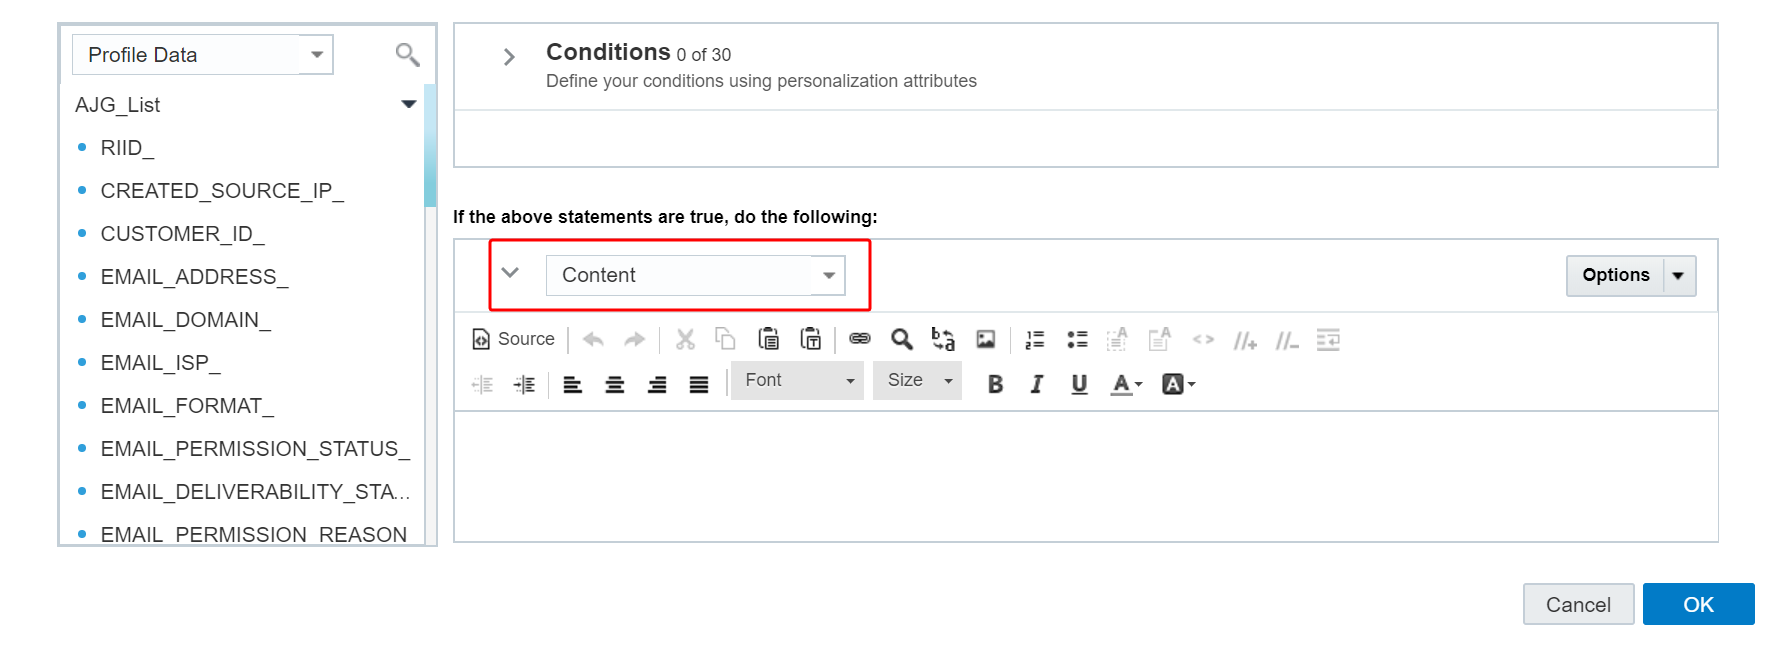
- Drag fields to the Conditions area. You can add up to 30 conditions.

Tip: You can add fields in 3 different ways: by dragging a field to the Conditions area, double clicking on a field, or hovering over a field and clicking the
 that displays.
 You can use the search functionality to locate specific columns belonging to a data source.
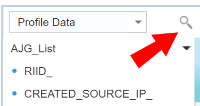
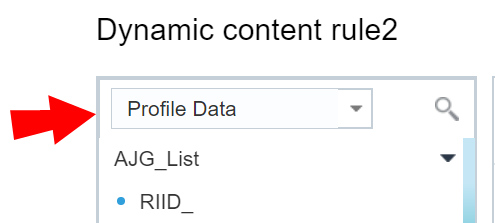
- To see further fields, expand profile extension tables or change the data source type from the drop-down. The drop-down allows you to choose between Profile Data, Supplemental Data, Dynamic Variables, and Recent/Selected.

Tip: By default, all the columns belonging to the list and that list's PETs are displayed. If you would like to add a column from a supplemental table or to add a dynamic variable, select Supplemental Data or Dynamic Variable from the drop-down, then click
. - To combine multiple conditions and build more complex logic, add an enclosure by double clicking
 or dragging it to the Conditions area.
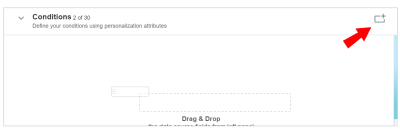
- If you add multiple conditions, join the filters using a Boolean AND or OR comparison. To switch between AND or OR, click the drop-down list.

- Configure each condition. To find out more about configuring conditions relating to dates, see Configuring Dynamic Content Rules by Days/Weeks.
- Specify the content to display when the conditions of the rule are met:

- Content: Create a new document from scratch in the text box, and you can drag and drop columns into this section to create personalization tokens. Alternatively, you have the option of adding a document from your computer or content library instead. To do so, click Options .
- Image: Add an image using an Image URL. Alternatively, click Options to either add an image from the Content Library or, if it is enabled for your account, via Oracle CX Content.
- Script: Execute a script using Responsys Personalization Language.
- Skip Recipient: Skip the recipient from receiving the email.
- No Content: Do not display content in the region.
- When you're done, click OK.


The following video shows an example of adding dynamic content rules to a campaign message using the new rules editor.
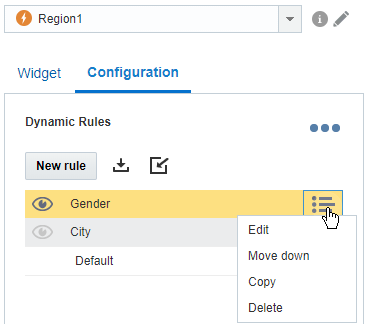
To return and edit a dynamic content rule:
- With the email open in the Email Message Designer, click Dynamic Content Editor.
- Select the dynamic content region from the drop-down list.
- Under Configuration, click beside the rule you wish to edit.
- Click Edit.
The Rules editor opens.
Saving rules for reuse
You can save dynamic content rules so that they can be reused in multiple campaigns.
A rule set includes all of the rules for a dynamic content region, the order of the rules, and the logic. You can create a reusable rule set by saving a rule set that you created for a dynamic content region in a campaign. You can also create a rule set by copying a rule set contained in a folder.
The rule set does not save the content which will be used if the condition is met. A rule set will also not include the default rule.
When reusing a rule set, the campaign must use the same tables and columns as the rule set. This is because rules in a rule set are based on specific tables and columns.
To save a rule set:
- With the email open in the Email Message Designer, click Dynamic Content Editor.
- Click Save as new rule set
 .
. - Give the rule set a name and folder location.
- Click Save.
To use a rule set in a campaign:
To use a rule set, you import it into a campaign. Importing a rule set replaces any rules that you previously defined for the campaign, so you must re-select the content to be displayed (or other actions that occur) when the rule conditions are met.
- Click Import rule set
 .
. The Import rule set dialog opens.
- Select the rule set you want to import.
Tip: To preview the rule set, point at it and click
 .
. - Click Save.
Create a dynamic subject line
You can also create dynamic subject lines for your email campaigns.
To create a dynamic subject line, you define rules for the Subject dynamic content region.
To create a dynamic subject line:
- With the email open in the Email Message Designer, click Dynamic Content Editor.
- Add dynamic content to the subject line by:
- Selecting the Subject from the regions drop-down list, then double clicking on the Dynamic Content Rules widget.
- Dragging and dropping the Dynamic Content Rules widget to the Subject line.
- Define the dynamic content rules and content for the dynamic content region. To import a rule set, click Import rule set . Learn more about rule sets.
A default rule is automatically created for you to edit. So if no rule resolves to true, then the default content will display. To edit the default content, click Edit
.
- Save your changes.
Testing dynamic content
You can preview your dynamic content using your Proof list or with actual client data from lists. When testing with a proof list, you will want to make sure that it includes combinations of data so that you can ensure complete testing coverage.
To test dynamic content:
- With the email open in the Email Message Designer, click Preview.
- In the Message preview page, navigate the proof list so that you can preview the content with different data.
The following video shows an example of previewing a message with dynamic content.
Creating a dynamic content region
There are two ways to create a dynamic content region in the Email Message Designer.
To create a dynamic content region in the Dynamic Content Editor :
- Open the Dynamic Content Editor .
- In the Widget panel, drag and drop the Dynamic Content Rules widget onto a region candidate.
The region candidate becomes a dynamic content region.
To create a Dynamic Content Region in the HTML Editor  :
:
- In the HTML Editor , click on a region candidate.
- Click .
The region candidate becomes a dynamic content region, and the Dynamic Content Editor
opens.