Step 2: Create the schedule
-
Click New and select Agent.
Tip: An agent is the schedule used to deliver reports.
-
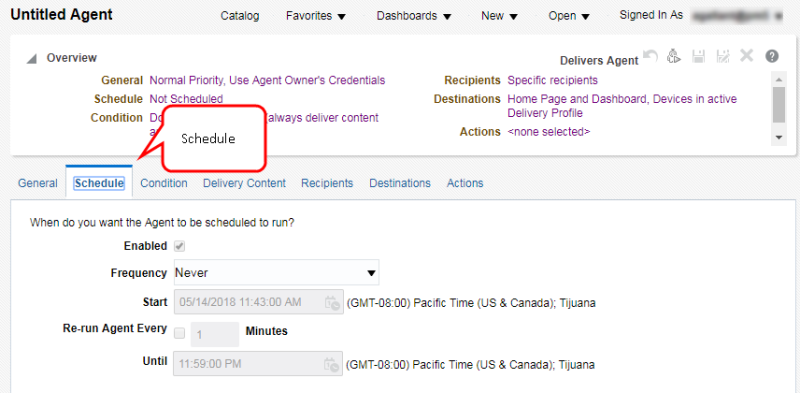
Select the Schedule tab.
-
Select the frequency, start date, and end date.
Tip: To schedule a test run, select frequency of ‘once’.
Note: Ignore the ‘Re-run Agent Every’ option. This functionality is not currently enabled. If you do select this option, the system will de-select it when you save the schedule.


Next steps
Step 3: Select an analysis in the catalog
Emailing an Analysis from Interactive Dashboards