Review Images After Upload
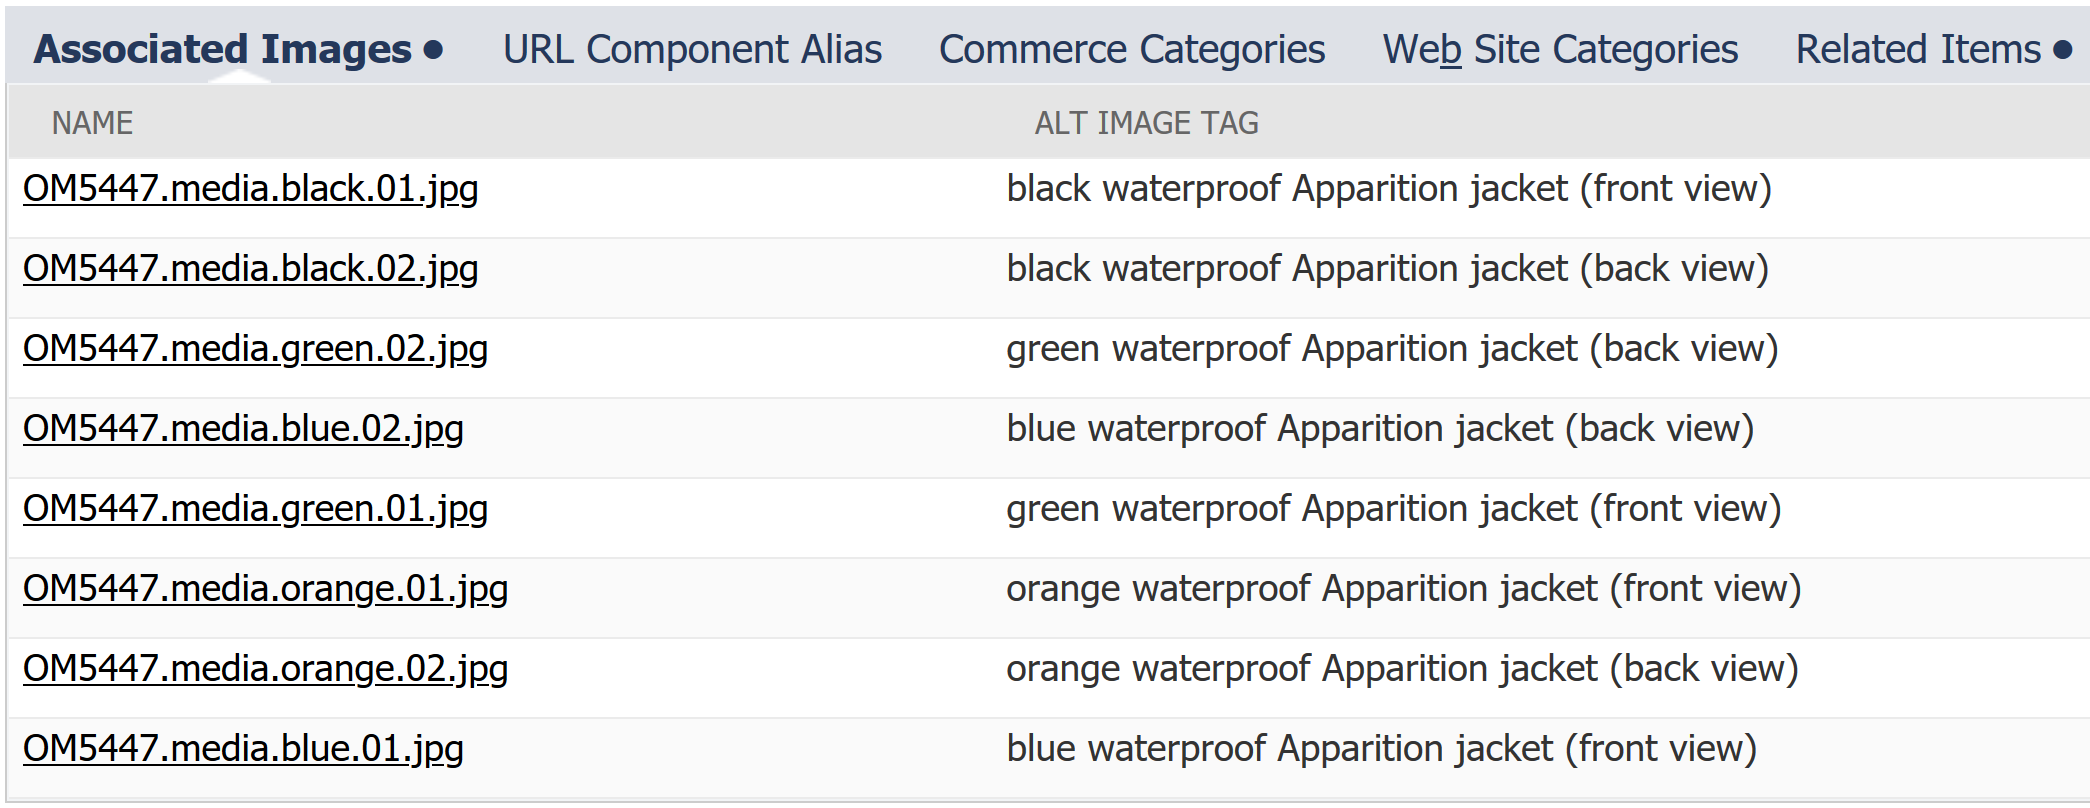
Check the Associated Images sublist on the Web Store subtab to verify that images are associated with the correct item record. If the images don't appear on the item record, verify that you completed all the steps in Website Setup.
Add Alternate Text
Alternative text is crucial for your website. Alt text appears when an image can't be loaded. Alt text also helps with page readers and SEO. The alt text you enter is used in the HTML image element. For example <img src='OM5447.media.blue.01.jpg' alt='blue waterproof Apparition jacket (front view)'>.
You must add alt text to each image on the item record. Write a brief description of what's in the image. On the item record, alt text is limited to 35 characters. Alternatively, you can add alt text to the file record, which has a 199-character limit.
Here's an example of good alt text:

You can update alt text manually for each image or use customization. To learn more about customization, see Develop SCA Customizations.
To add alt text to an image on the item record:
-
Go to Lists > Accounting > Items.
-
Click Edit next to the item record you want to update.
-
Go to the Web Store subtab and find the Associated Images sublist.
-
In the Alt Image Tag field, provide alt text for each image (up to 35 characters).
-
Click Update Matrix (or Save).
-
Click Submit.
To add alt text to an image using the file record:
-
Go to Documents > Files > File Cabinet.
-
Go to Web Site Hosting Files > Live Hosting Files > images.
-
Click Edit on the image file you want to update.
-
In the Alt Image Tag field, enter you alto text (up to 199 characters).
-
Click Save.
Make Images Available Without Login
The ability to view images is controlled in the folder settings. This procedure shows you how to perform a mass update to ensure images are viewable to all website visitors.
If you've already done this during upload, you can skip this. This procedure ensures everything in the images folder is available without a login, regardless of how the files were uploaded.
By default, SuiteScript-uploaded files require a login, regardless of which folders the files are saved in. To make SuiteScript-uploaded files accessible without a login, set the parameter on the upload script or check the Available Without Login box. As of 2020.2, files uploaded using Web Services use the same Available Without Login rules as files uploaded using SuiteScript.
To perform a mass update of files to be available without login:
-
Go to Lists > Mass Update > Mass Updates.
-
Click Files to expand the options for files.
-
Click Make Files Available Online.
-
On the Criteria subtab, define which files to include in the update.
-
In the Filter column, select Folder from the dropdown menu.
-
In the popup window, select any of from the dropdown menu.
-
In the text box, search for the image folder by entering its location (Web Site Hosting Files : Live Hosting Files : images).
-
Click Set.
-
-
Click Add.
-
Click Save.