Using Buttons to Run Transitions
You can use a button to run a transition in a workflow instead of a server trigger. Use the Add Button action to add a button to a state and create a transition that executes on the button click and moves the record to the next state in the workflow.
For example, add Approve and Reject buttons to approve or reject a purchase approval. The Approve button transitions the record to an Approved state and the Reject button transitions the record to a Rejected state.
Use the following example to create an Approve button and a transition from State 2 Pending Approval to State 3 Approved.
To add a button and use the button to initiate a transition:
-
Open a workflow and select the state that you want to transition from in the diagrammer.
For example, choose State 2 Pending Approval.
-
In the context panel, click New Action.
-
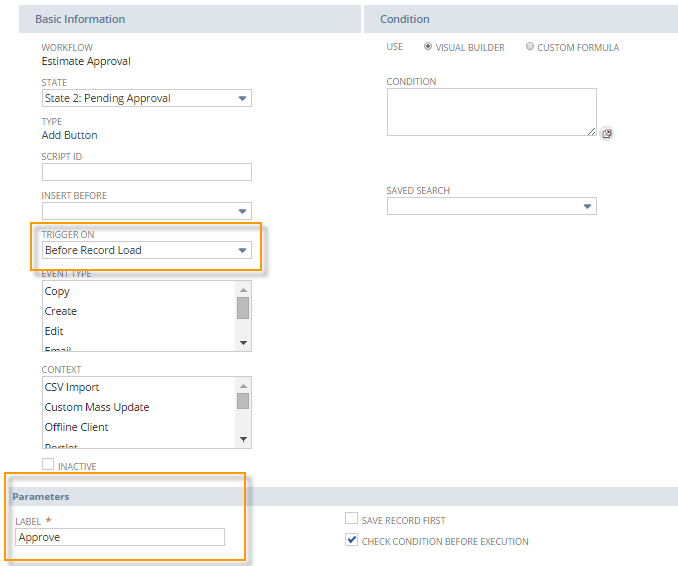
In the New Action window, click Add Button.
-
Make sure Before Record Load is selected for Trigger On and enter a button label in the Label field under Parameters. For other Add Button action properties, see Add Button Action Parameters.
-
Click Save.
-
In the diagrammer, hover over the bottom of the state that you want to transition from. The cursor becomes a filled half-circle.
Drag the icon to the state to which you want to transition and release the mouse to create the transition.
-
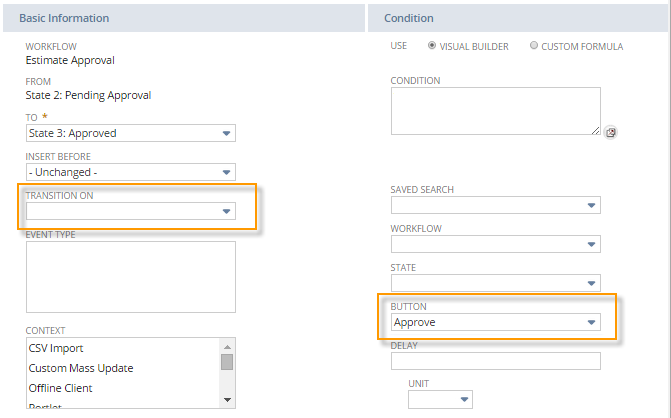
Select the transition in the diagrammer and click the Edit icon on the Transition tab in the context panel.
-
In the Workflow Transition window, leave the Trigger On field blank and choose the button you created in the Button dropdown list.
-
Click Save.
In the above example, when the record enters State 2: Pending Approval, an Approve button appears on the record form. Clicking the button transitions the record to State 3: Approved. Add a Set Field Value action in State 3 to set the approval status of the record to Approved.
If the same state includes both a button-based transition and a condition-based transition that can execute automatically, the record may leave the state before the user clicks the button. In some cases, the form can still display a button that was added earlier in processing, even though the button no longer applies to the current workflow state.
Tip: To avoid displaying non-actionable buttons, use complementary conditions on the Add Button action and the automatic transition. For example, if a condition triggers the transition, configure the button to appear only when that condition is false.
For more information about button behavior, see Add Button Action. For more information about action and transition processing order, see SuiteFlow Trigger Execution Model.
SuiteFlow prevents workflow instances and actions from processing simultaneously when workflow buttons are clicked multiple times. See, Add Button Action Guidelines.